
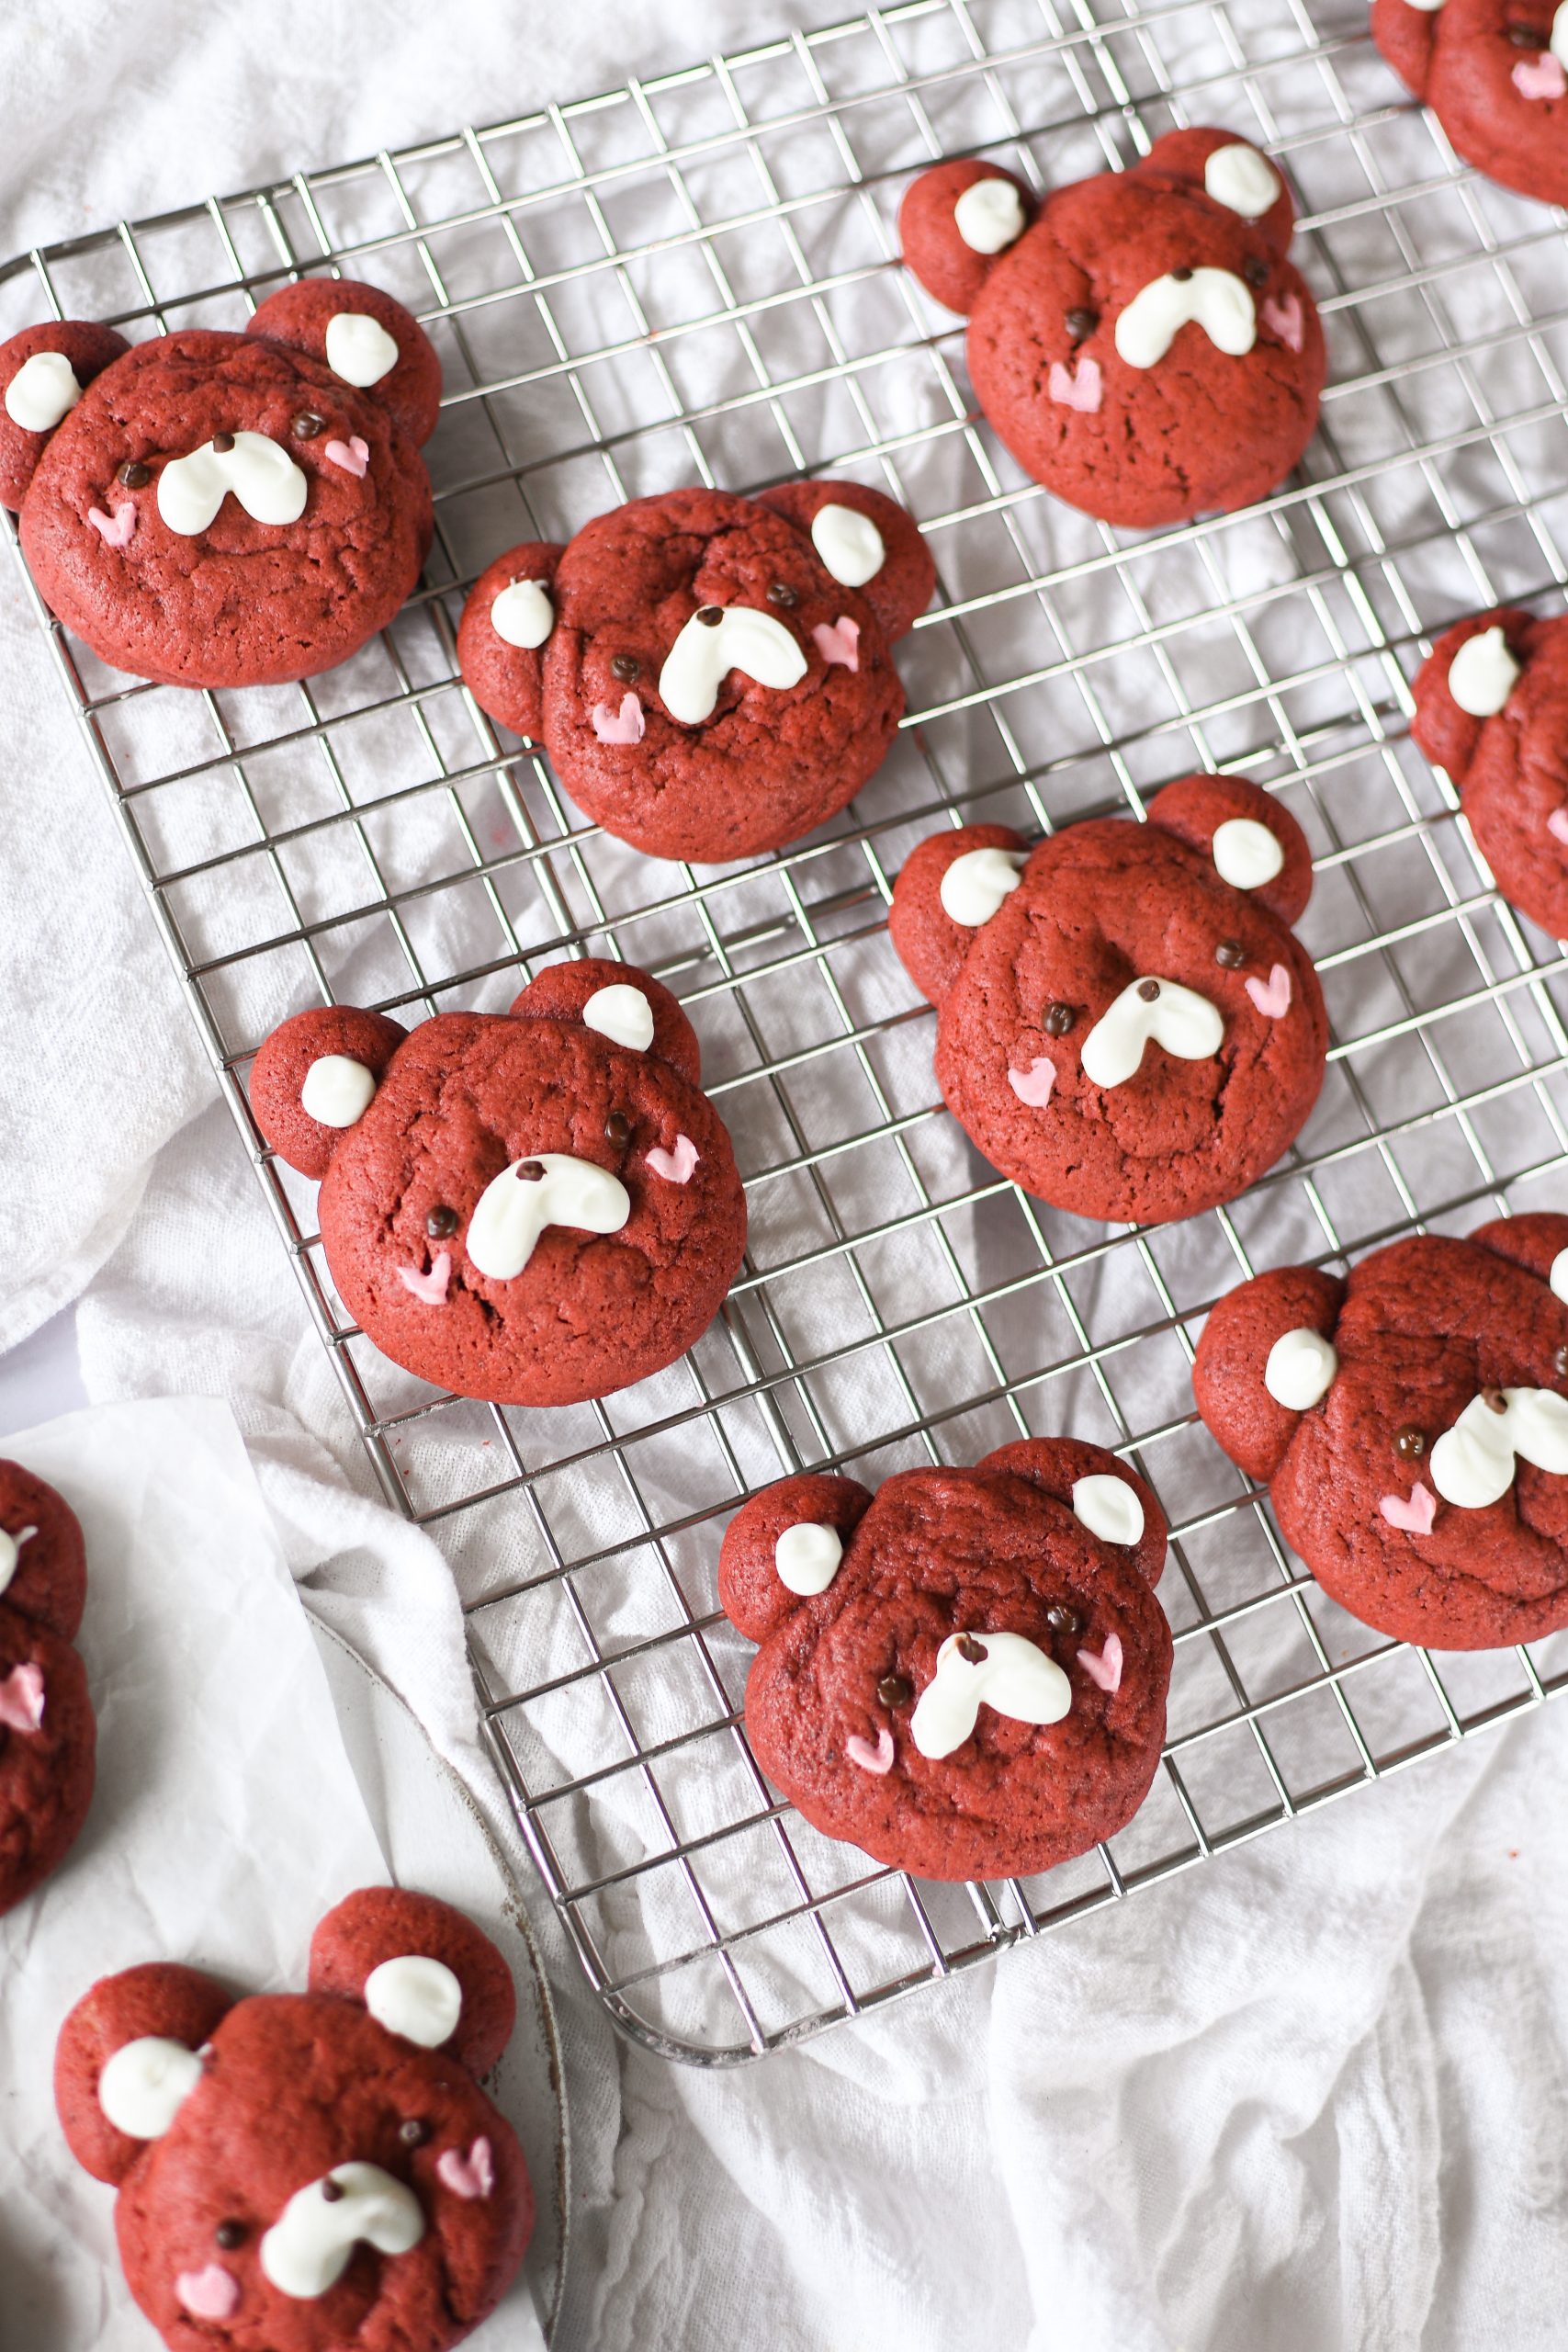
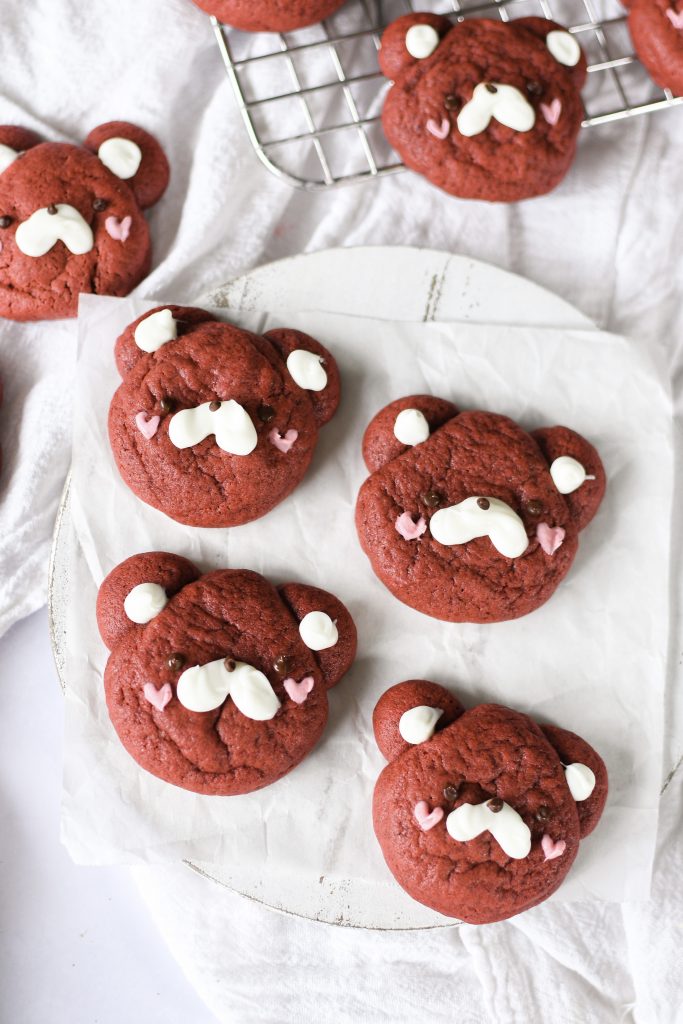
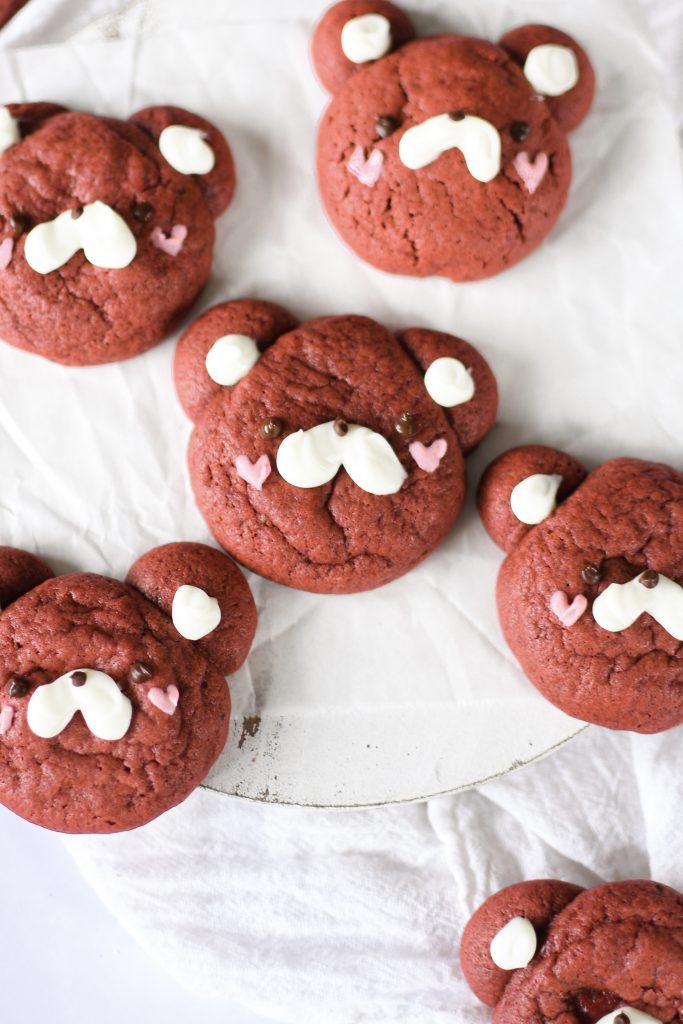
Cute, not too sweet, soft red velvet bear cookies decorated with melted chocolate. Perfect for red velvet lovers and special holidays!
**Disclaimer: this post may contain affiliate links.
✉️ want to save this?
About these red velvet bear cookies
Recently, I had a follower request a recipe for red velvet cookies. At first, I was bummed because I didn’t think I’d be able to make them in time for Valentine’s Day. But, I couldn’t get the idea out of my head. So I rearranged my content schedule, just so I could make these! I’m really glad I did, because they’re absoluuuuuuutely adorable and as my mom said, “not too sweet”, which is the ultimate compliment for desserts in an Asian household.
Also, I gotta shoutout @bearsandbutter on IG for the heart blush inspo! I think the hearts make these bears EXTRA cute for vday. :’)
If you’re interested in other kawaii cookie recipes I have, check out these recipes!: Strawberry Kirby Sugar Cookies, StrawBEARy Sugar Cookies, Bunny Sugar Cookies, Teddy Bear Chocolate Chip Cookies, Keroppi Matcha Sugar Cookies, Frog Matcha Sugar Cookies, Soft, Less Sweet Ube Sugar Cookie Bears (Dairy-Free!), Pig-Shaped Snickerdoodles (Vegan), Cat-Shaped Black Cocoa Cookies (Vegan), and Chick-Shaped Lemon Cookies.
FAQ
Can you make these vegan?
Yes, you can!
Instead of regular butter, you can swap in high quality vegan butter made for baking. Make sure to use a good brand—some brands are very high in water content and melt at lower temperatures, yielding very flat cookies. I recommend brands like Miyokos and Country Crock.
You can also omit the egg. First, follow the recipe up until you add the flour, baking powder/soda, and salt. Slowly mix the dry ingredients in. If the dough seems too crumbly, add a tablespoon of alternative milk at a time (2-4 tbsp total), until the dough comes together. The finished dough should be thick, but scoopable.
Lastly, you can replace the chocolate for a vegan brand, like Pascha chocolate. OR, you can try out my easy icing recipe, which is found in my teddy bear cookie recipe.
Why is there vinegar in the recipe?
Vinegar, buttermilk, or other acids are typically used in red velvet cakes to keep the crumb light and fluffy. And before red food coloring was ever used, beet juice was how red velvet cakes got their color. However, after baking, the cakes would turn blue-ish. Adding vinegar prevented that from happening, preserving the bright red shade!
You can totally skip the vinegar in these cookies. They won’t be as fluffy or cakey, but will still be delicious.
Tips for baking and decorating
Properly measure the flour
I always like to measure my ingredients with a kitchen scale for consistent, accurate results. But if you’re measuring with cups, make sure you follow this tip: gently spoon in the flour into the cup until it’s full, then scrape the excess off using the back of a knife or offset spatula.
If you scoop the cup directly into the flour bag or container, the flour may get compacted, and you will be adding in more flour than necessary. On the other hand, if your flour is clumpy, you could be adding in chunks of flour into the cup with gaps in between them, possibly adding less flour than required. These instances can cause tougher or even really flat cookies, since the proper ratio of dry:wet ingredients isn’t met.
So, for best results, use a scale. If you don’t have one, gently spoon and level the flour into your measuring cup!
Chill the dough
After making the dough, cover the top with plastic wrap. Then, leave it in the fridge for about 30 minutes so the dough hardens up a bit. This will make shaping easier and also yield chewier cookies.
Shaping the dough
For each bear, you’ll want to use a small cookie scoop, or gather about 1 ½ tbsp of dough. Shape it into a ball and place it onto your lined baking tray. Repeat for about 15 more cookies, making sure you have some left over for the ears.
For the ears, take about 1 tsp of dough, and split it into two equally sized pieces. Roll into balls and place on the tops of the bears’ heads.
Decorating with melted chocolate
You can use a piping bag, cookie scribe, or toothpick to add on the details. I used a piping bag.
First, use the melted white chocolate to add the snouts and ears. Reserve the leftover white chocolate for the blush.
Then, use dark or milk chocolate to add the eyes and nose.
When dying white chocolate pink or red for the blush, you’ll want to use oil-based food coloring or the chocolate will seize up and become lumpy. However, if you don’t have oil-based food coloring, you can try mixing in a tsp of neutral oil (canola, vegetable) at a time! The chocolate should come back together. Maaagic.
Storing the cookies
Store these bear shaped cookies in an airtight container at room temperature for up to a week!
I really hope you enjoy this recipe. If you make these red velvet cookies, I’d love to see them. You can tag me at #bitesbybianca / @bitesbybianca on Instagram. Enjoy!
If you’re interested in other kawaii cookie recipes I have, check out these recipes!: Strawberry Kirby Sugar Cookies, StrawBEARy Sugar Cookies, Bunny Sugar Cookies, Teddy Bear Chocolate Chip Cookies, Keroppi Matcha Sugar Cookies, Frog Matcha Sugar Cookies, Soft, Less Sweet Ube Sugar Cookie Bears (Dairy-Free!), Pig-Shaped Snickerdoodles (Vegan), Cat-Shaped Black Cocoa Cookies (Vegan), and Chick-Shaped Lemon Cookies.
Red Velvet Bear Cookies
✉️ want to save this?
Ingredients
Dry ingredients:
- 1 ½ cup (180 g) all-purpose flour, spooned and leveled
- 2 tbsp (14 g) cocoa powder, sifted
- ½ tsp (2 g) baking soda
- ½ tsp (2 g) baking powder
- ½ tsp (3 g) salt
Wet ingredients:
- ½ cup (113.5 g) unsalted butter, melted and cooled
- ¼ cup (50 g) granulated sugar
- ¼ cup (55 g) light or dark brown sugar, packed
- 1 tsp (4 g) vanilla extract
- 1 tsp (5 g) white vinegar
- 1 (1) egg
- red food coloring
Decoration for face:
- 1 tbsp (15 g) melted milk or dark chocolate
- 3 tbsp (44.36 g) melted white chocolate
- oil-based food coloring, see steps (pink/red)
Instructions
For the cookie dough:
- In a medium bowl, whisk together all of the dry ingredients: all-purpose flour, cocoa powder, baking powder baking soda, and salt.
- In a stand mixer using the paddle attachment (can alternatively use hand mixer or whisk), mix the butter and sugars on medium speed until combined. Scrape bottom of bowl. Add vanilla, vinegar, egg, and red food coloring and mix until smooth.
- Dump in all of the dry ingredients and stir until combined. Add more red food coloring as needed.Cover the dough and let it rest in the fridge for 20-30 minutes. This will let the flour hydrate and let the butter firm up again, yielding chewier cookies. The dough will also be easier to work with. 🙂
- Preheat oven to 325°F/163°C and line two baking trays with parchment paper or silicone mats.
- Use small cookie dough scoop to gather dough (about 1 ½ tablespoon each). Shape into a ball and place onto lined baking tray. Repeat for about 15 more cookies, making sure you have some left over for the ears. Place cookies about 3 inches apart. For the ears, take about 1 tsp of dough, and split it into two equally sized pieces. Roll into balls and place on the tops of the bears’ heads.
- Bake for 9-11 minutes, or until edges are set and centers are slightly puffy. If you underbake them a little, they will be chewier! 🙂
- Let cool on pan for about 5-10 minutes, then transfer cookies to wire rack. Let cool completely.
For the bear faces:
- You can a piping bag, toothpick, or cookie scribe to add on the details. I used a piping bag.
- Use melted white chocolate to draw on the snouts and ears. Dye the leftover chocolate pink or red for the blush. If you don't have oil-based food coloring, then the chocolate will seize/become lumpy. To counter this, stir in a tsp of neutral oil (canola, vegetable) at a time, until it becomes smooth again.
- Use melted milk or dark chocolate for the eyes and noses.
- Enjoy!
Notes
- Store cookies in an airtight container at room temperature for up to a week.
- To make it vegan, swap in a high quality vegan butter and vegan chocolate (suggestions listed in this blog post). Omit the egg. Follow the recipe accordingly up until you add in the dries. If the dough seems crumbly, add in a tbsp of alternative milk (2-4 tbsp total) at a time until the dough comes together. It should be thick, but scoopable. In addition, you can use a vegan chocolate brand like Pascha Chocolate. OR, you can try out my easy icing recipe, which is found in my teddy bear cookie recipe.

Up to how long can I let the dough rest in the fridge for before baking?
Great question! 2 days. 🙂 Thanks, Tiffany!
Podría dar toda la receta en gramos?
Just fixed the recipe to show it in grams as well (: Thank you for your comment!
Literally the best red velvet recipe!!
Make sure to follow the tips too like refrigerating the dough before baking . It makes the cookies come out nice and chewy 🙂 Definitely will be making these again <3
I made these recently and omg they are so AMAZING. As a red velvet lover, these cookies are my new favourite!! The cookies looked so cute and I also decorated one with an angry face lol
thank you for all the amazing recipes💚💚
Absolutely LOVE this recipe! The little bears are so cute and so fluffy. This recipe is also gluten-free adaptable too! I have celiac disease, so I opted for a gluten free all purpose flour, and I think they turned out just as well had you used a regular flour blend. Highly recommend!
It’s amazing!! So adorable and tasty! I’m very glad that I stumbled upon your profile and found out about you 🥹
Such a great recipe! The measurements work out perfectly, they taste delicious and even as a not so talented person I was able to recreate them looking really cute!! 🐻♥️♥️