One reason I was hesitant to enter the food creator space was because I didn’t know where to start… especially when it came to camera and lighting gear. After almost 4 years of working in this field, I’m sharing what beginner food photography gear I started out with (including my smartphone!), my current equipment, and what I’d like to buy next! 🙂

✉️ want to save this?
My beginner food photography gear
I started with just my iPhone!
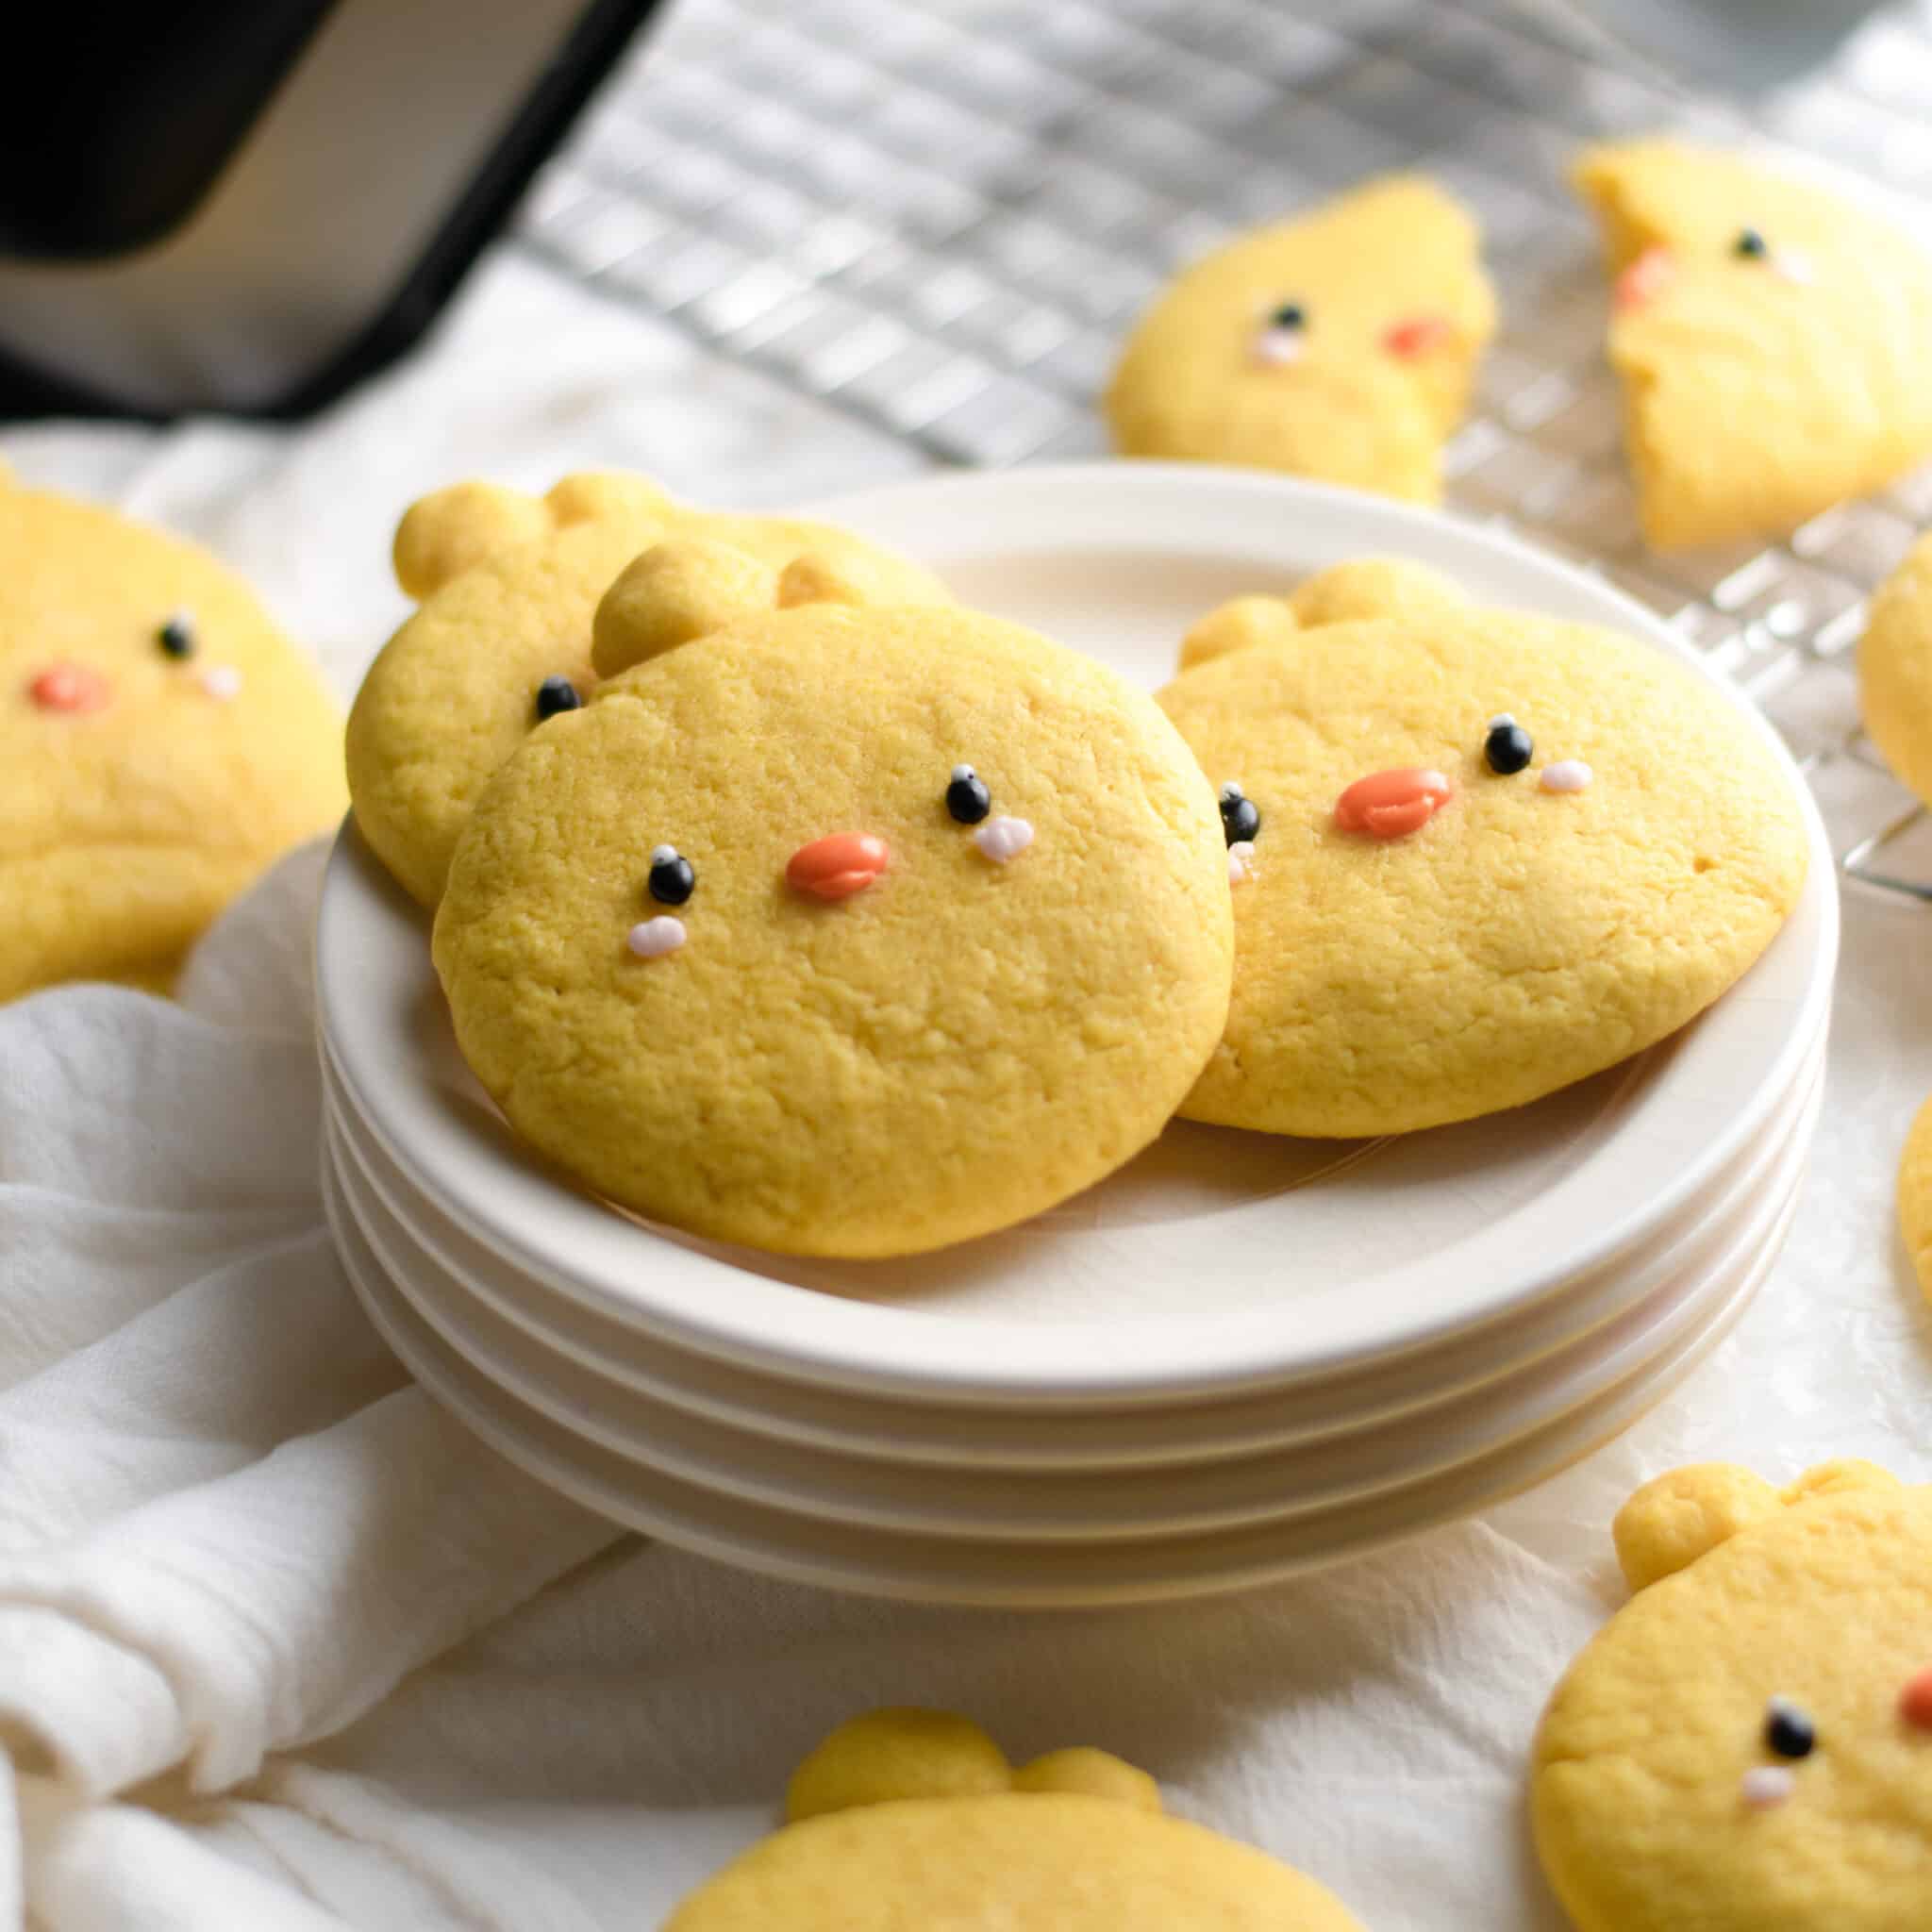
iPhone photo examples
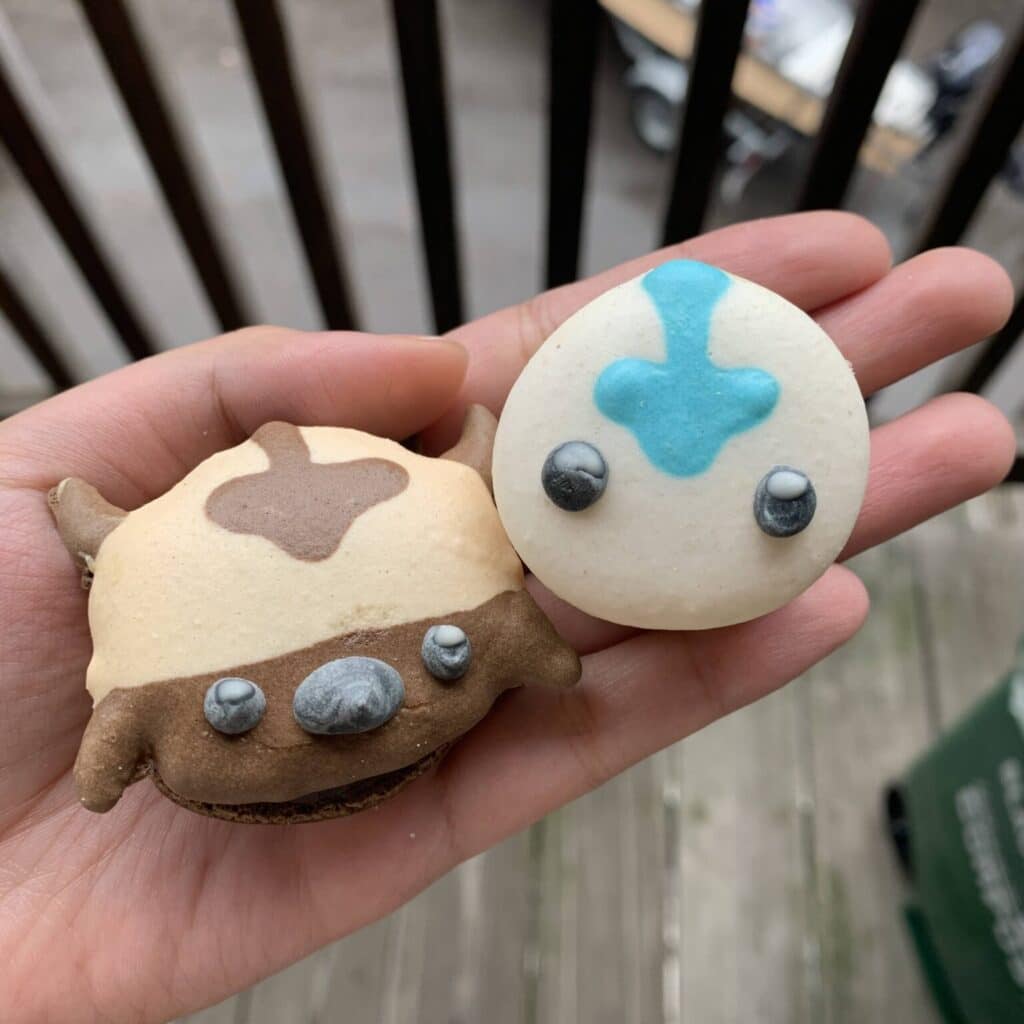

When I first started my Instagram in 2020, I used my iPhone 12, Arkon phone mount, and natural lighting to take photos + videos. It was a great way to practice food styling, while also developing my recipes prior to launching my food blog. The three pictures above were taken using my phone, and I pretty much used my phone until 2021.
Even though I later upgraded to a professional camera and artificial light, there are still many food creators who make amazing Instagram content using just their phone. For example, Broma Bakery and Joyosity have fun, beautiful, viral recipe videos recorded on their phone using natural sunlight. I absolutely love their work and style.
iPhone video example
So, if you’re a beginner and feel like you need to upgrade to the finest gear to even start—don’t! Pick up your phone and record. It’s the best and cheapest way to practice. Over time, you’ll find your own style, figure out what you like to make (and not make!), and settle within your niche.
Depending on your goals, it may not be 100% necessary to spend money on professional food photography gear. The reason why I wanted a professional camera in the first place is because I wanted to start this food blog. I loved the photos on my favorite food bloggers’ websites and wanted to have CWISSSSPY photos just like them. I couldn’t take photos as nice as theirs with just my phone, so I upgraded.
My first professional camera gear
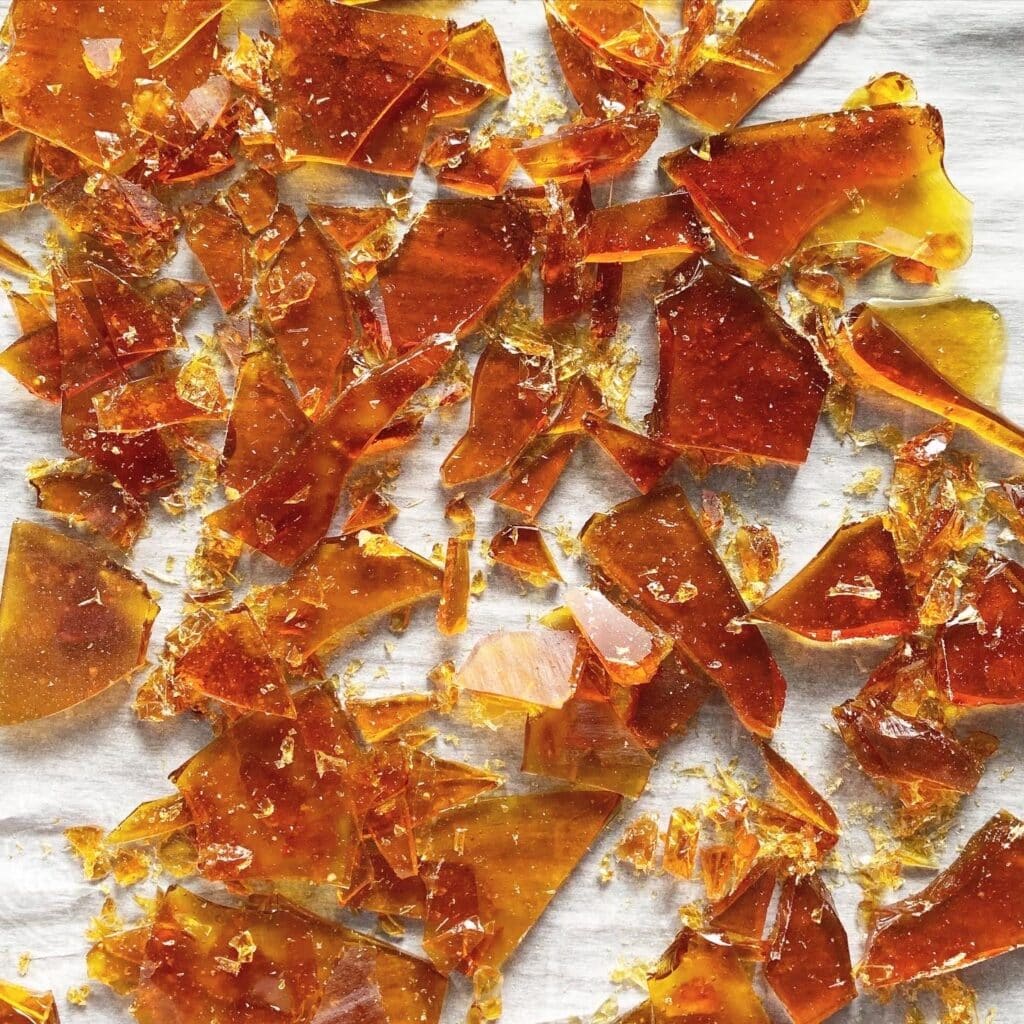
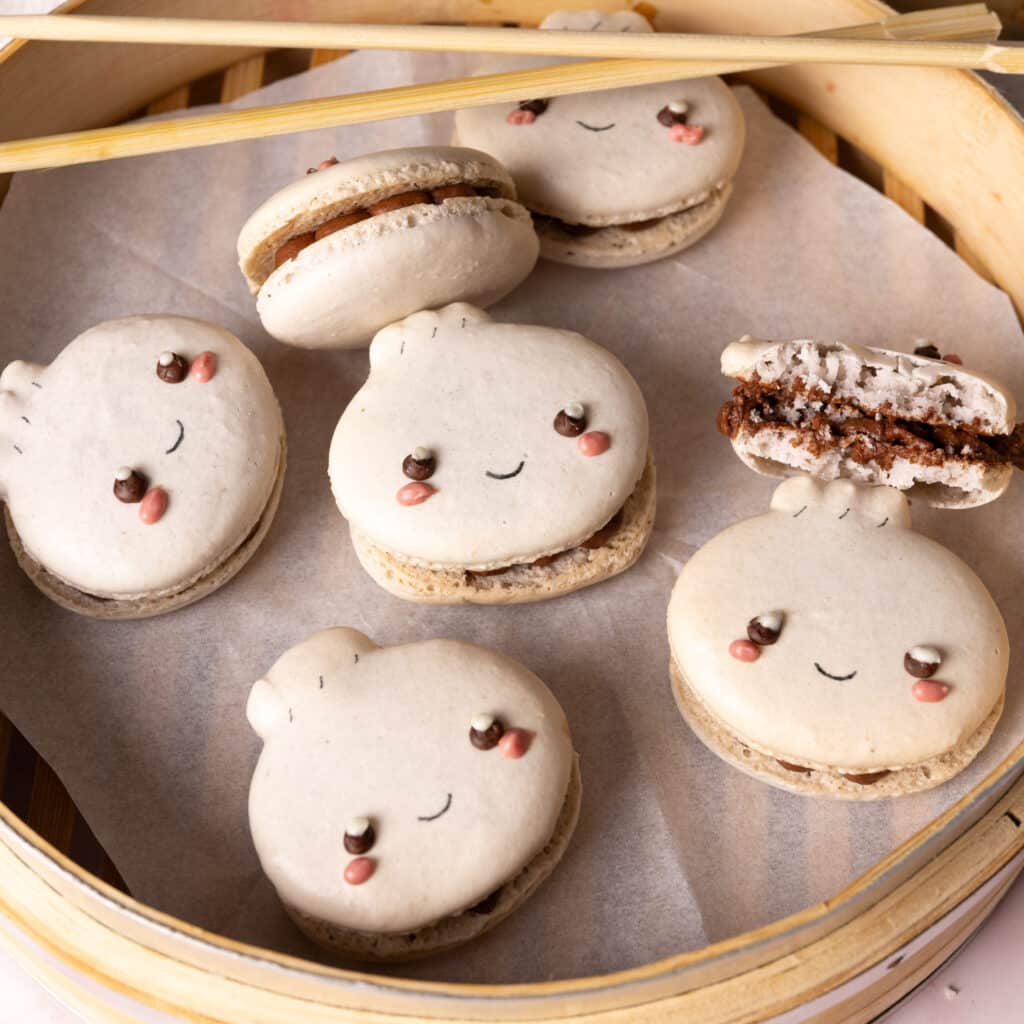
beginner gear photo examples
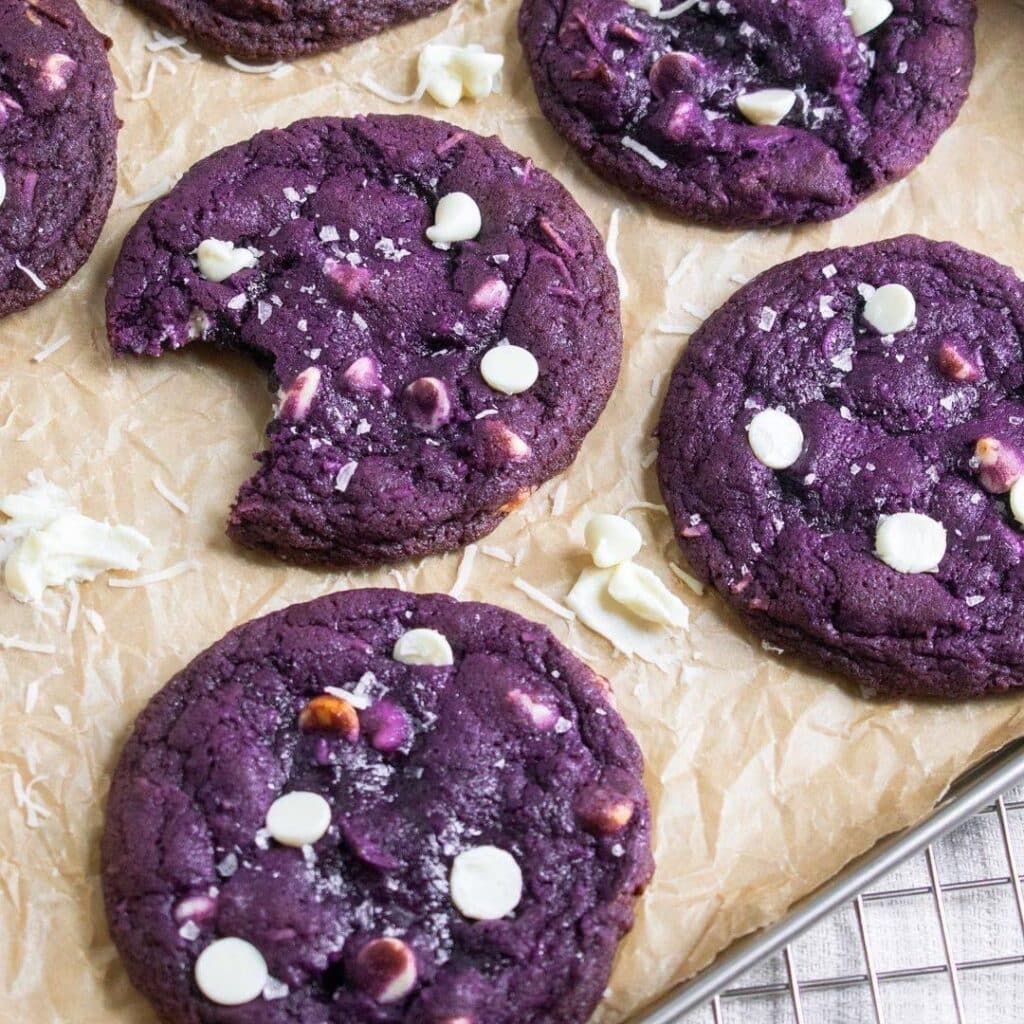
If you compare these 3 photos to my iPhone ones, these are crisper and more defined. Over time, I also got better at food styling, composition, and learned how to use natural light, thanks to Foodtography School. The beginner course was really helpful to me and my progress skyrocketed, especially since I was just starting out. (You can read my full Foodtography School review here).
Beginner camera + lenses
Nikon D3500 kit – In 2021, I was gifted this DSLR kit, which includes a 15-55 mm f/3.5-5.6 zoom lens. It was actually a hand-me-down from my parents, so I was super thankful and lucky to not spend money on one.
35 mm f/1.8 lens – After a few months, I purchased this lens. It was great because it helped me get wider shots on my crop sensor camera. Since I relied on natural light, the lower aperture helped me work in lower light conditions if it was too cloudy or if the sun was setting. This lens helped me shoot bright, crisp images without sacrificing quality.
Beginner tripod
60-inch Endurax tripod – It’s very budget friendly ($25!) and can switch between shooting vertically and horizontally. However, it is lightweight and made up of cheap material, so it broke about 1.5 years into me using it. The locking knob to hold the camera in place cracked, so I couldn’t get my camera to stay still.
Despite this, I do recommend the Endurax for beginners; I just urge you to be gentler with it than I was. I bought it because blogging used to be a light hobby for me, and I wasn’t sure if I’d stick with it. I would rather spend $25 for a maybe long-term hobby, than an additional +$100 on a tripod for something I might give away in the future. TDLR; it’s a really good practice tripod.
All in all, I loved my beginner food photography gear. Although pricey, they were still on the cheaper side of the camera world and great for practice!
beginner gear video example
Tips for buying your first camera
Do your research
If you’re looking for a beginner camera, I recommend searching the web for “best beginner cameras for food photography/videography”. Some cameras are better for photo, some for video. For example, some cameras may not be great at recording longer clips and can easily overheat. I found my Nikon D3500 to be good at both, but unfortunately only shoots at 1080p max.
I eventually ended up switching to Canon. If you switch brands like me, you’ll have to buy camera lens adapters in the future. I recommend doing deep research and buying a brand you know you’ll stick with.
Once you make a list of cameras, you can look up YouTube reviews to narrow down your search. Then, make a list of any lenses you may want, making sure they’re fully compatible to your camera. Popular lenses are a 50 mm and 35 mm, the latter being better if you have a crop sensor camera. Otherwise, you’ll have to shoot a bit farther from your subject for a wider shot.
Compare prices
You can always buy a new or gently used camera online, like on Amazon or B&H. These websites are trusted and have reviews you can sift through. Plus, returns, refunds, and customer service are easier to come by.
For cheaper options, you can check out ebay, Facebook marketplace, Craigslist, or thrift stores. You can also ask your friends and family if they have a camera they no longer use—they may give it to you for an even cheaper price or for free!
My 2024 food photography gear
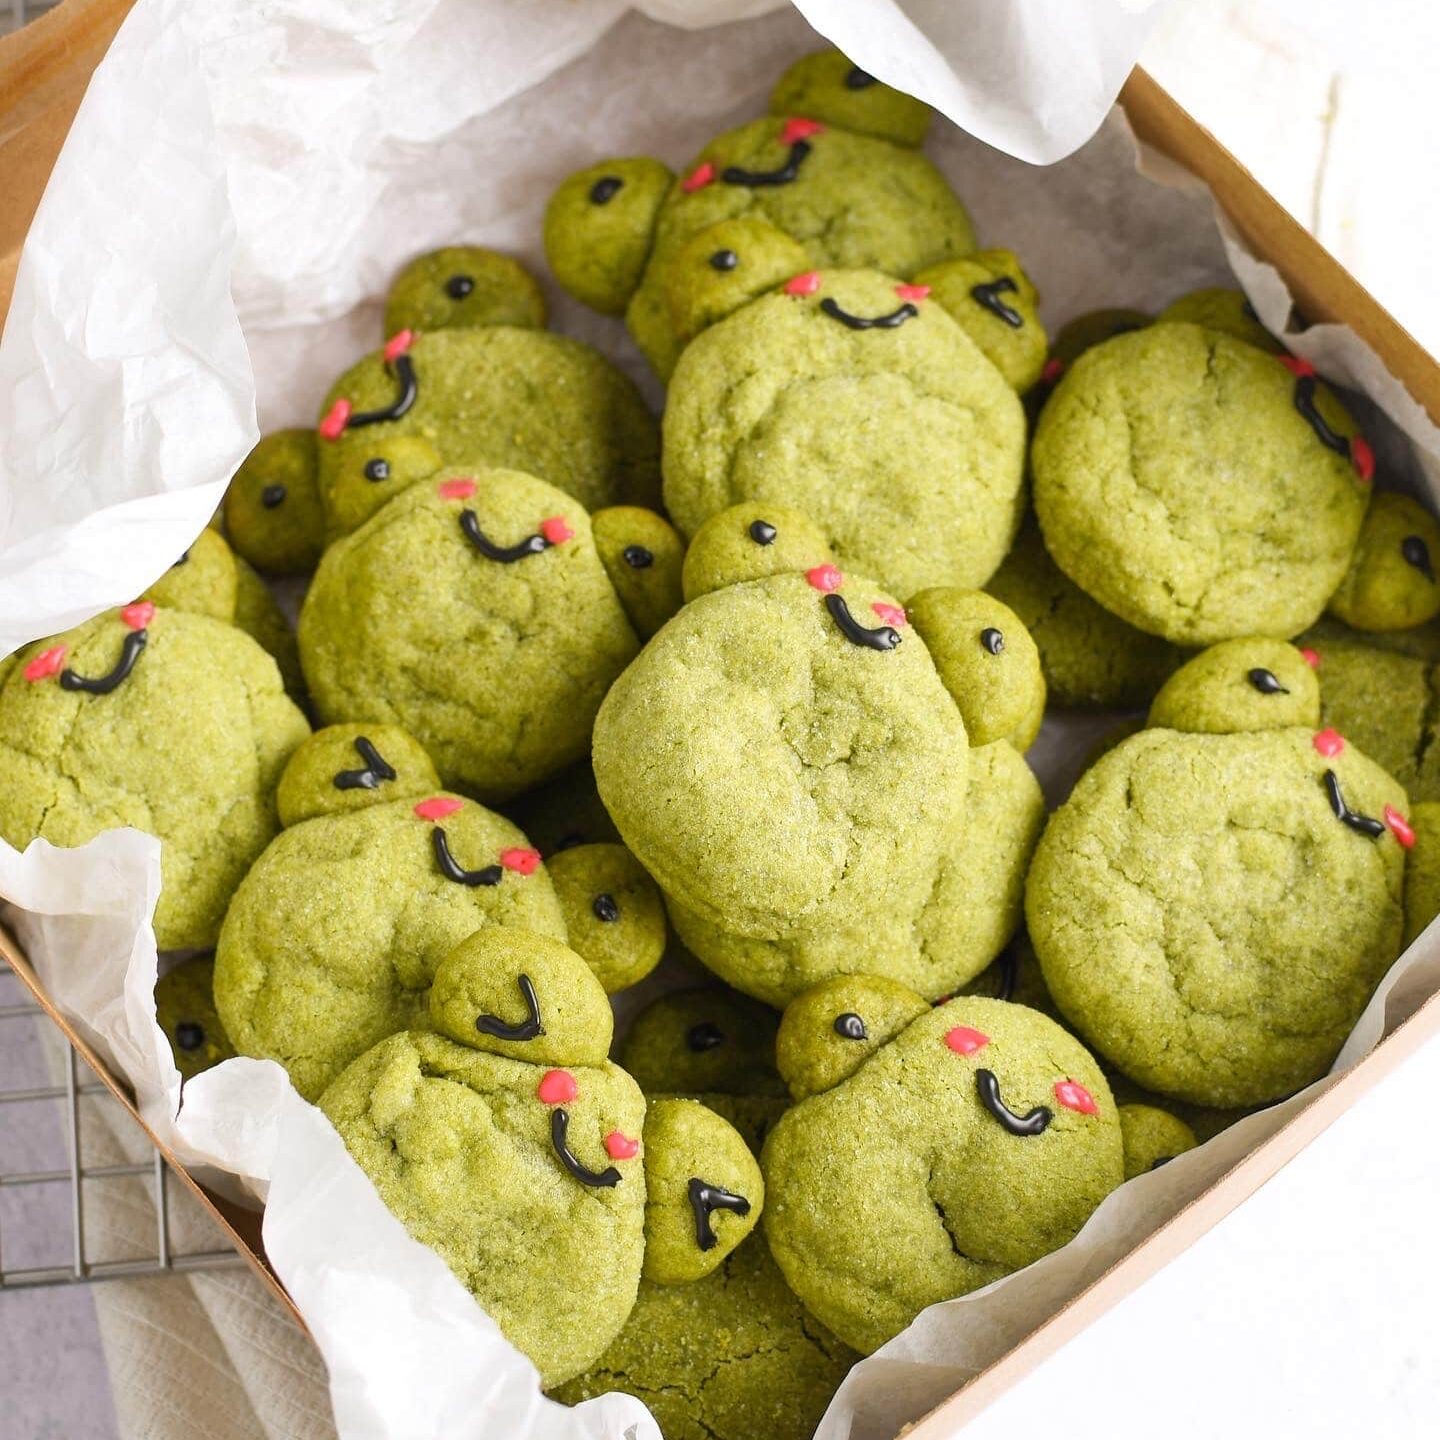
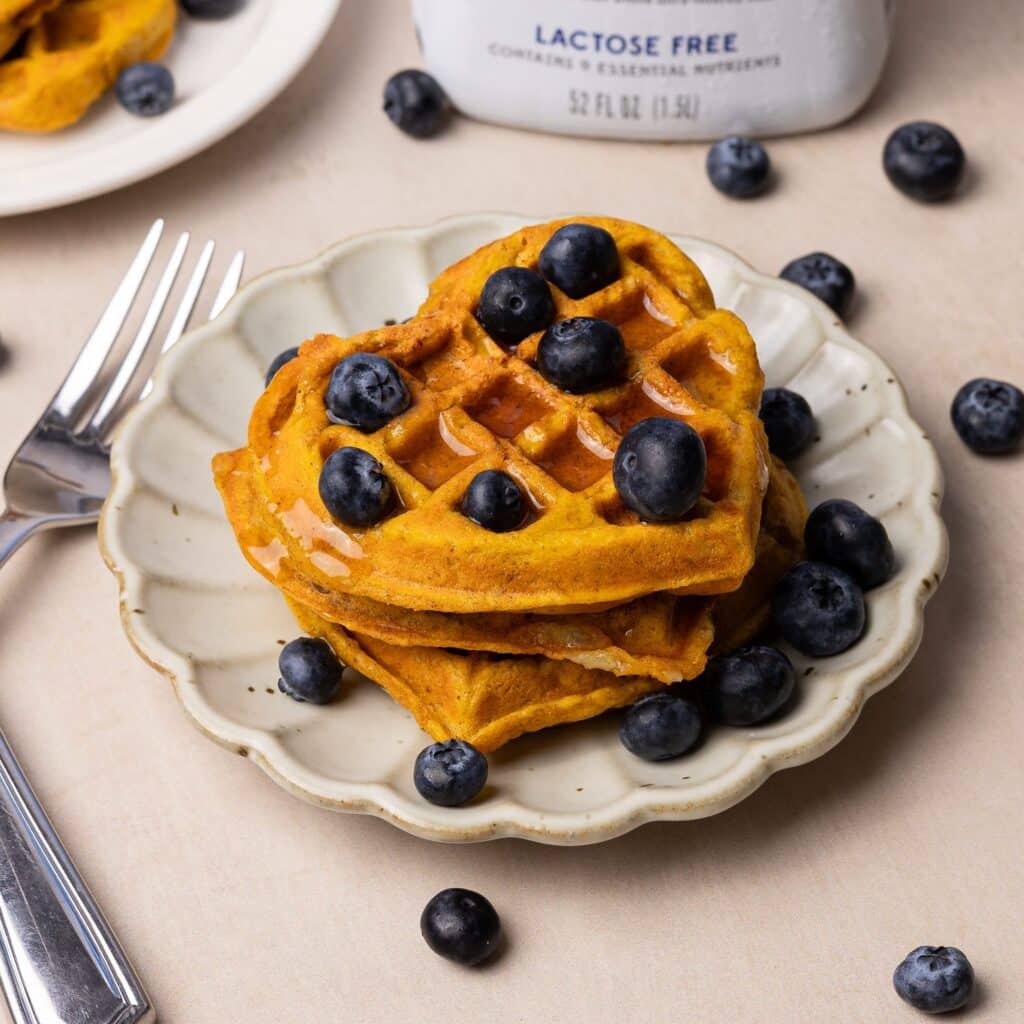
current gear photo examples
Mid-2023, I decided to upgrade all of my food photography gear. So, I sold my old equipment online through MPB, and looked into new cameras.
When comparing these 3 photos to my beginner equipment photos, these are even crispier and more defined. Like, can we just appreciate that waffle picture?! You’ll see an even starker difference when comparing the videos in this post, too.
I’m extremely happy with these purchases, and highly recommend my current gear.
My current camera gear
Current camera + lenses
Canon EOS R6 MII – After doing a bunch of research and watching YouTube reviews, I was set on this camera. I learned that it did well for both photo AND video, which is great. It doesn’t overheat, the focusing is pretty quick, and shoots in 4K. The camera screen comes out and can flip, so it makes recording yourself easy!
50 mm f/1.8 lens – This lens is great because it works well in low light conditions and produces really crisp, beautiful photos. It’s great for shooting different angles, like overhead, straight-on, 45°, etc. Since the R6 MII is a full-frame camera and not a crop sensor, I chose the 50 mm over the 35 mm.
Sigma 24-70 mm f/2.8 lens with Canon adapter – I really wanted a zoom lens, but I was already spending a LOT on the R6 MII and 50 mm. The Canon brand 24-70 mm lens was about $2.2K, so I purchased this one instead. It’s about $1K cheaper than the Canon brand and works great. I like to use this one when recording myself or when I want to easily change focal lengths.
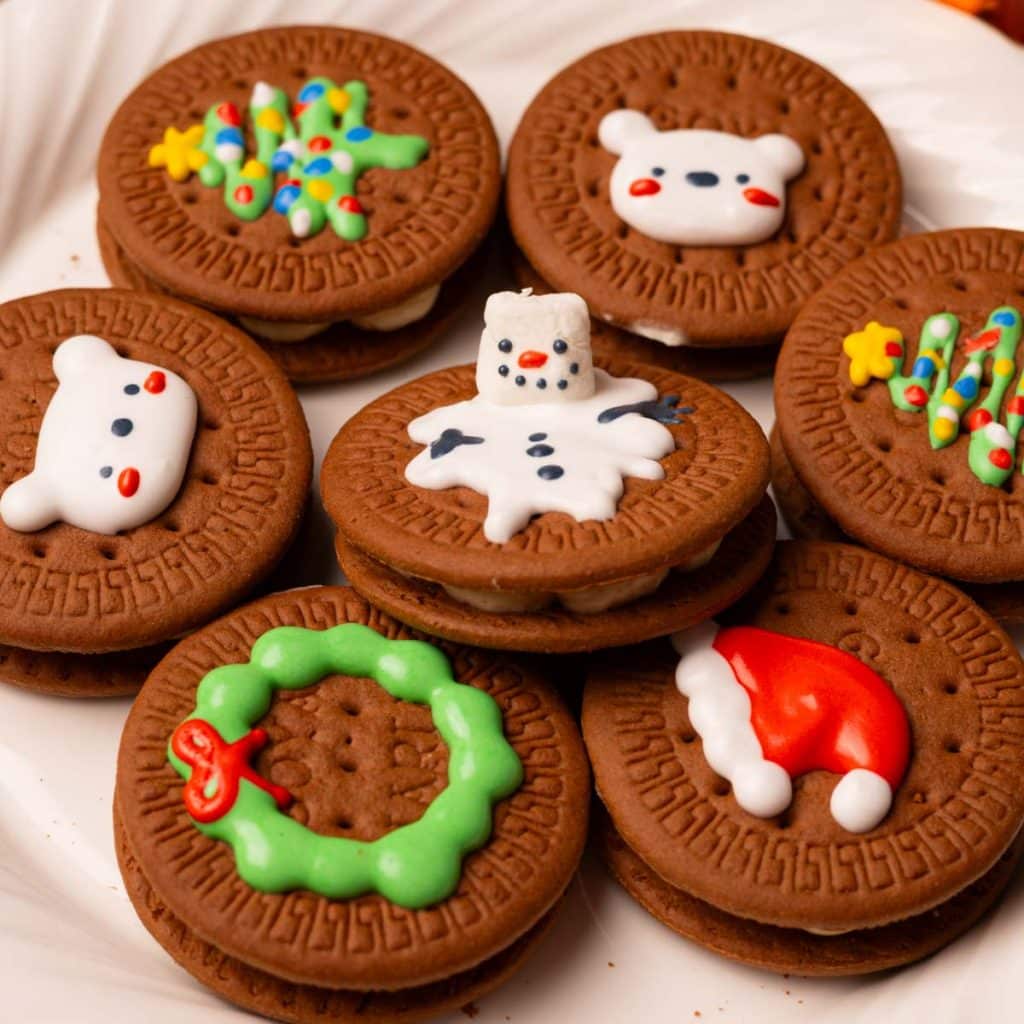
Diji Pocket 3 vlog camera – I got the creator combo, which comes with a microphone and rechargeable battery handles. I love using this because it is SO tiny, lightweight, and transportable, making it great for travel. It has low light settings, connects with smartphones, and can record in 4K. So far, I used it to record my cookie tip video. I hope to vlog more this year, so I’m happy that I purchased it.
Current tripod
Vanguard tripod – My food photographer/pastry chef friend, Jonni, recommended this tripod to me. I LOVE it. It’s super sturdy and can shoot vertically, horizontally, and overhead.
My current lighting setup
Godox SL 150W II – I moved from relying on natural sunlight to using my Godox. It’s very bright and can be easily manipulated. The only gripe I have is that the color temperature cannot be adjusted. It’s cool-toned, but it’s not a big deal because I can just add a bit of warmth when editing my photos/videos. (**the SL 150W II is discontinued, now there is the SL 150W III!)
24 x 24″ Square softbox – I mount this softbox onto my Godox, which helps make the lighting much softer.
Matthews light stand – This holds up my Godox! It’s really sturdy and reliable.
current gear video example
I’ve been using this food photography setup for more than half a year and I LOVE it. And I know what you may be thinking… it’s pretty pricy. But at that point of my career, it paid for itself within a few weeks. The investment was definitely worth it for me, especially since I love the way my new content looks.
In the future, I’d love to buy an external monitor so I can see what I’m doing on a larger screen, especially when I record myself. I’d also like to buy a macro lens for those ultra crispy close-up shots. Maybe I’ll make these purchases this or next year, let’s see!
I hope this post has helped you, especially if you’re looking into new food photography gear! If you have any questions, please feel free to drop a comment or DM me on Instagram.