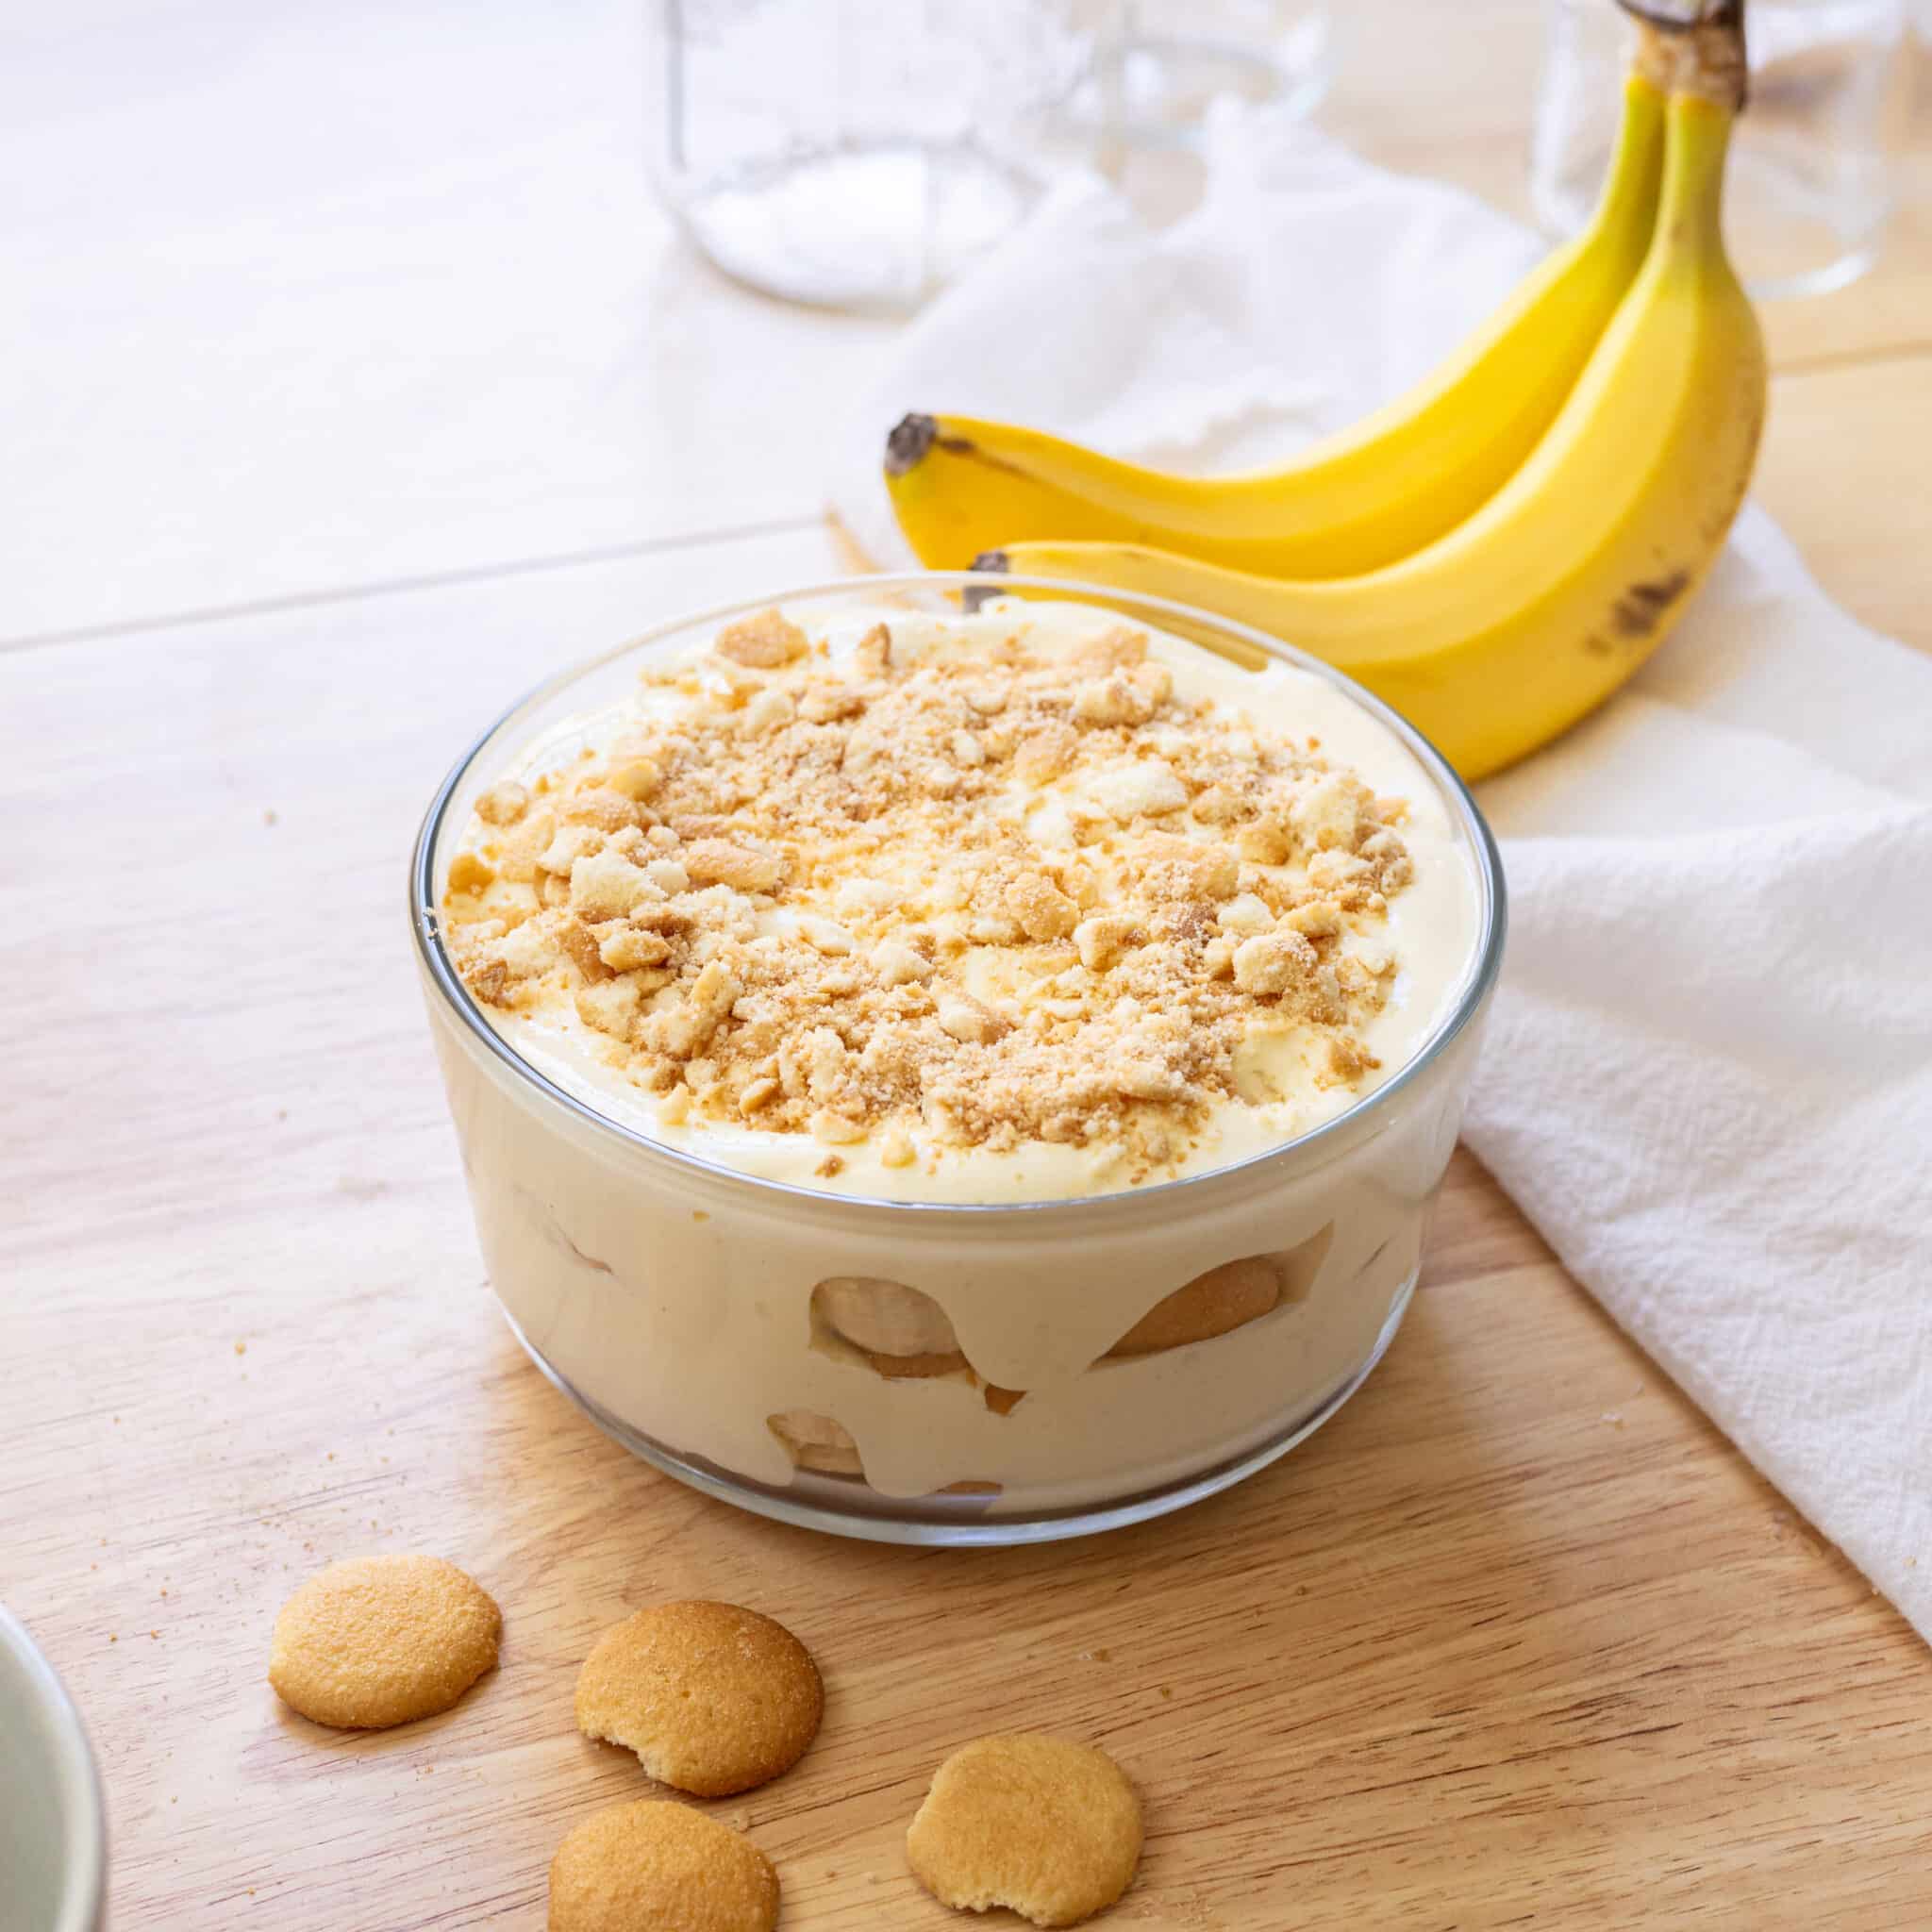
My homemade no-bake banana pudding is one of my go-to desserts when hosting! There are SO many things to love about it: it’s creamy, not-too-sweet, easy to make, great to make ahead, and is super customizable. It’s one of my favorite recipes to make in the summer, especially since it’s a no-bake dessert.
Looking for more no-bake desserts? Try out my ube banana pudding or triple strawberry icebox cake!
✉️ want to save this?
What is Banana Pudding?
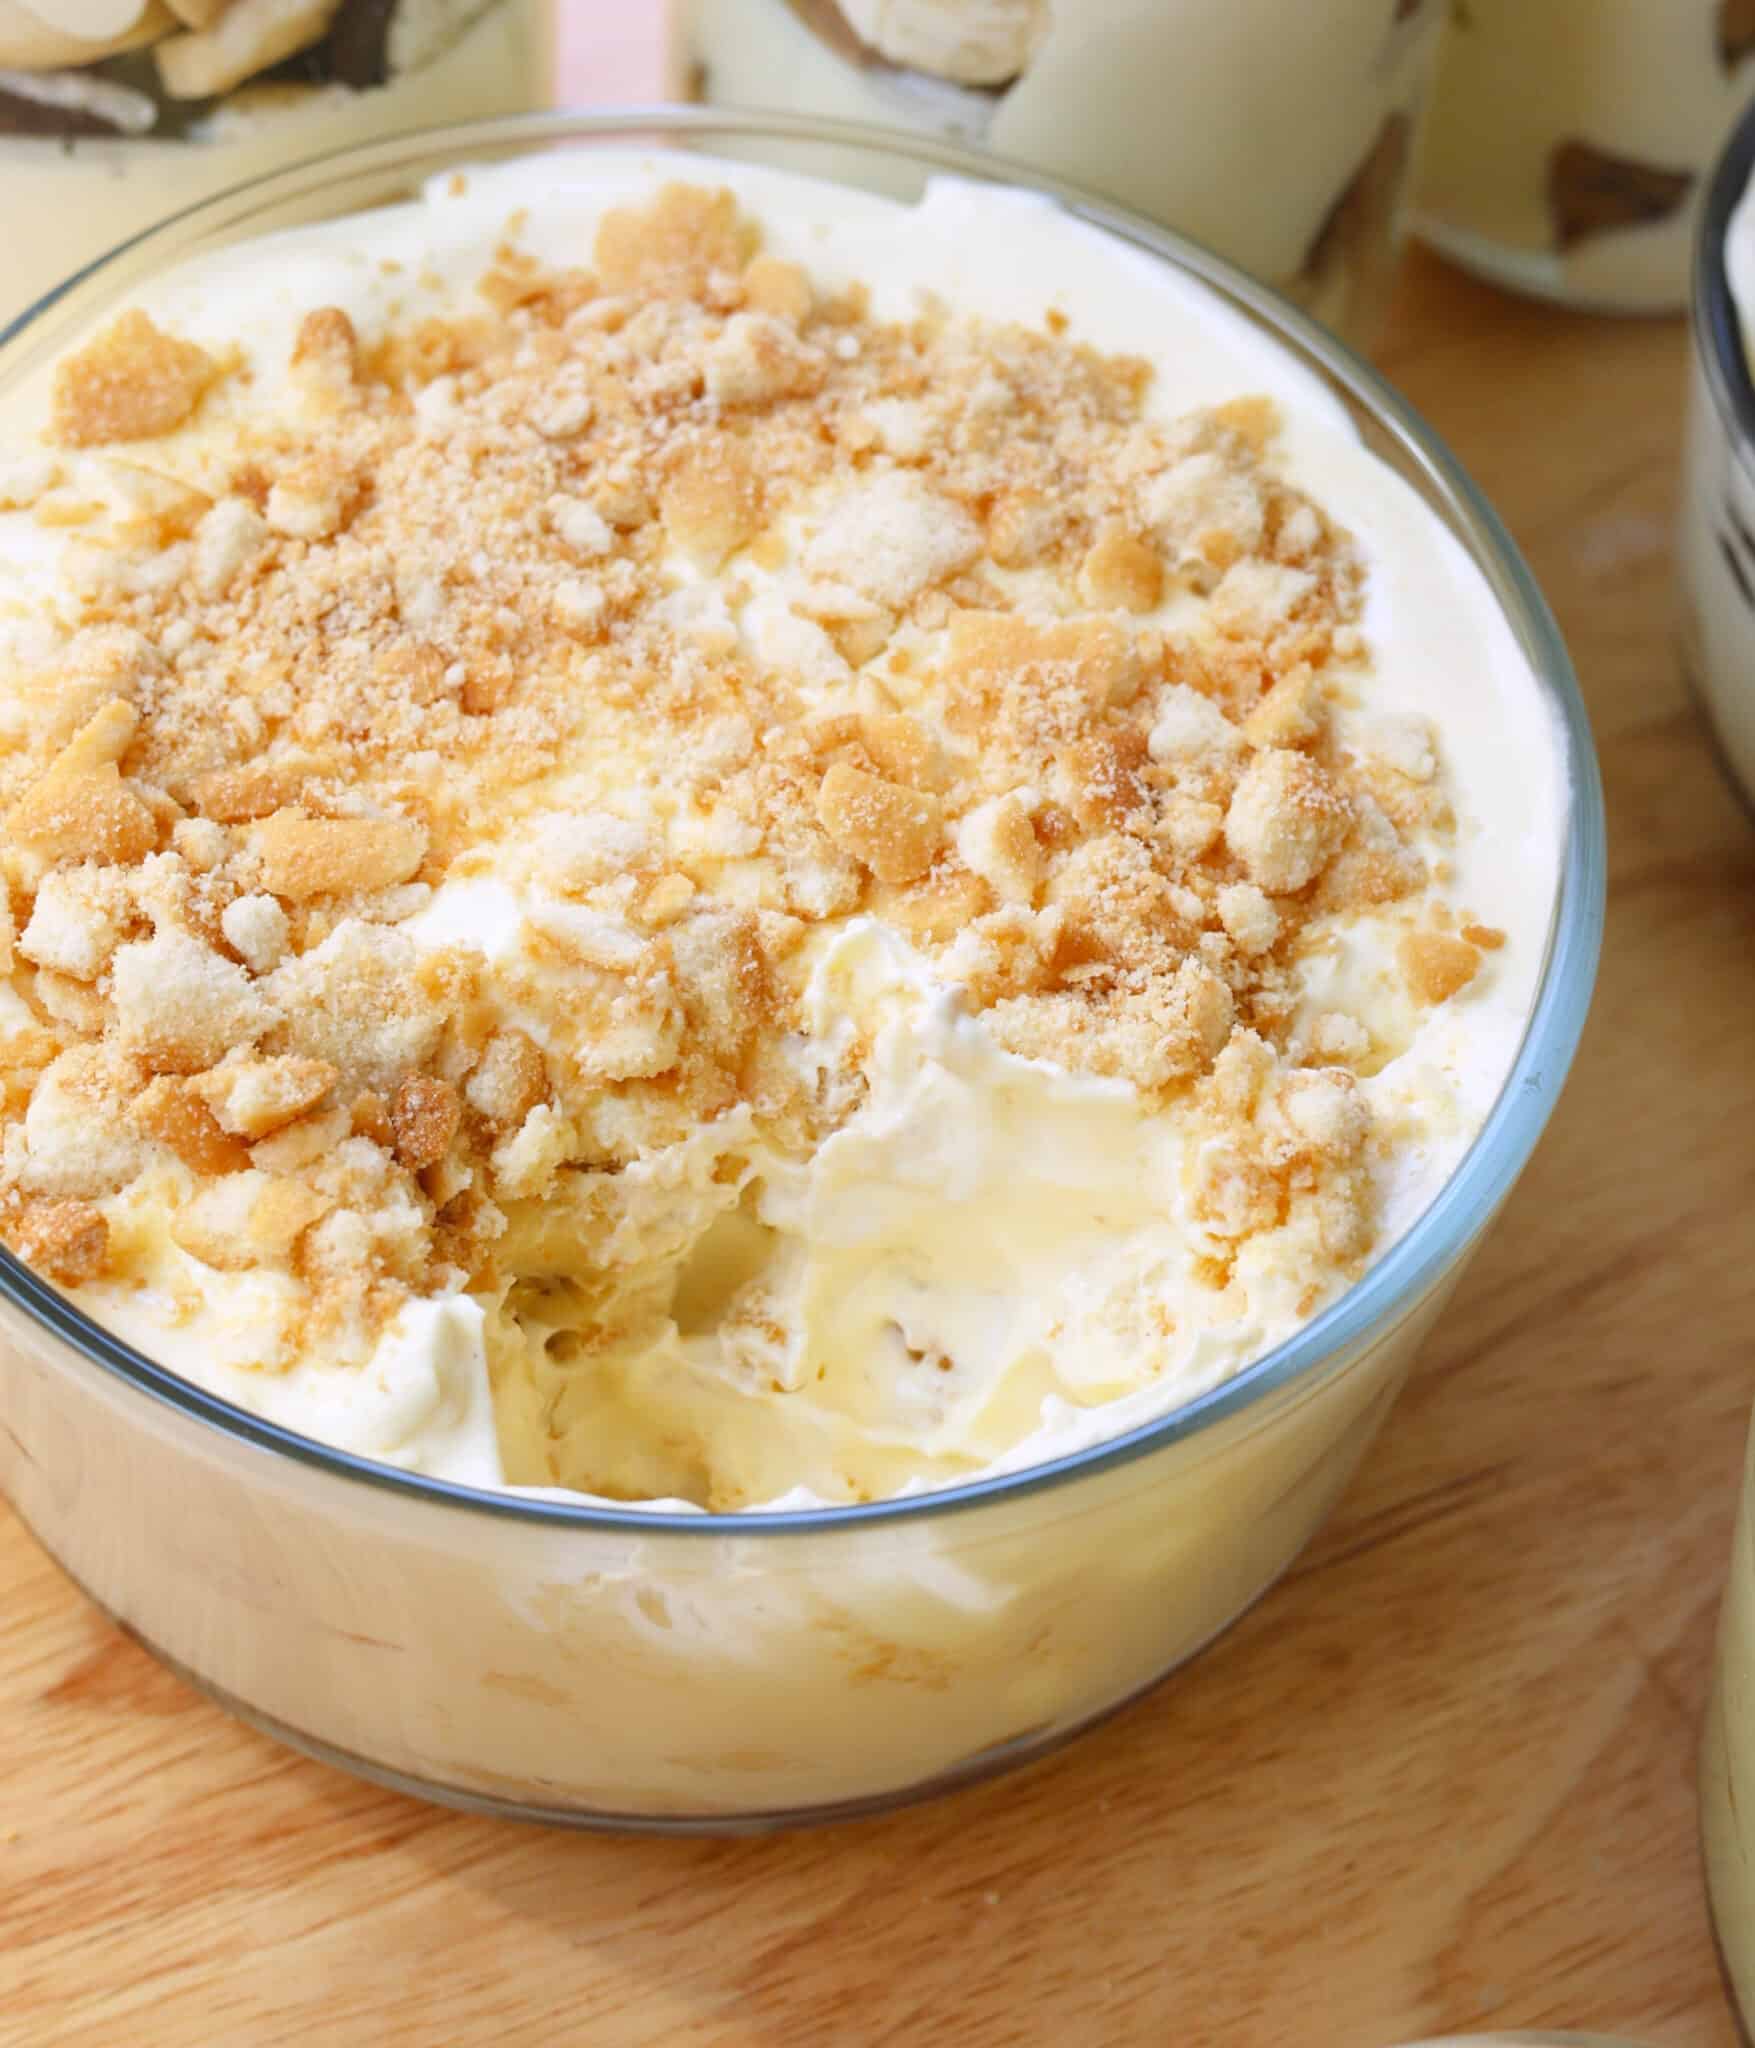
Banana pudding is a beloved American dessert usually associated with southern food! It’s typically made with layers upon layers of vanilla pudding or custard, vanilla wafers, and fresh sliced bananas. Usual toppings include crushed Nilla wafers, whipped cream, or meringue, and it can be served cold or warm.
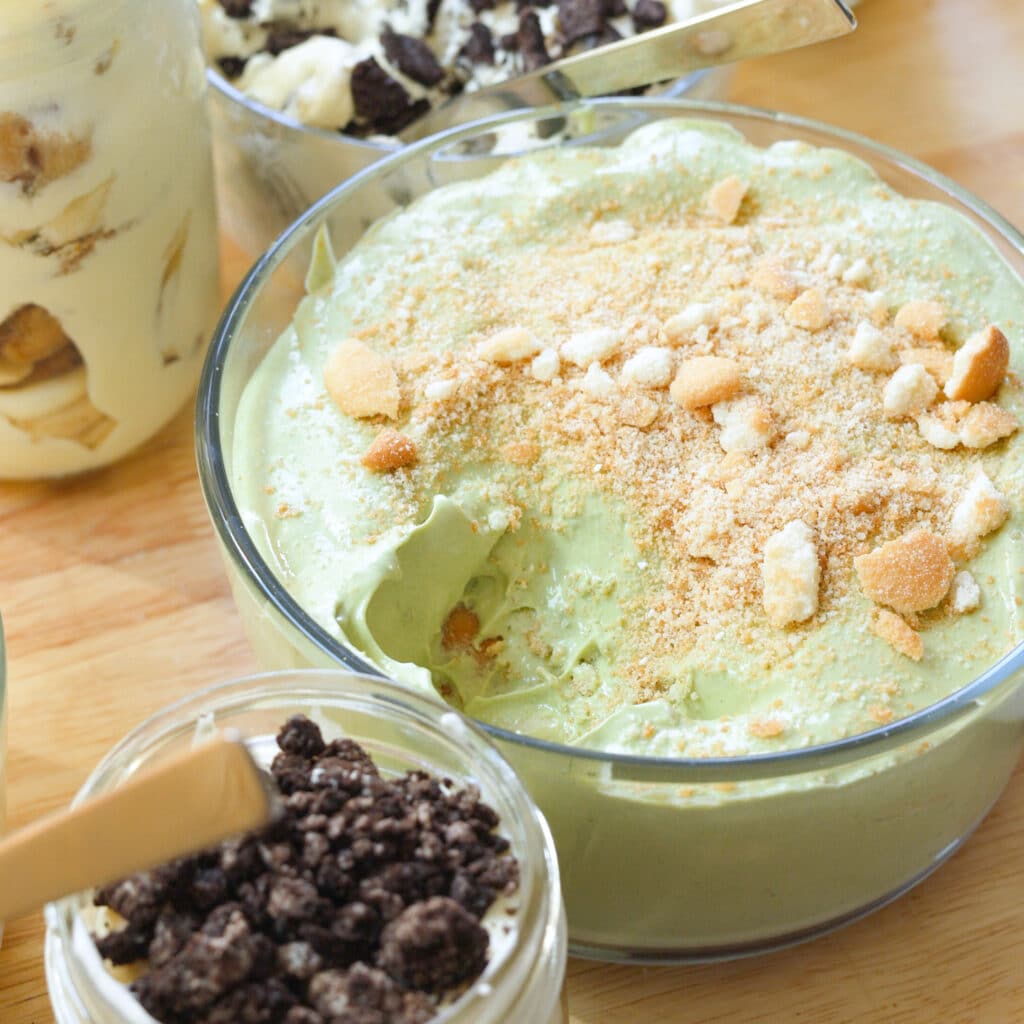
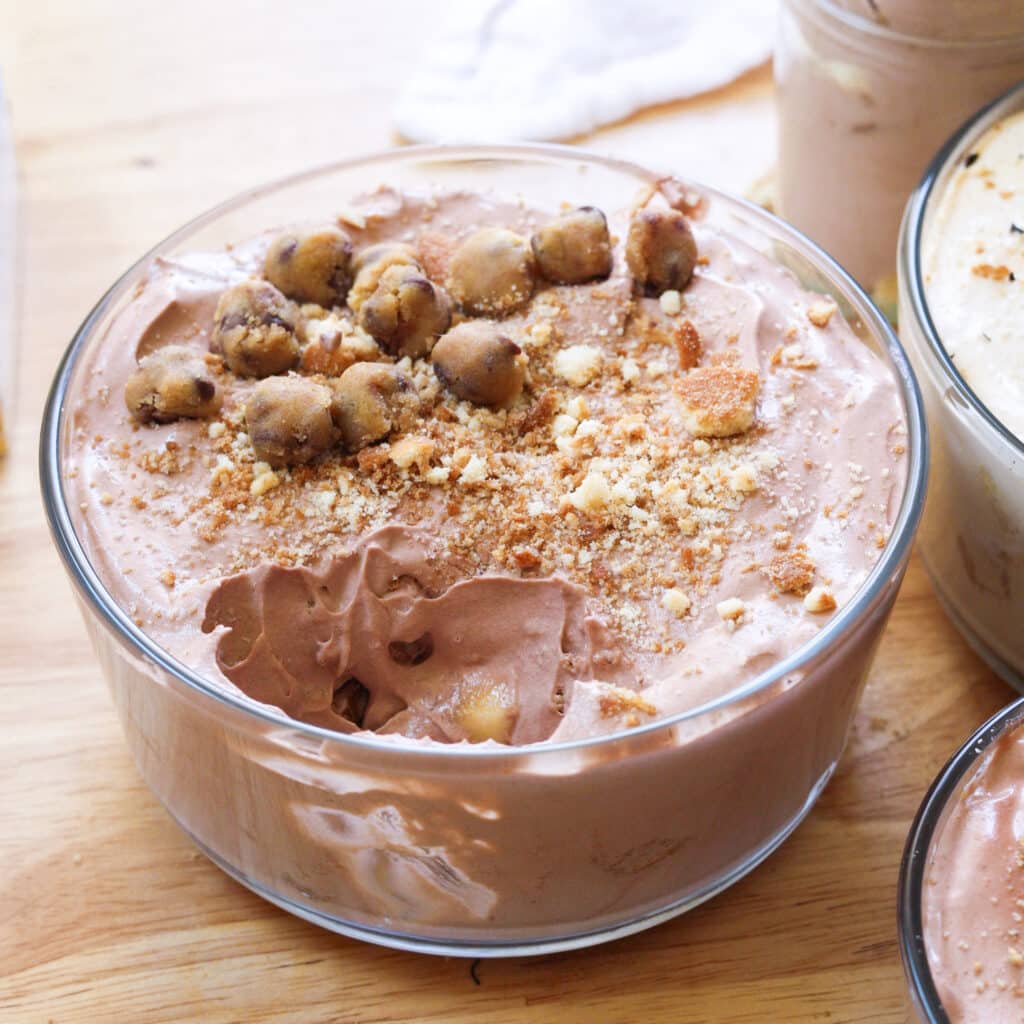
This no-bake banana pudding recipe is served chilled, and has been the go-to dessert for family gatherings and celebrations. Depending on what we’re feeling, I’ll sometimes swap out the vanilla wafers for biscoff cookies, or even flavor the pudding using tea or powders, like matcha. It’s so easy and quick to make, and a recipe I highly recommend, especially for beginner bakers!
❤️ Why You’ll Love This Recipe
- It’s easy to make! You just need three ingredients to make the base vanilla pudding, which comes together in minutes. After that, it’s just a matter of layering the rest of the ingredients—wafers, sliced bananas, and the prepared pudding. That’s basically it!
- It’s highly customizable. Instead of the vanilla wafers, you can use Graham crackers, Oreos, or your favorite chocolate chip cookies. For the toppings, you can use whipped cream or crushed nuts. You can even use other fruits like strawberries or blueberries (though we might have to rename the whole recipe then, haha!).
- It’s great for parties and get-togethers. It’s a classic party dessert for a reason. You can make it in advance, you can easily double the recipe to feed more people, and it’s a total crowd pleaser!
Looking for other no-bake recipes? Try out my marshmallow pops!
Ingredients
To make homemade banana pudding from scratch, you’ll need the following ingredients:
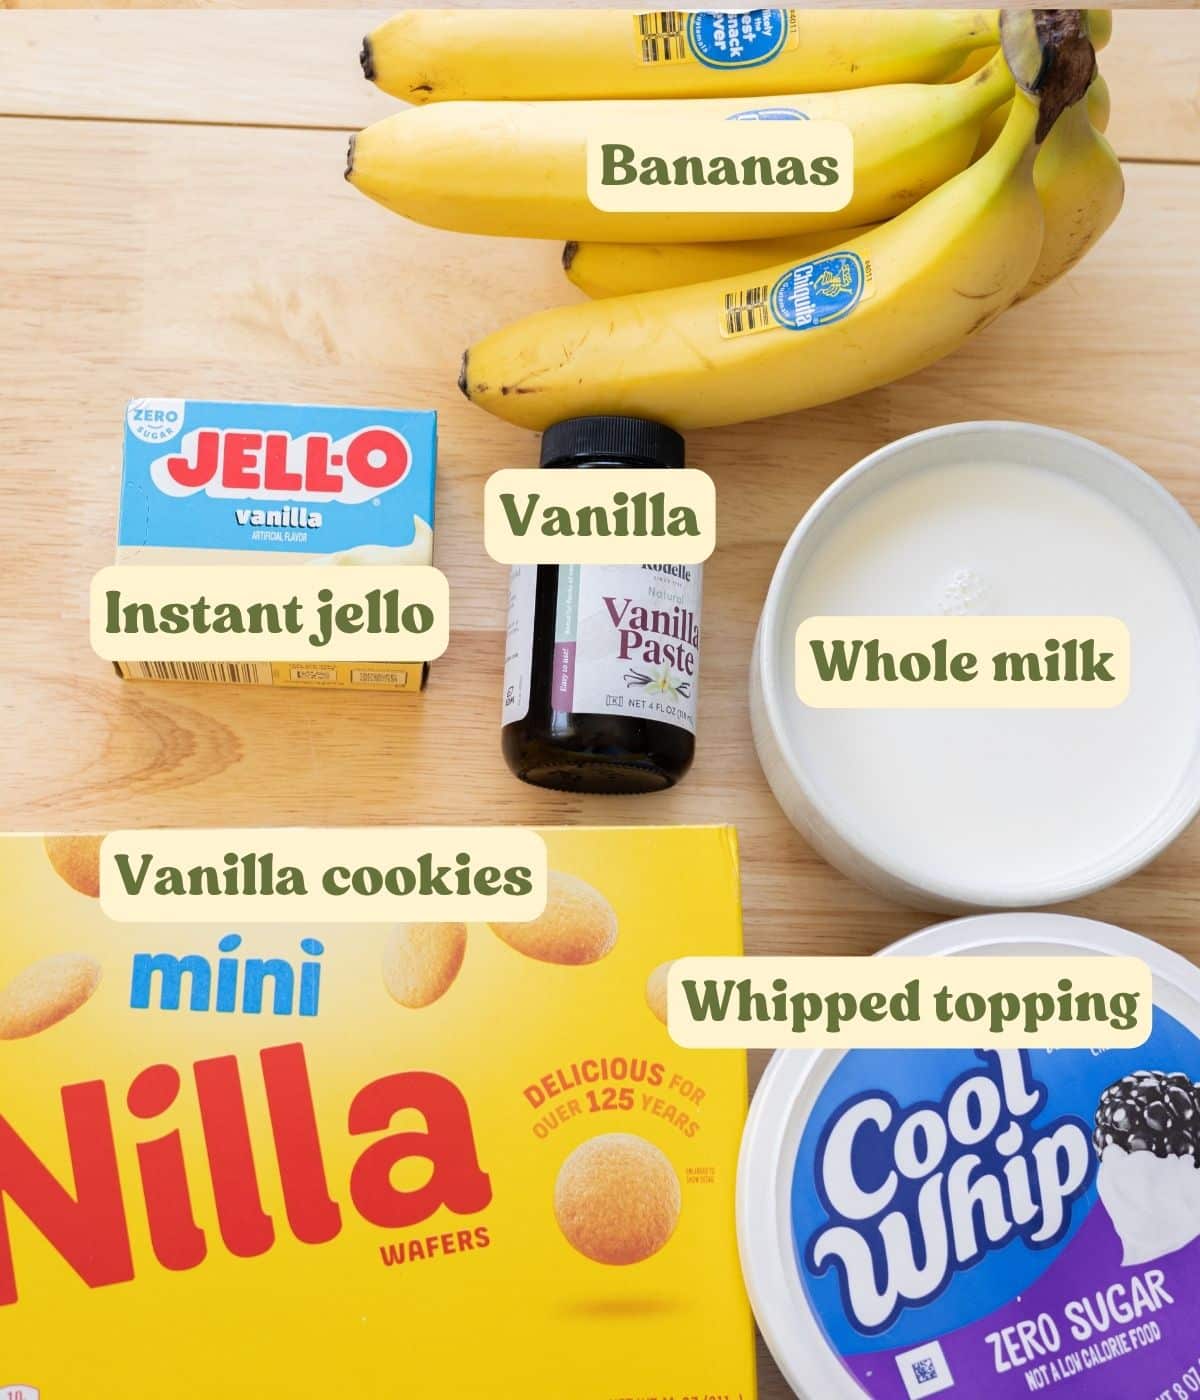
- The bananas should be slightly ripe or just ripe enough. We’re looking for bananas with a bright yellow color and very few brown spots on it. Overripe bananas will brown quickly and become too mushy when mixed with the other ingredients.
- I use cold whole milk for the pudding mixture. You can opt to use plant-based milk, but make sure to use half the amount required for the recipe, or else it won’t set properly.
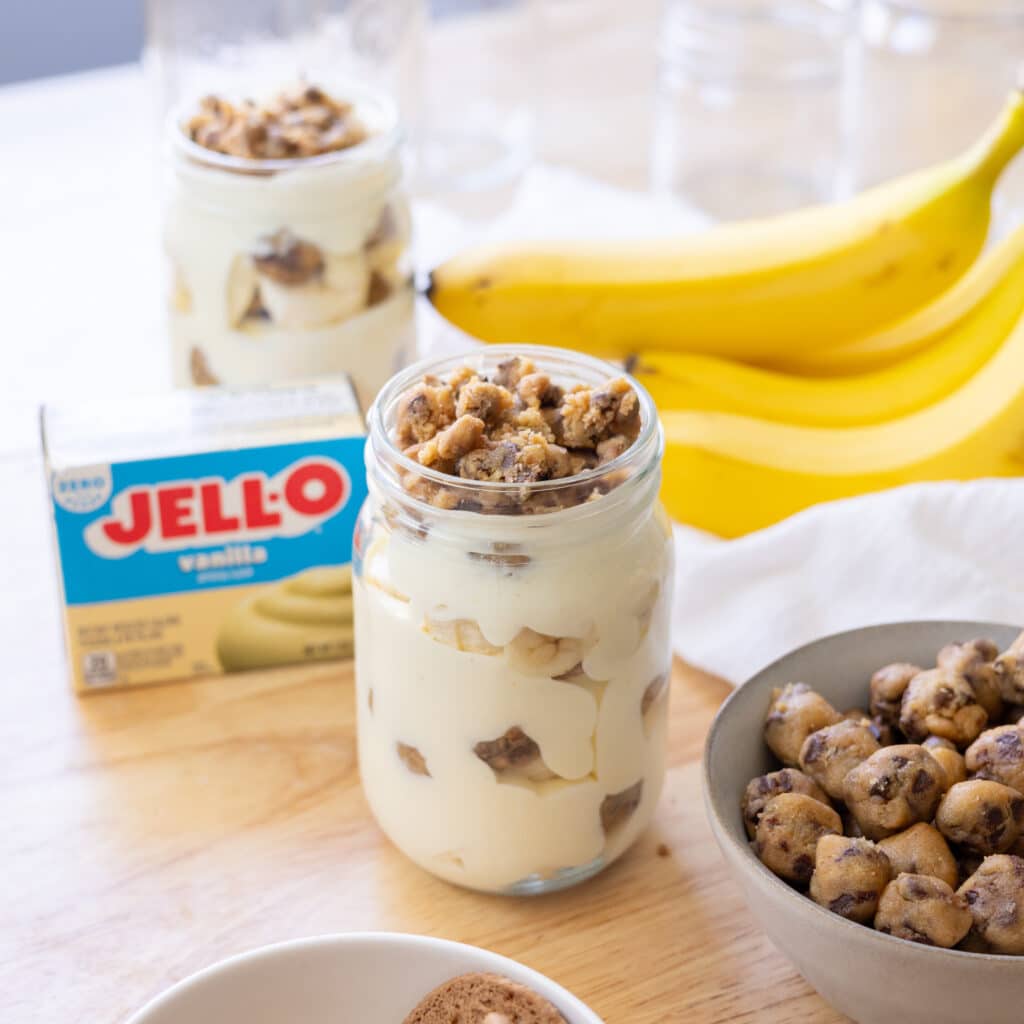
- I like to use the zero sugar version of the Jell-O Instant Vanilla Pudding. I like my banana pudding quite light and creamy, but if you want a thicker texture, use the family-sized packet!
- Make sure to thaw the Cool Whip before using. Similar to the Jell-O Pudding, I like to use the zero-sugar one, too! I recommend it over regular whipped cream because it’s a bit denser, with a marshmallow-like texture.
- You can add a teaspoon of vanilla extract/paste, or a pinch of salt to further enhance the sweet banana flavor!
For the full list of ingredients and measurements, see the recipe card below.
💡 Flavor Variations
- Swap out the vanilla cookies with Oreos, graham crackers, chocolate chip cookies, etc.!
- Instead of instant vanilla pudding, try out instant coconut, banana, or chocolate pudding!
How to Make Banana Pudding
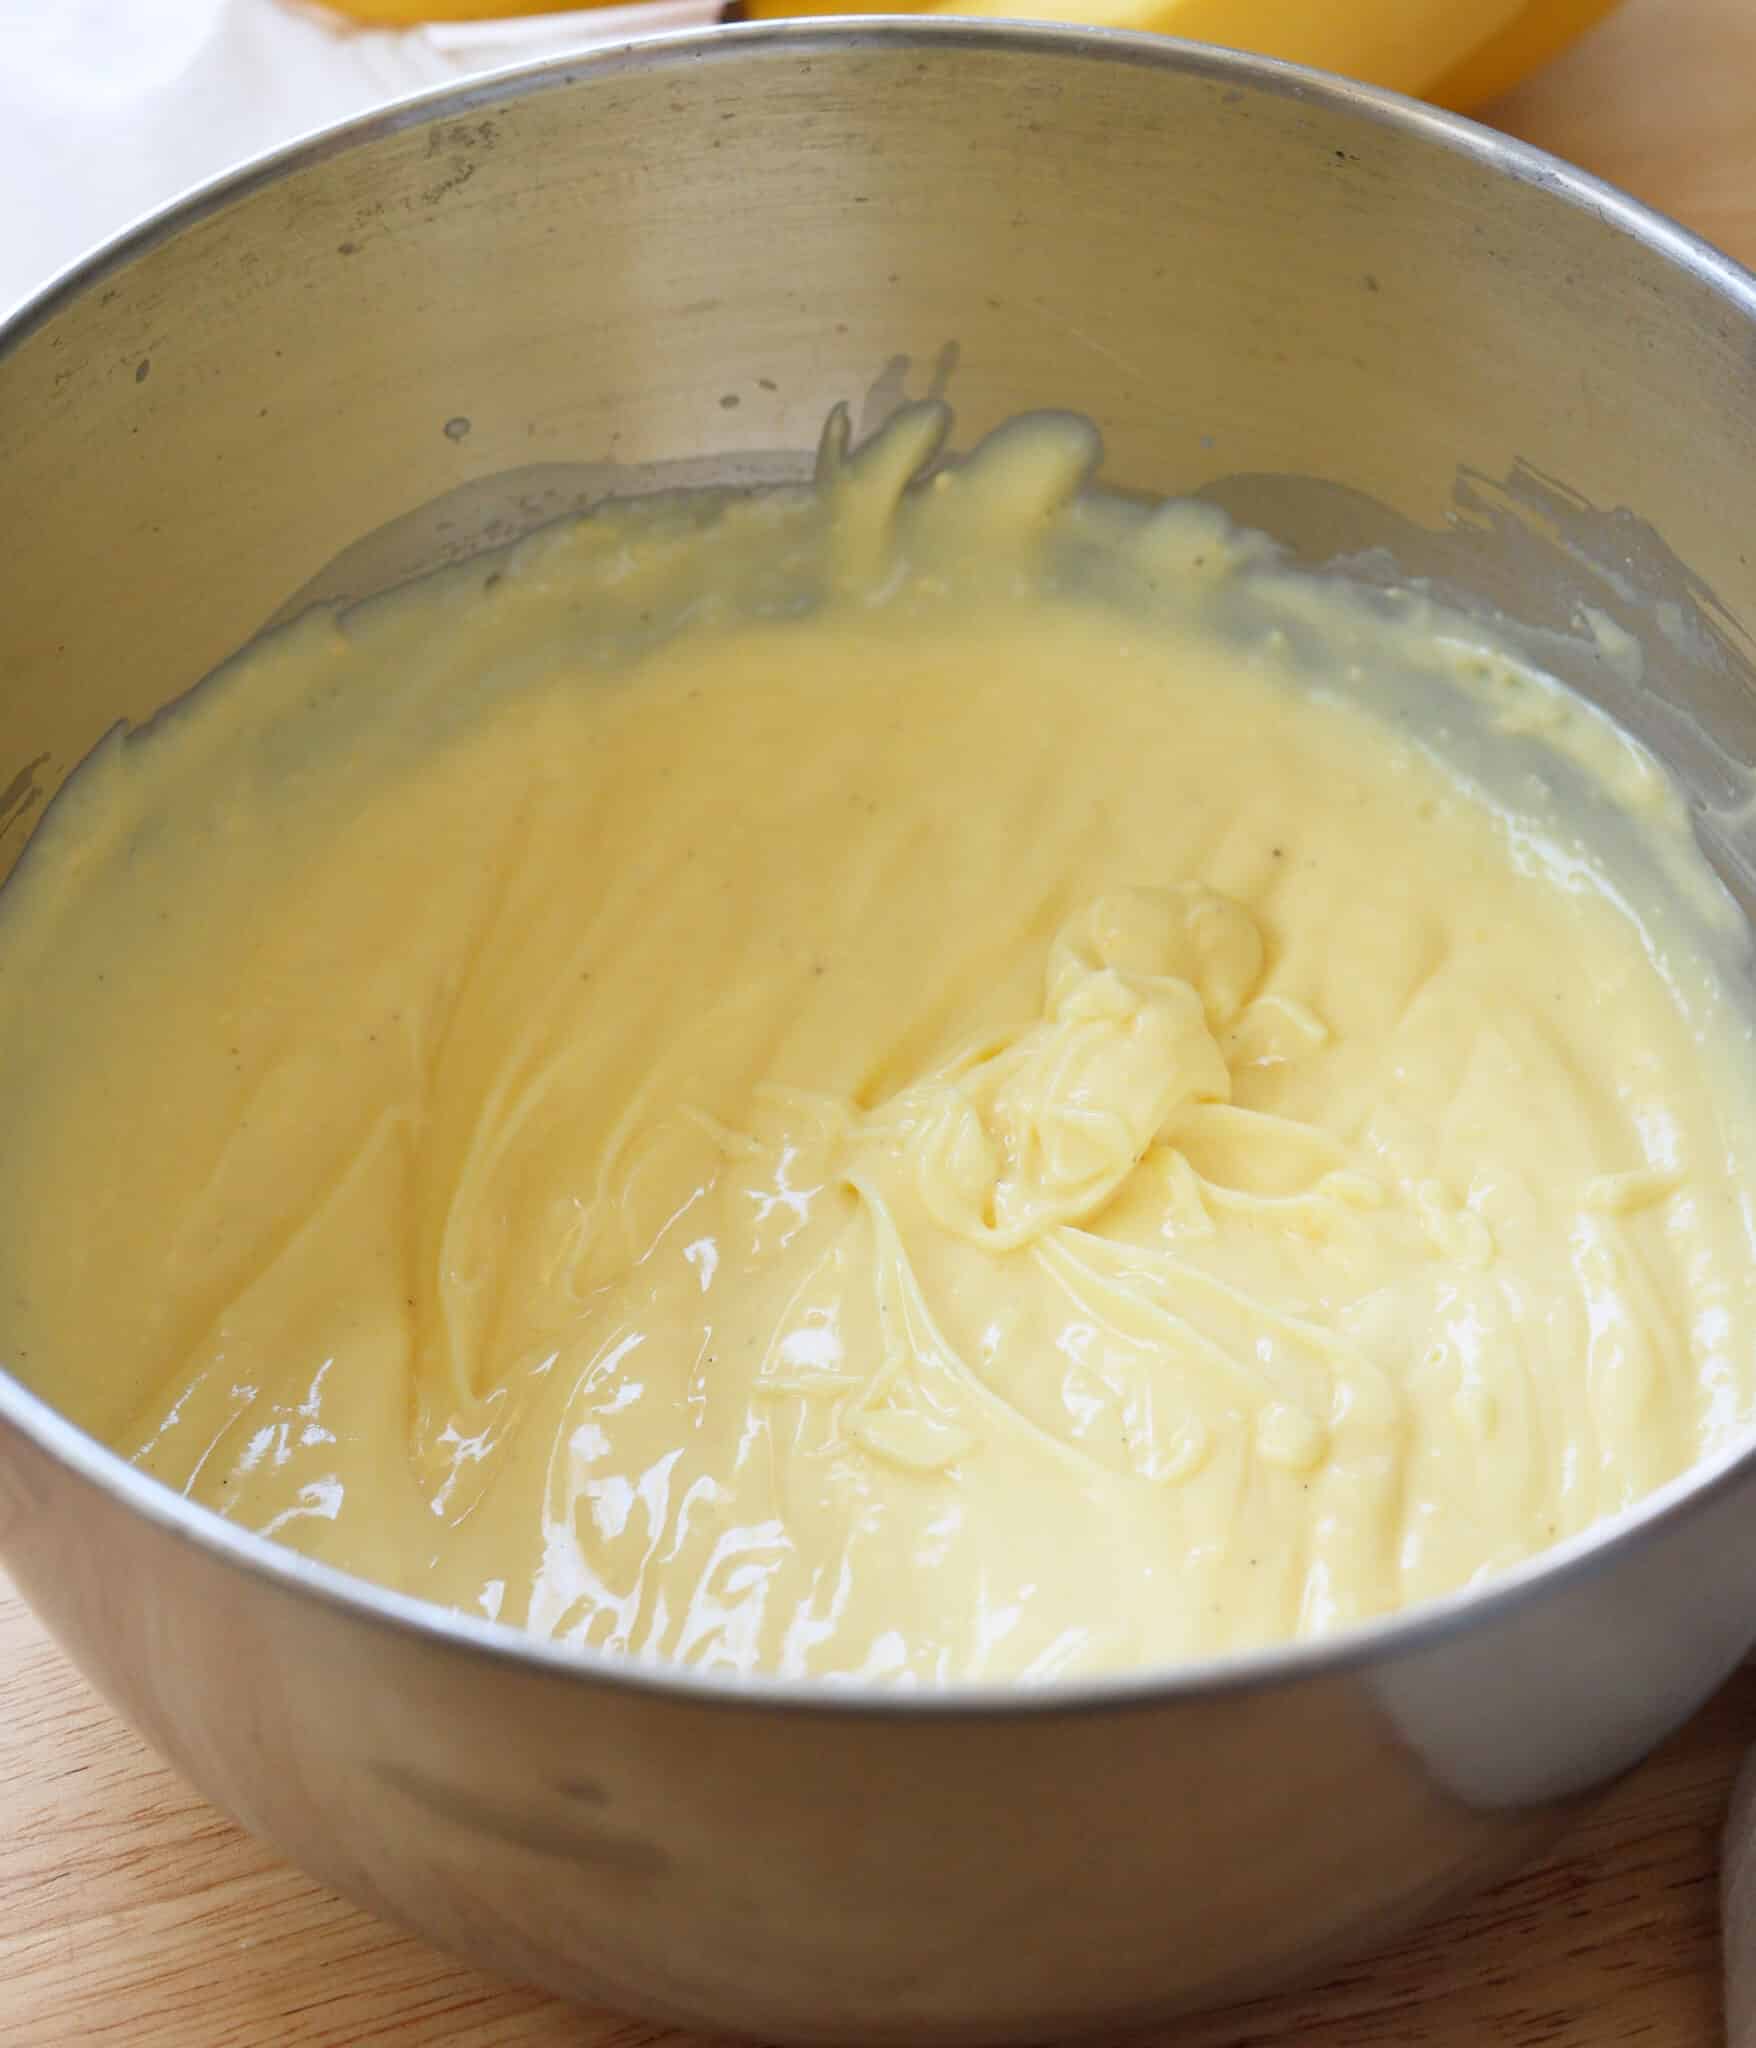
Step 1: In a large mixing bowl, add cold milk and 1 packet of Jell-O Instant Vanilla Pudding. Whisk until combined and let it sit for about 5 minutes to thicken.
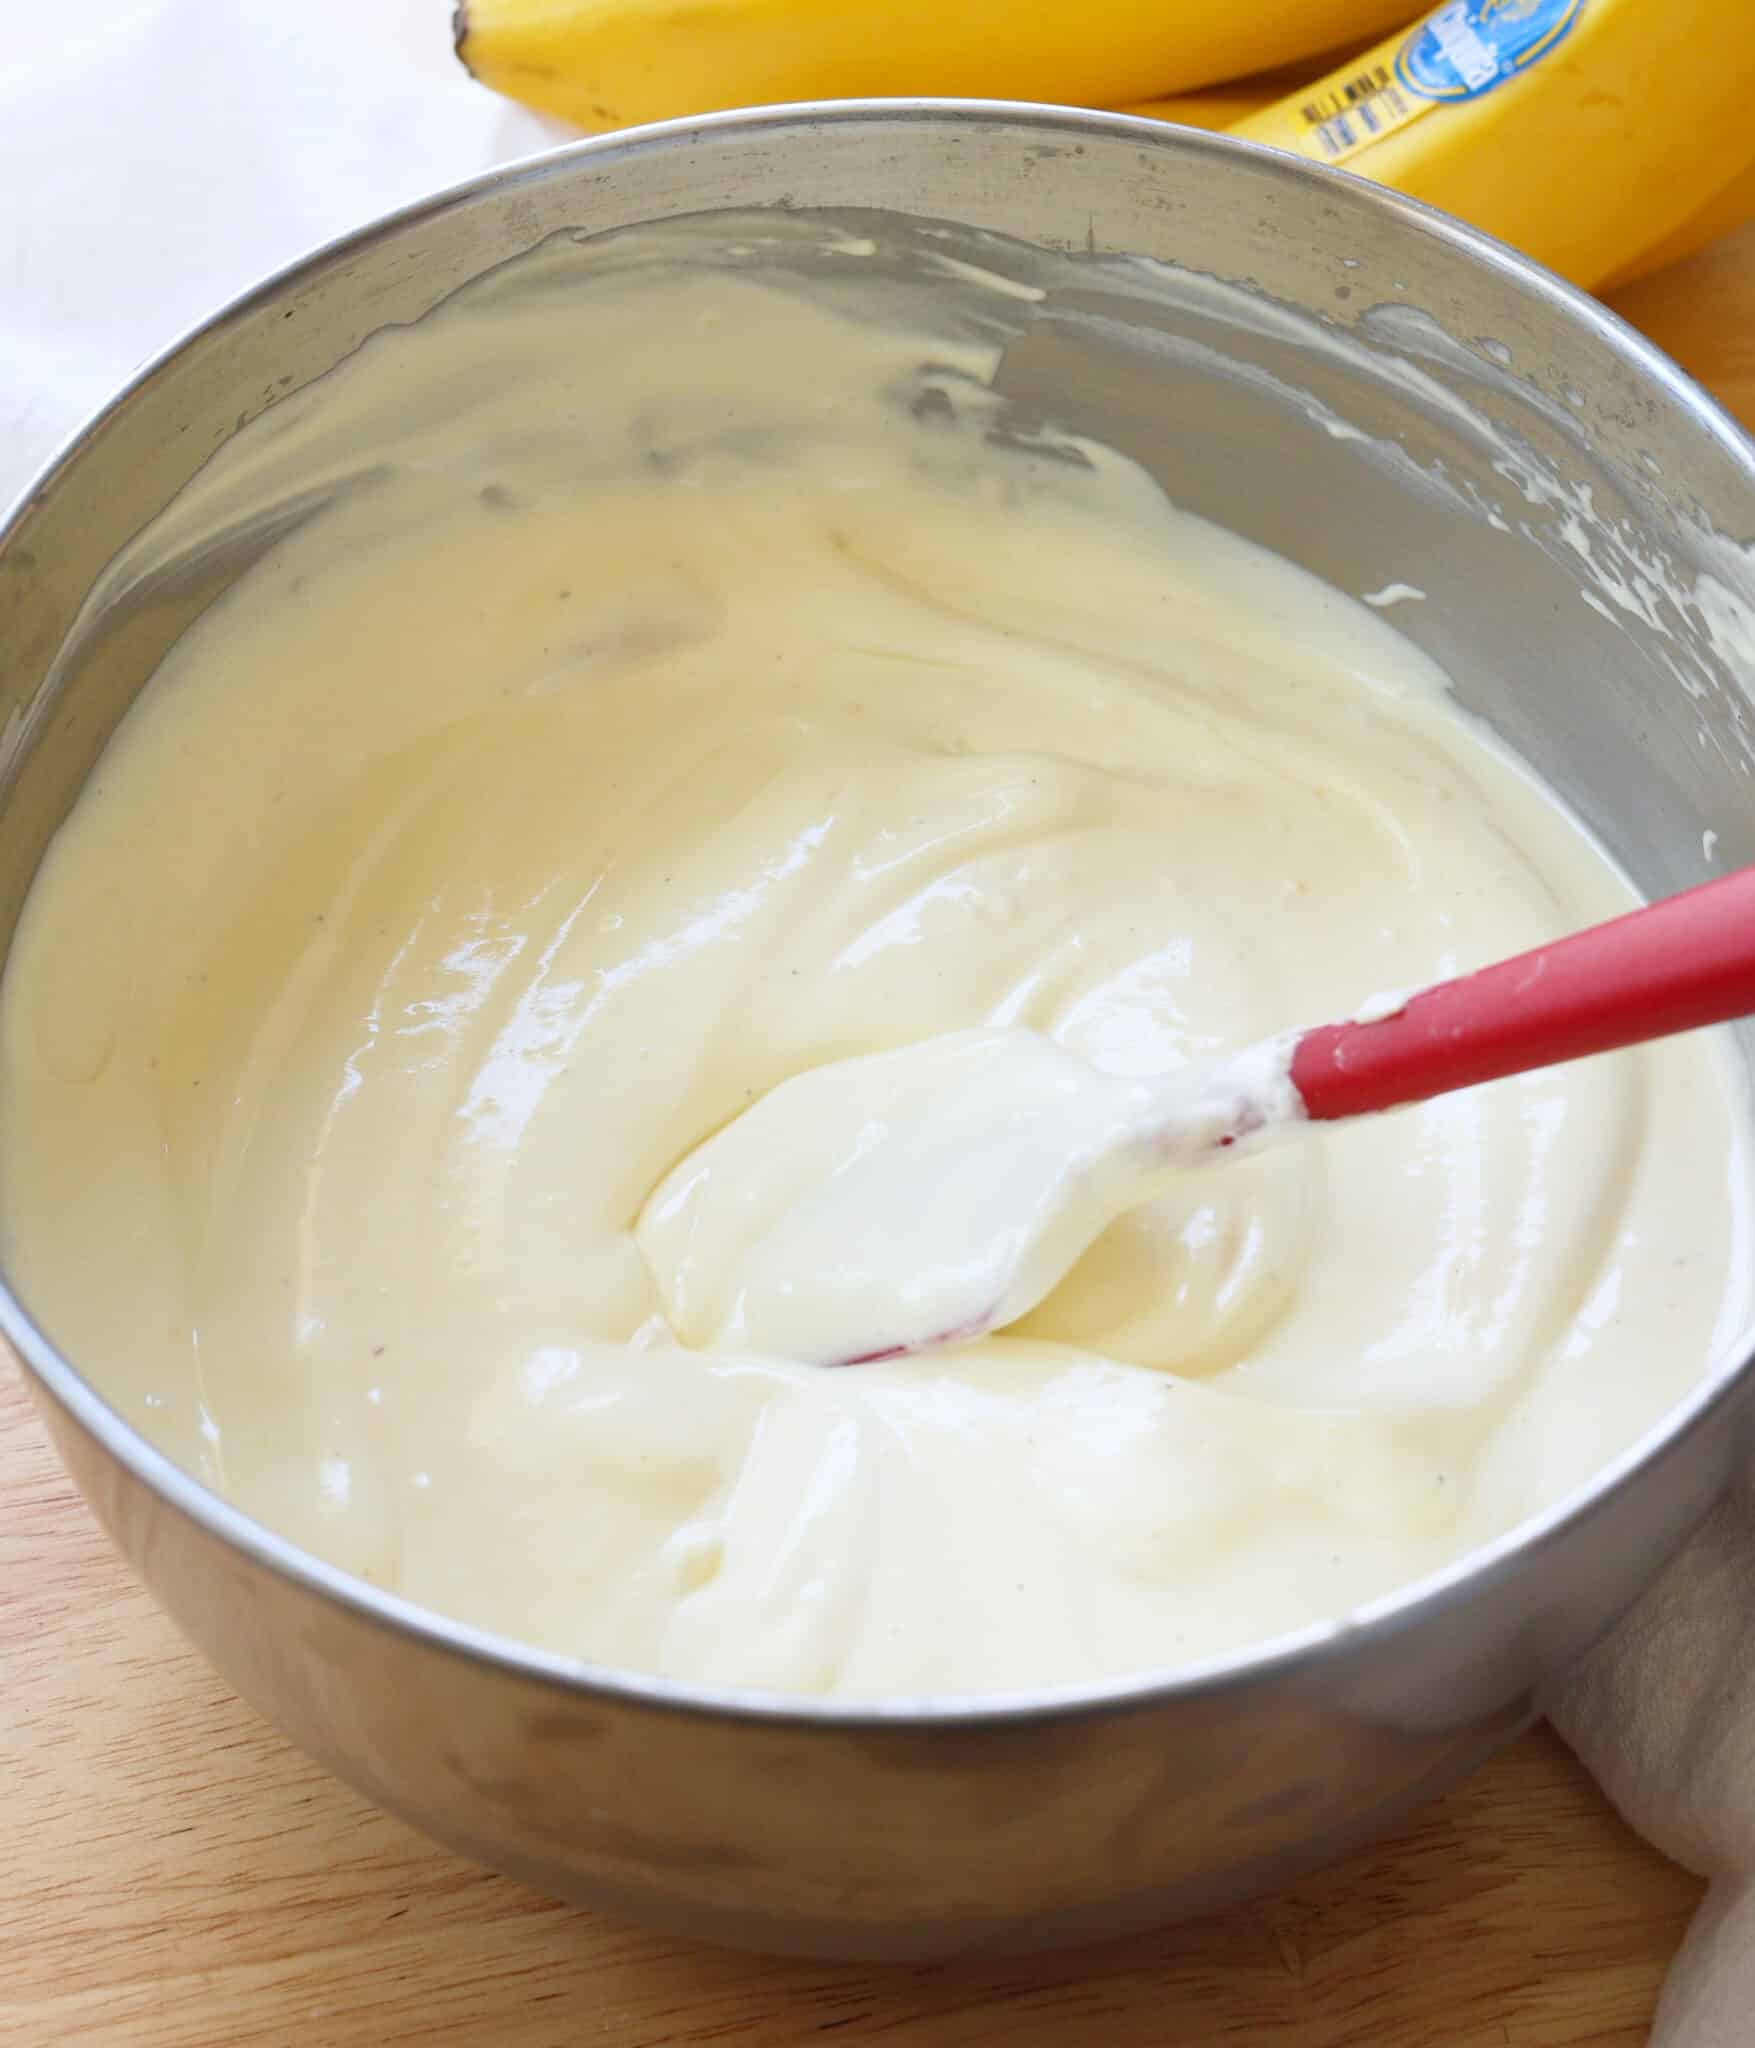
Step 2: Fold in Cool Whip until smooth.
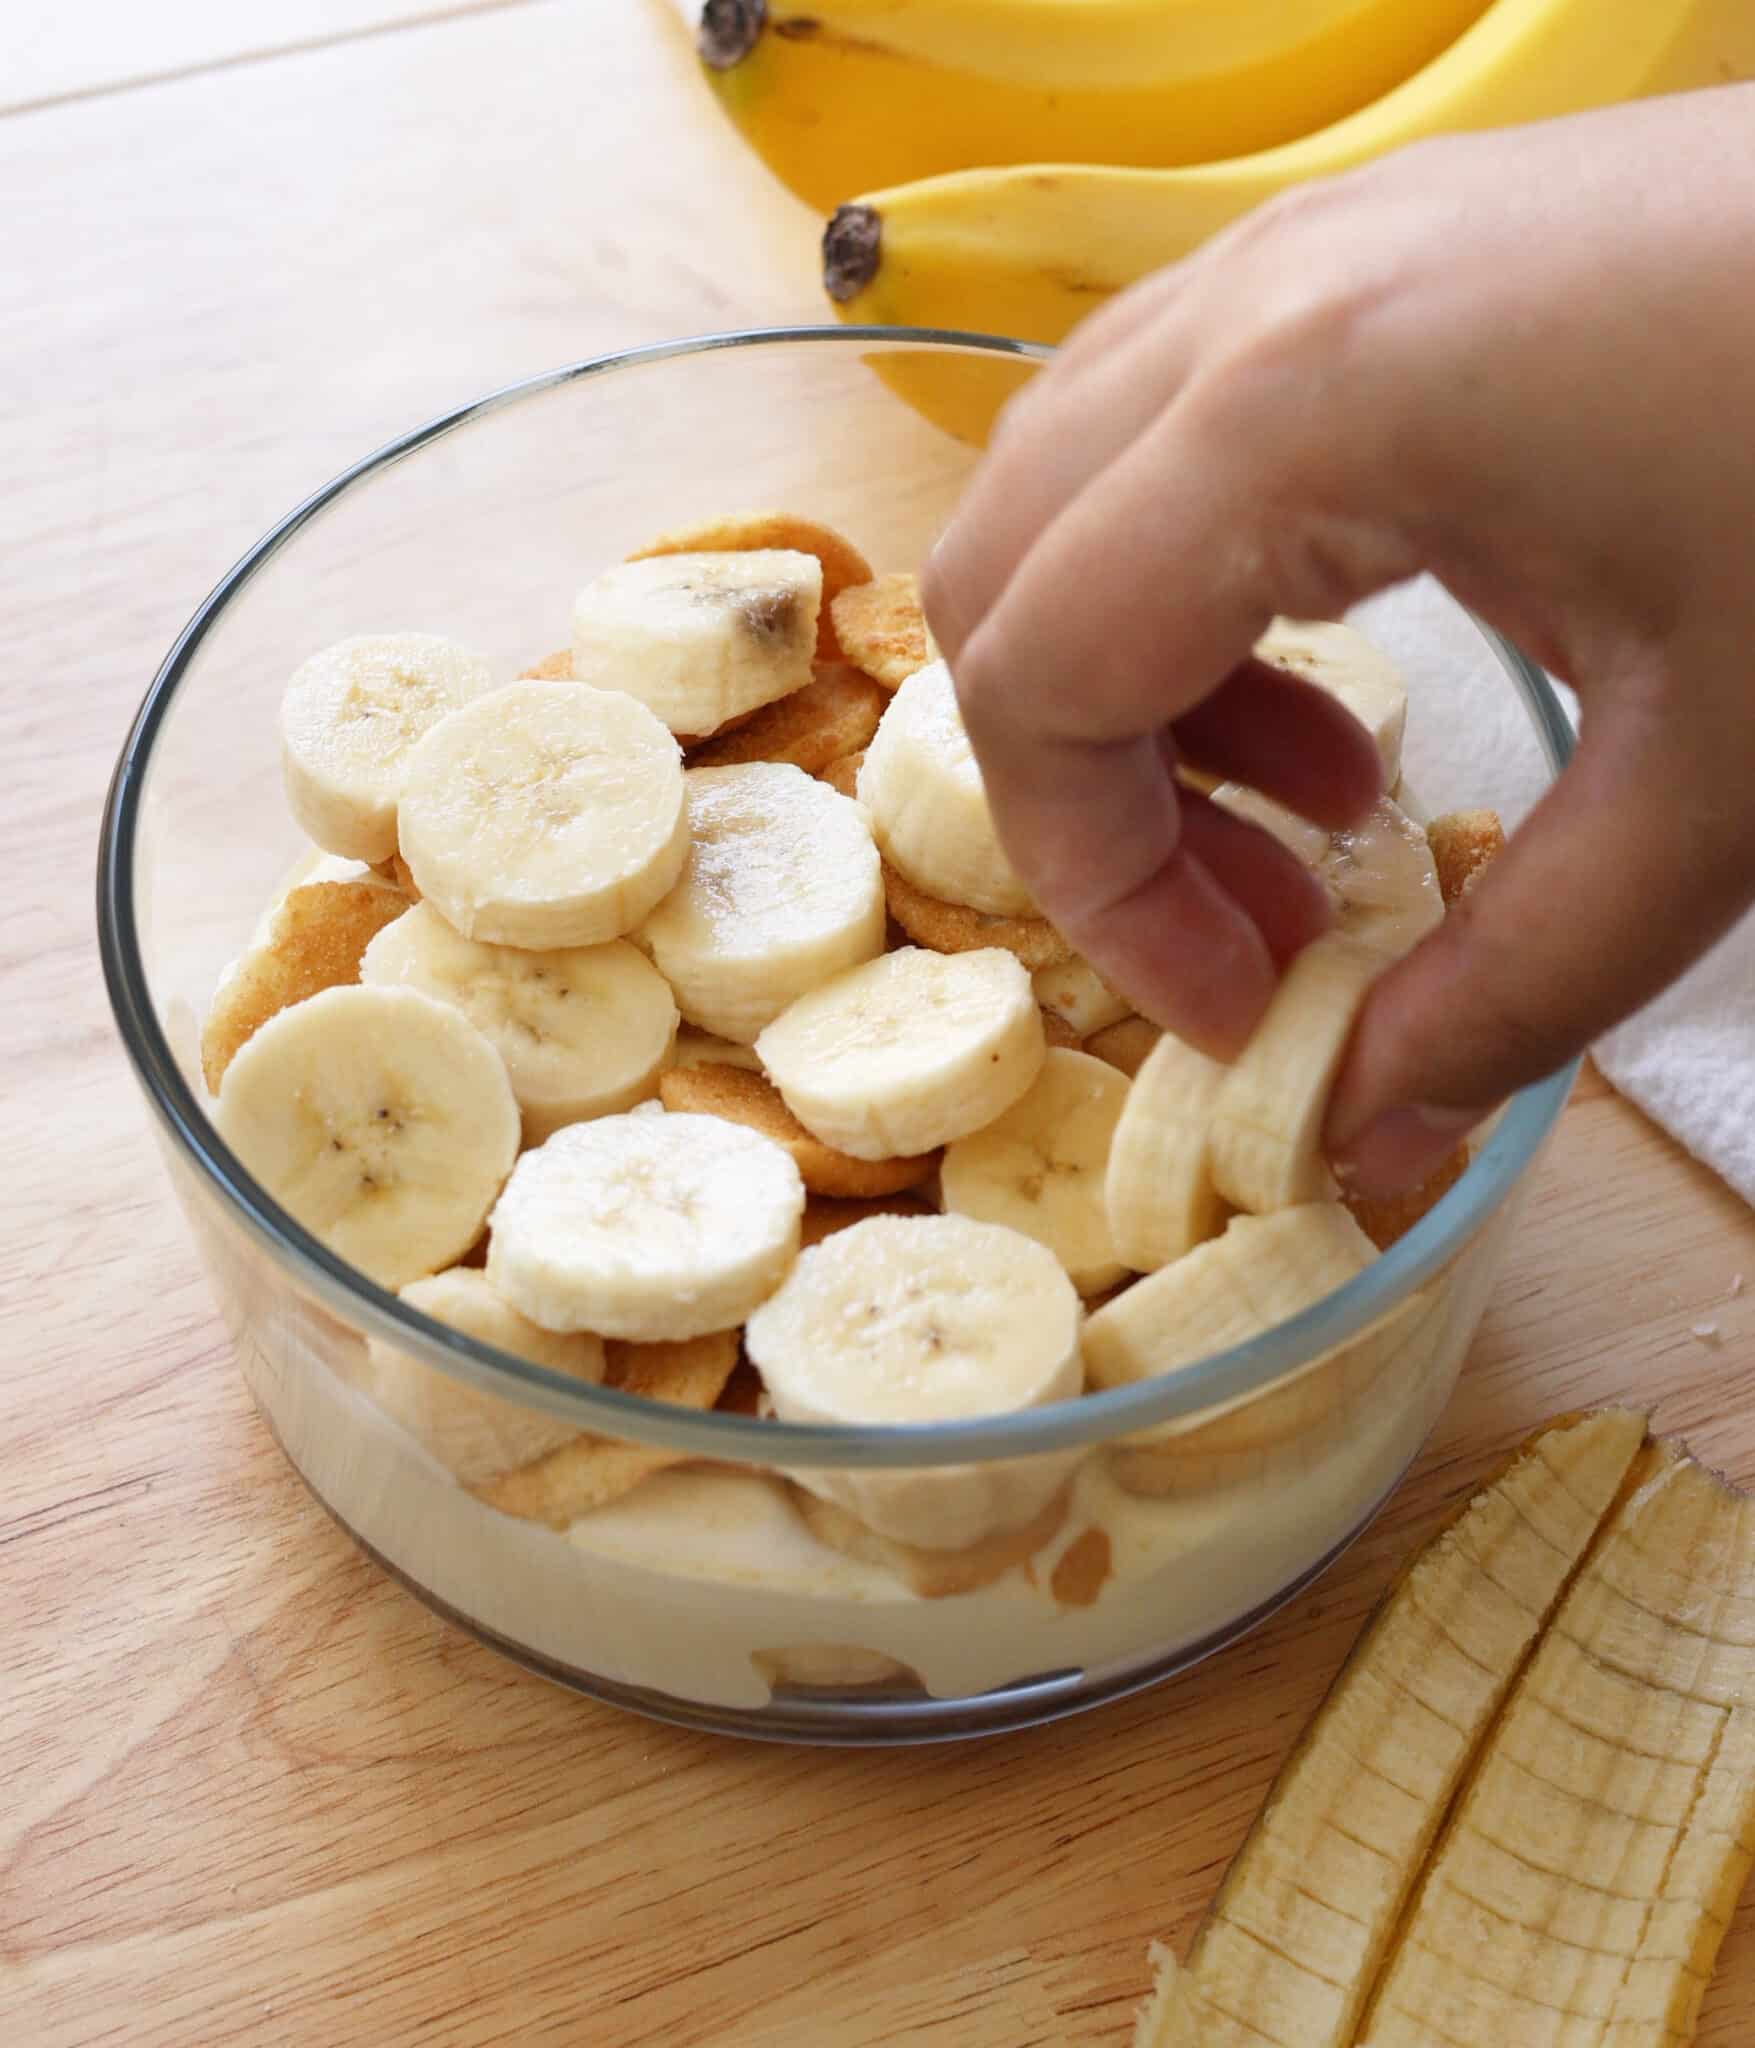
Step 3: In your serving container, add a layer of vanilla wafers, top with sliced bananas, and then spread an even layer of the pudding. Repeat until you use all of your ingredients, with the top layer ending in pudding.
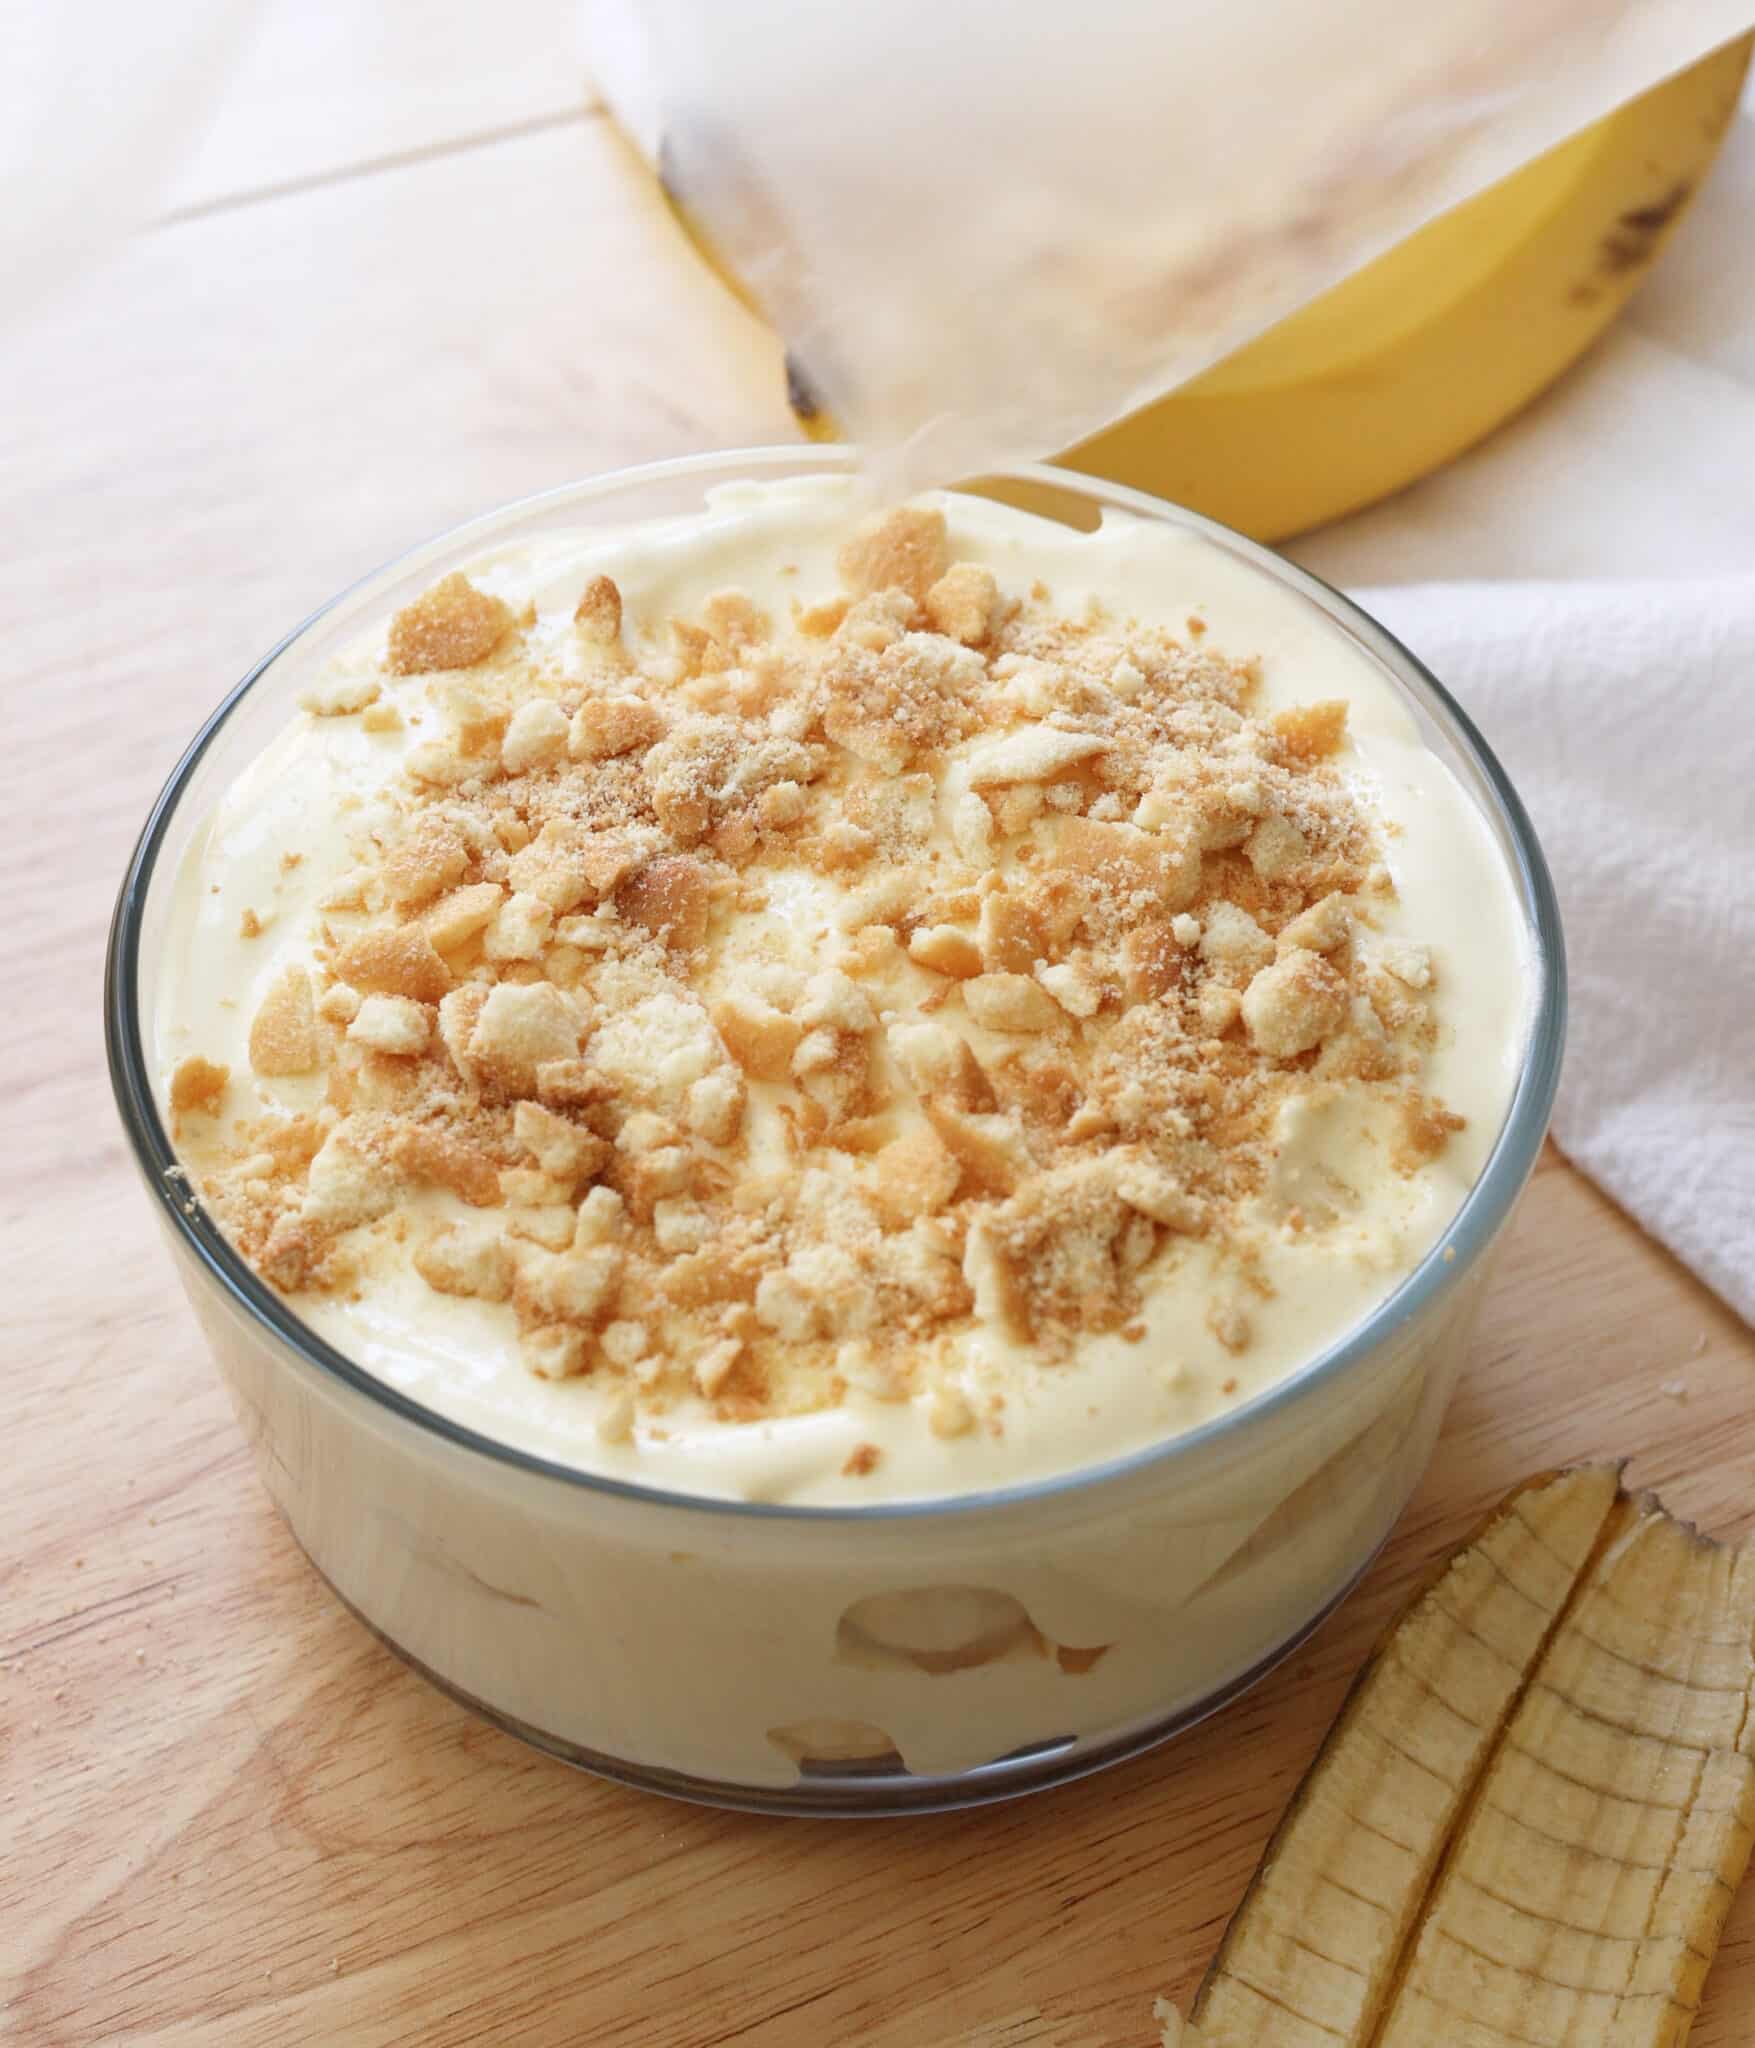
Step 4: Add crushed Nilla wafers on top. Cover and chill in the fridge for at least 3 hours before eating. Serve chilled and enjoy!
For full instructions, see the recipe card below.
Storage
Cover leftover banana pudding in an airtight container and store in the fridge for up to 5 days.
😋 More Banana Pudding Recipes

Did you try this recipe?
Please leave a review & share it with me on Instagram, Facebook, Tiktok, or Pinterest!
Thank you so much! -Bianca ❤️
📖 Recipe & Video
Banana Pudding
✉️ want to save this?
Equipment
- serving cups, bowl, or dish I like to split a 1x batch into a large trifle dish or in multiple mason jars/cups!
Ingredients
- 2 cups (488 g) whole milk cold (if swapping in plant-based milk, use half the amount or it will not set!!!)
- 1 ounce packet (28 g) Jell-O Instant Vanilla Pudding can use zero sugar
- 8 ounces (226 g) Cool Whip thawed; can use zero sugar
- optional mix-ins: vanilla extract/paste, pinch of salt
- 4-5 (544 g) large bananas sliced
- 1 box (311 g) Nilla wafers you may not need all of them!
Instructions
Make the pudding:
- In a large mixing bowl, add 2 cups (488 g) whole milk (cold) and 1 ounce packet (28 g) Jell-O Instant Vanilla Pudding. Whisk until combined and let sit for about 5 minutes to thicken.
- Fold in 8 ounces (226 g) Cool Whip until smooth. Optionally stir in mix-ins, like vanilla and salt.
Assemble the banana pudding:
- In your serving container(s), add a layer of vanilla wafers, top with sliced bananas, and then spread an even layer of the pudding. Repeat until you use all of your ingredients, with the top layer ending in pudding.
- Add crushed Nilla wafers on top. Cover and chill in the fridge for at least 3 hours before eating, so all the flavors meld nicely. Serve chilled and enjoy!