For my birthday, my friends gifted me a fresh cacao pod from Miami Fruit*. I, of course, decided to turn it into homemade chocolate, and document the journey for you all. Hope you enjoy!
*affiliate link gives you $10 off your order!
✉️ want to save this?
🍫 Quick Chocolate Making Overview
To make my chocolate, I followed this incredible small batch cacao fermentation article by the University of Hawai’i. Here is a brief overview of that PDF!
- Check if your cacao pod is ripe. The cacao pod should be bright and vibrant. Give it a good shake—if you can hear the seeds moving with some thunking noises, then it’s ripe. If it sounds sloshy, then the seeds are overripe.
- Ferment the seeds for 4-6 days. Fermentation gets rid of the bitter flavor of the seeds and is what gives chocolate that.. chocolate flavor!
- Dry and roast the seeds. Dry the fermented seeds in the sun or in a dehydrator. Then, bake the seeds until they smell like brownies. Let them cool and peel off the shells.
- Grind, flavor, temper, and set. Grinding the seeds is best done with a stone mill. If using a food processor like me, the chocolate will be a bit gritty. Add sugar and milk powder (the latter if you want milk chocolate instead of dark!), temper over the stove, and let set in chocolate molds. That’s it!
Small Batch Cacao Making Can Be Tricky!
For my birthday, my friends gifted me a single cacao pod from Miami Fruit (that affiliate link gives you $10 off your order!).
And as a first-time chocolate maker, I immediately looked up videos of other people making chocolate at home. I saw that many of them unfortunately were left with moldy cacao seeds.
After doing some research on Reddit, I learned that small batch cacao fermentation can be quite tricky… which is why their seeds went moldy pretty quickly!
A number of Redditors kept mentioning an academic paper by University of Hawai’i, which teaches you how to make a small batch of chocolate. It’s called, “Making Chocolate From Scratch“, written by H. C. ‘Skip’ Bittenbender and Erik Kling from the Department of Tropical Plant and Soil Sciences.
And so, I mostly followed that tutorial (I didn’t have the exact equipment), and was left with beautiful chocolate!
I thought this process was so much fun, and I’m glad I documented it for you. Keep scrolling to see how I did it!
How I Made Chocolate From Scratch
Here’s a quick video on part 1 of the entire process.
Again, the full tutorial by University of Hawai’i can be found here: Making Chocolate From Scratch.
Step 1: Fermentation
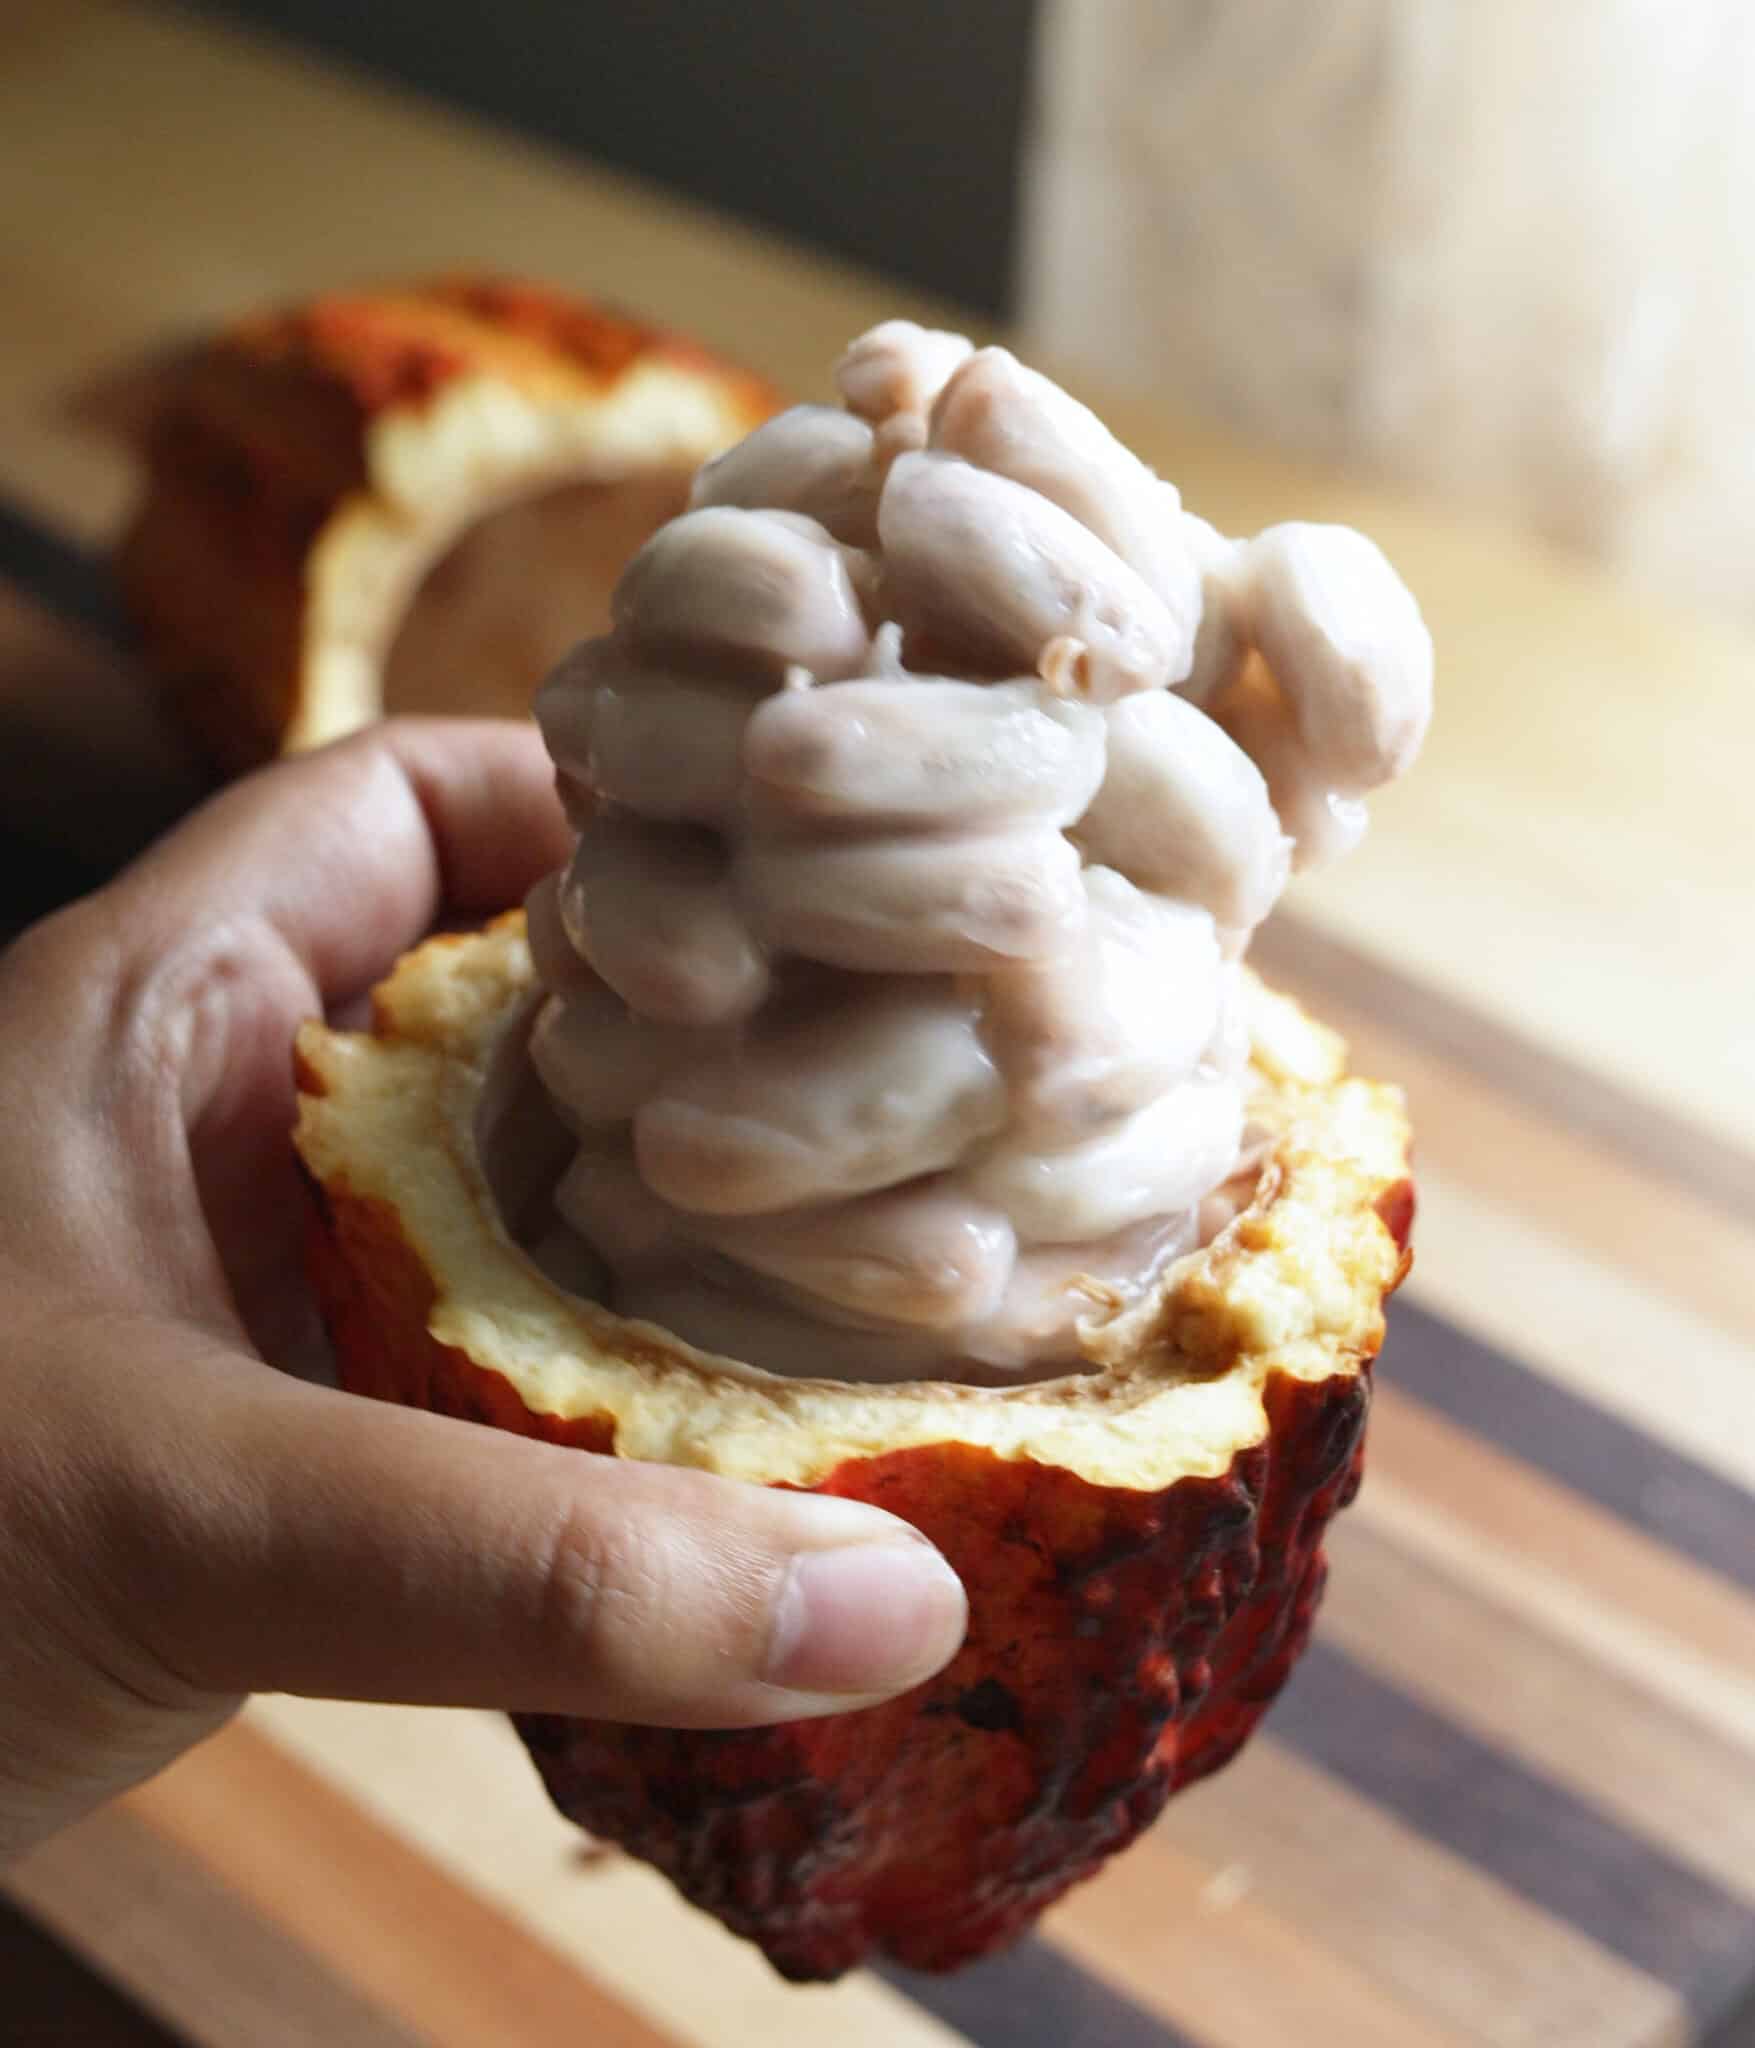
First, I checked to see if my cacao pod was ripe.
It was bright and vibrant in color, and when I shook it, I heard good thunk noises of the inner seeds hitting the walls. If it was sloshy, then the seeds would have been overripe!
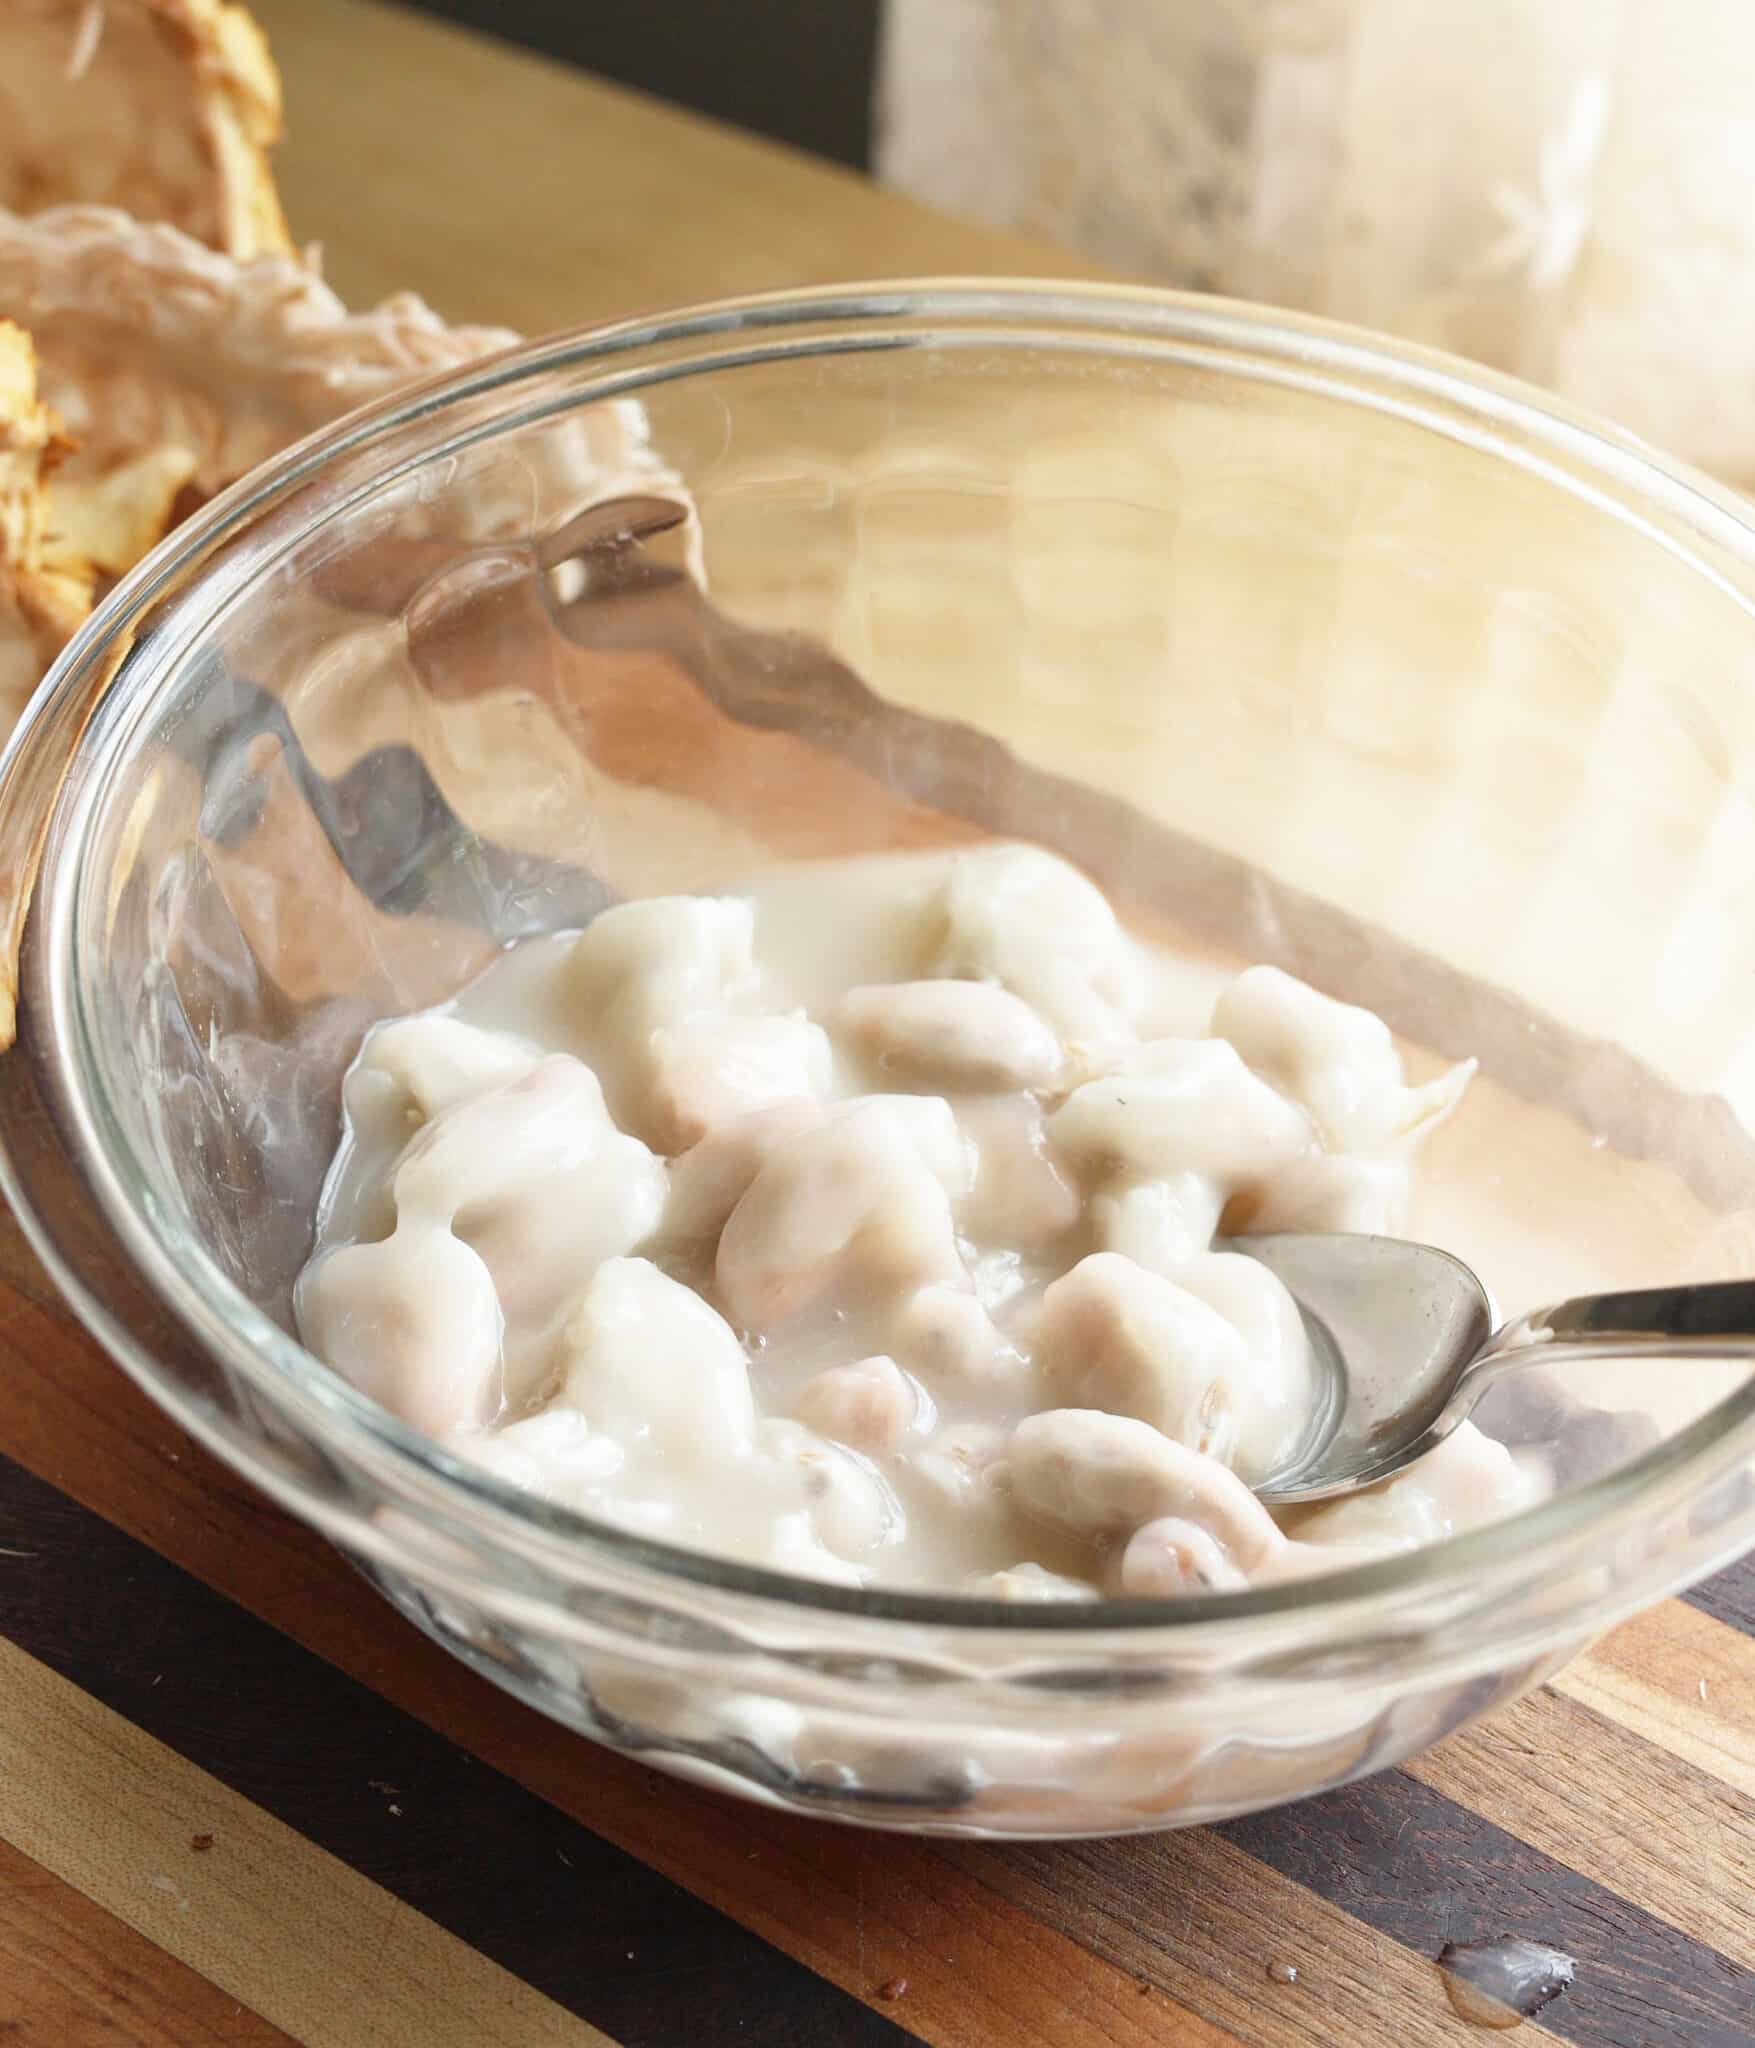
The University of Hawai’i suggested mixing yeast and water with the seeds. This helps jumpstart fermentation, which promotes the growth of good bacteria and yeast, while lessening the chance of mold growing.
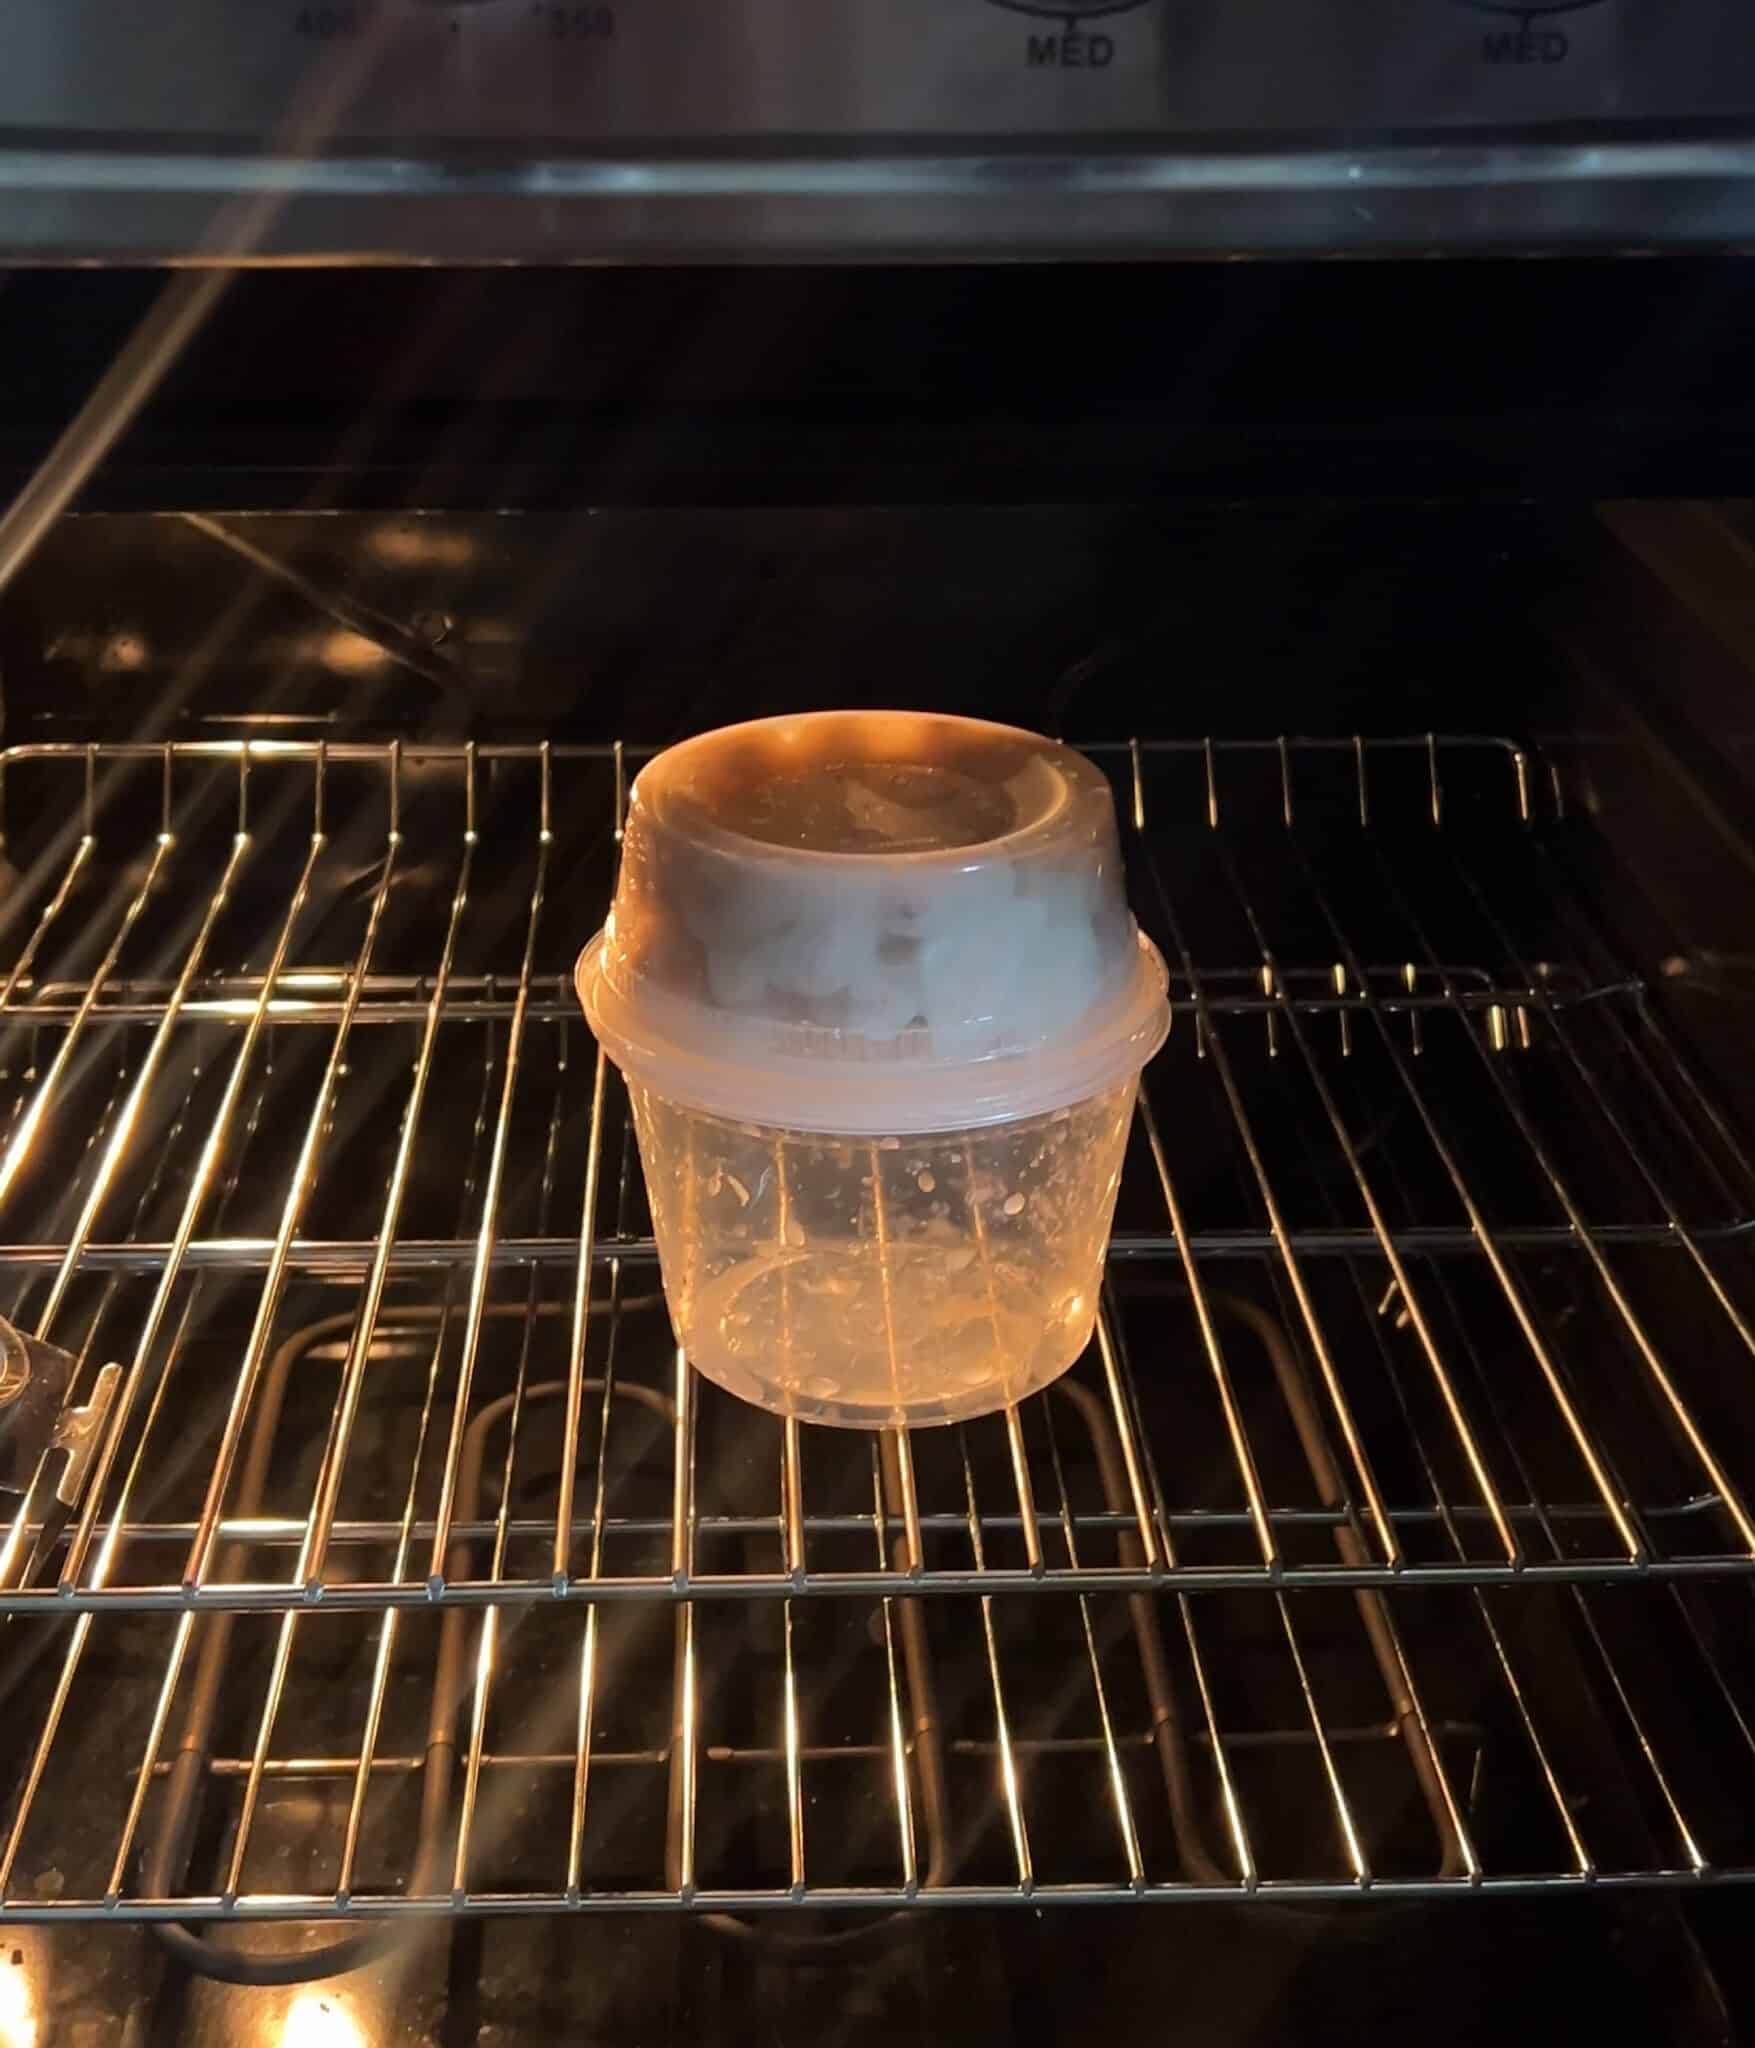
Once everything was stirred together, I transferred the seeds into a container with a lid that I cut some drainage holes into. I turned it upside down on top of another container to let any liquid drain out.
I let this mixture sit in a warm place (aka my oven with the light on) for 3 days, checking every morning to make sure no mold was growing. After 3 days, I gave the mixture a stir with my hands, then popped it back in the oven for 3 more days. Stirring just helps redistribute the good yeast and bacteria for even fermentation.
I will note that I wasn’t able to fully replicate the temperatures University of Hawai’i recommended, since I don’t have an incubator. And sometimes the oven light would turn off for a few hours, and I would notice and frantically turn it back on, LOL. However, things seemed to be working in my favor so far!
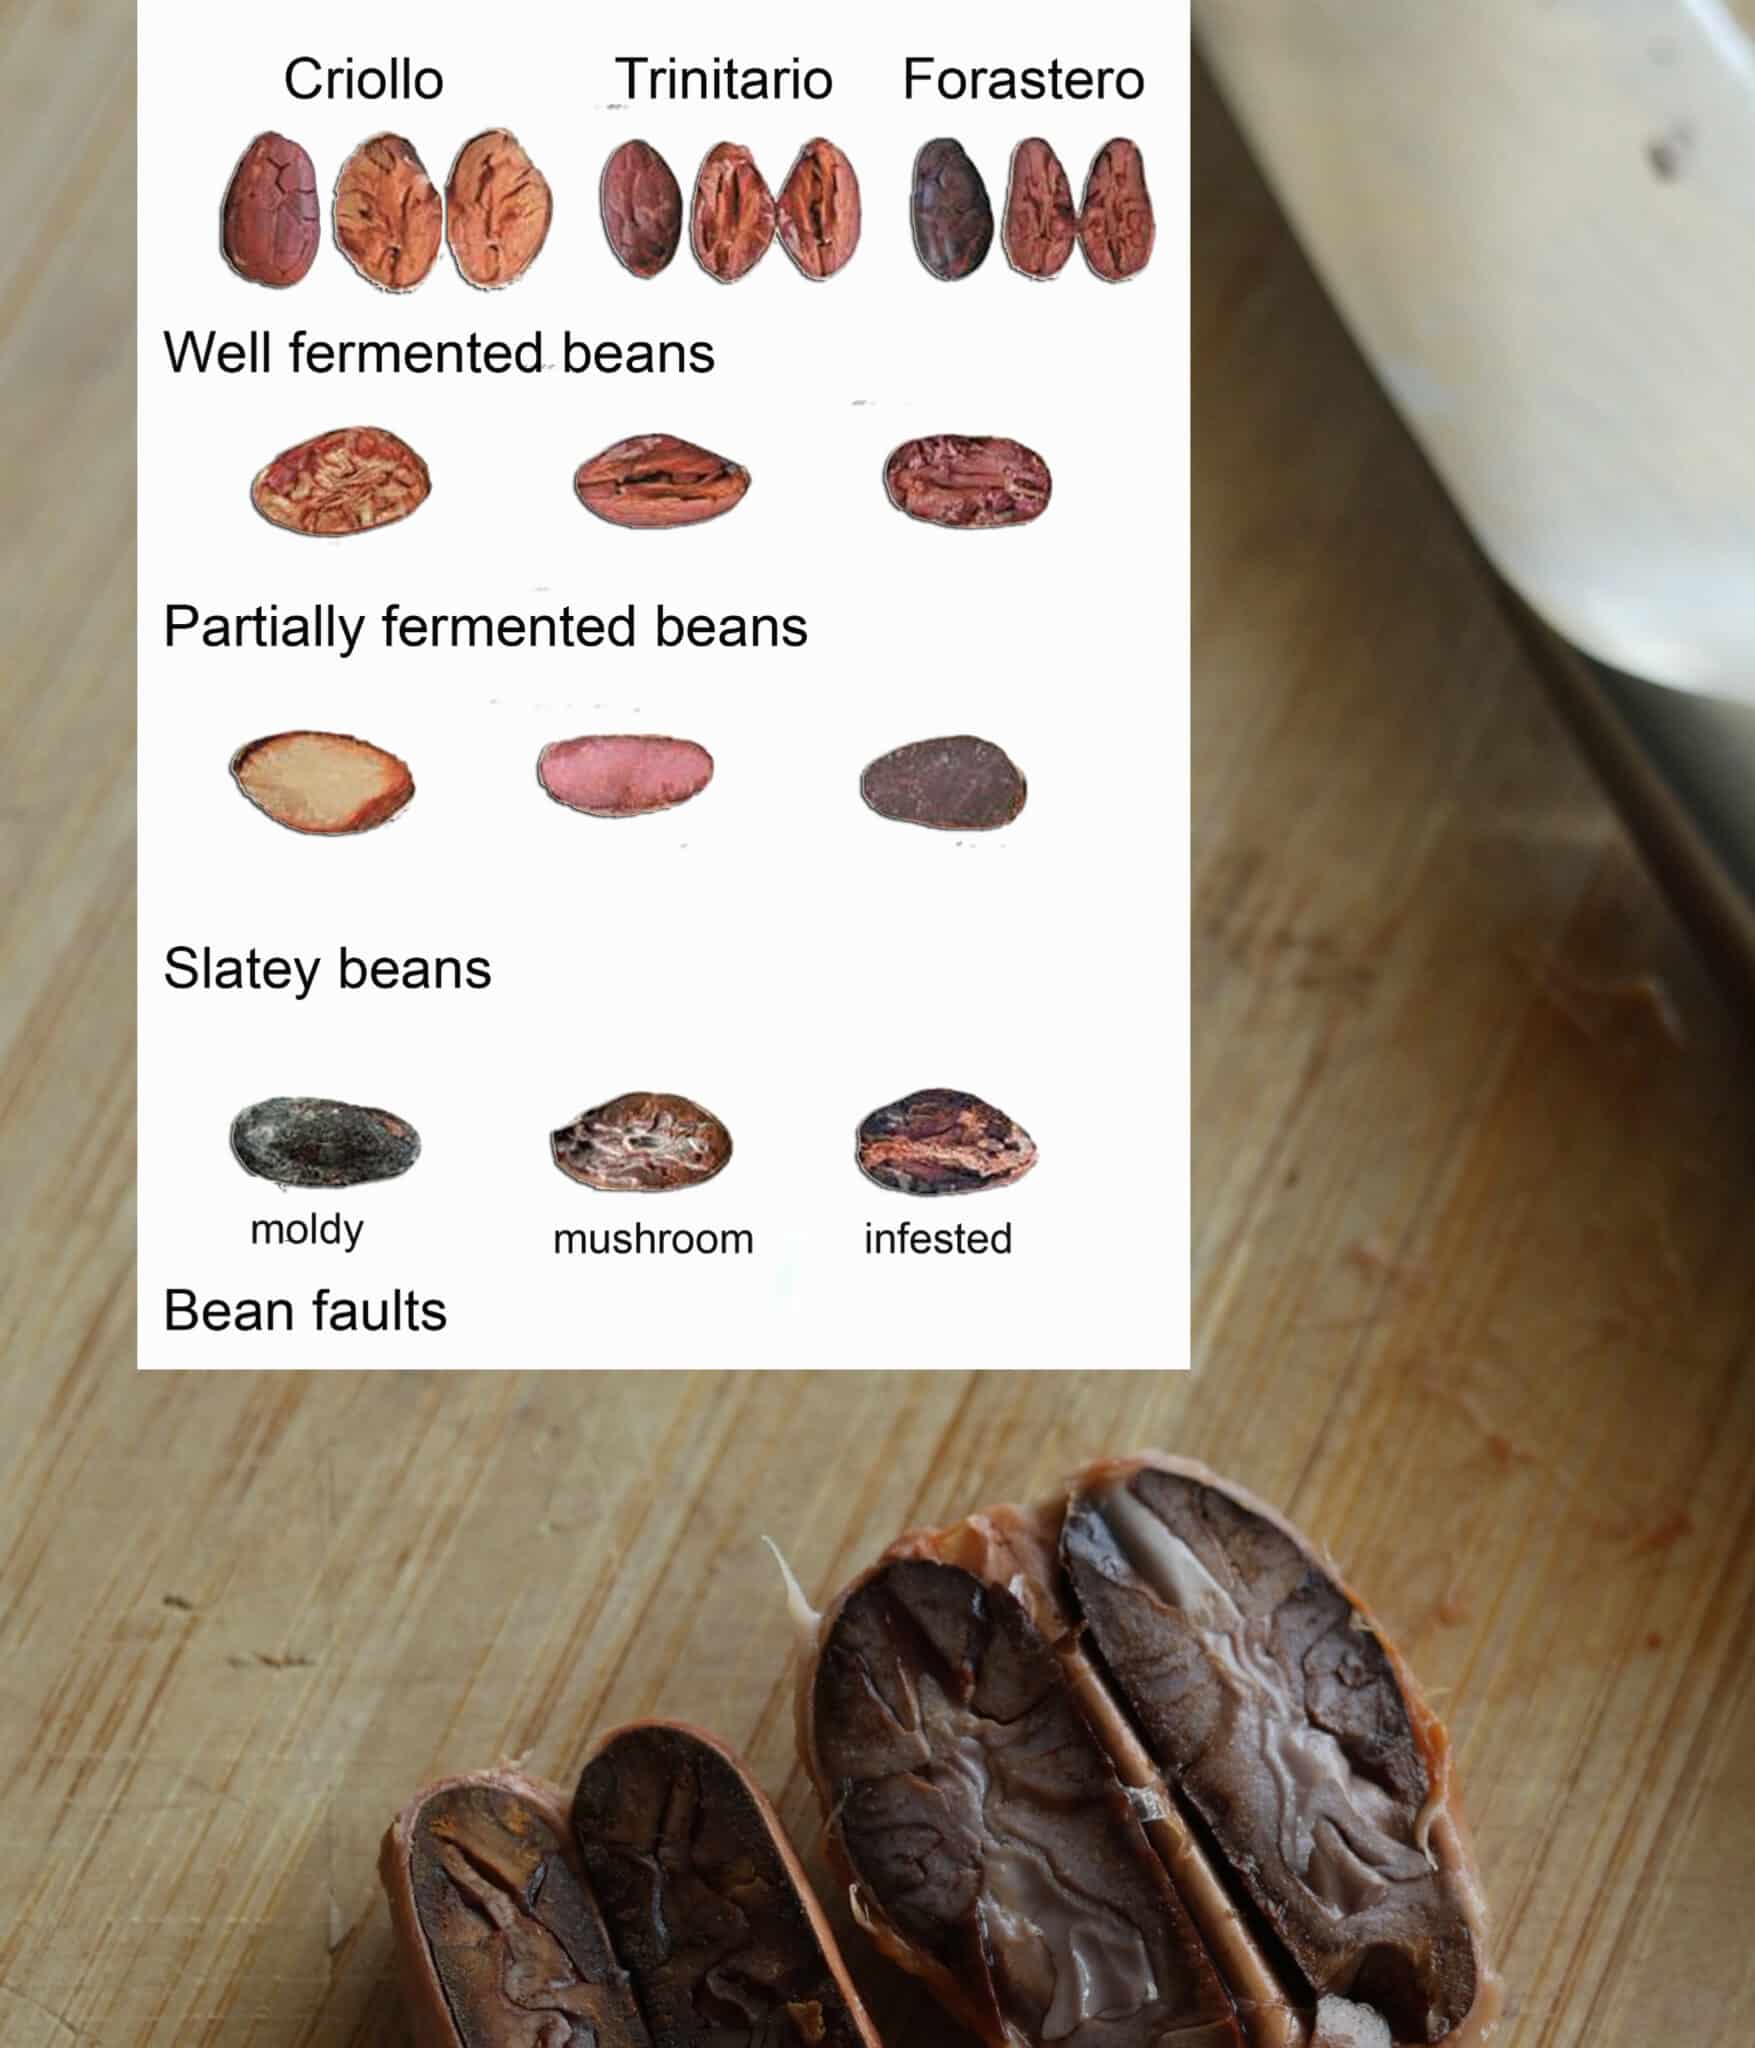
I wasn’t sure what to look for when it came to the seeds fully fermenting, until I found this helpful graphic by Coeur de Xocolat. The pulp should be a dark reddish orange, and the cross section should look similarly to the graphic.
Looking back now, I believe I read the chart one row off. I confused the “Well fermented beans” row with the “Partially fermented beans” row… oops!
This being said, I actually could have let my seeds ferment a bit longer… especially since the oven light was off sometimes! Now I know for next time! 🙂
Step 2: Drying and Roasting
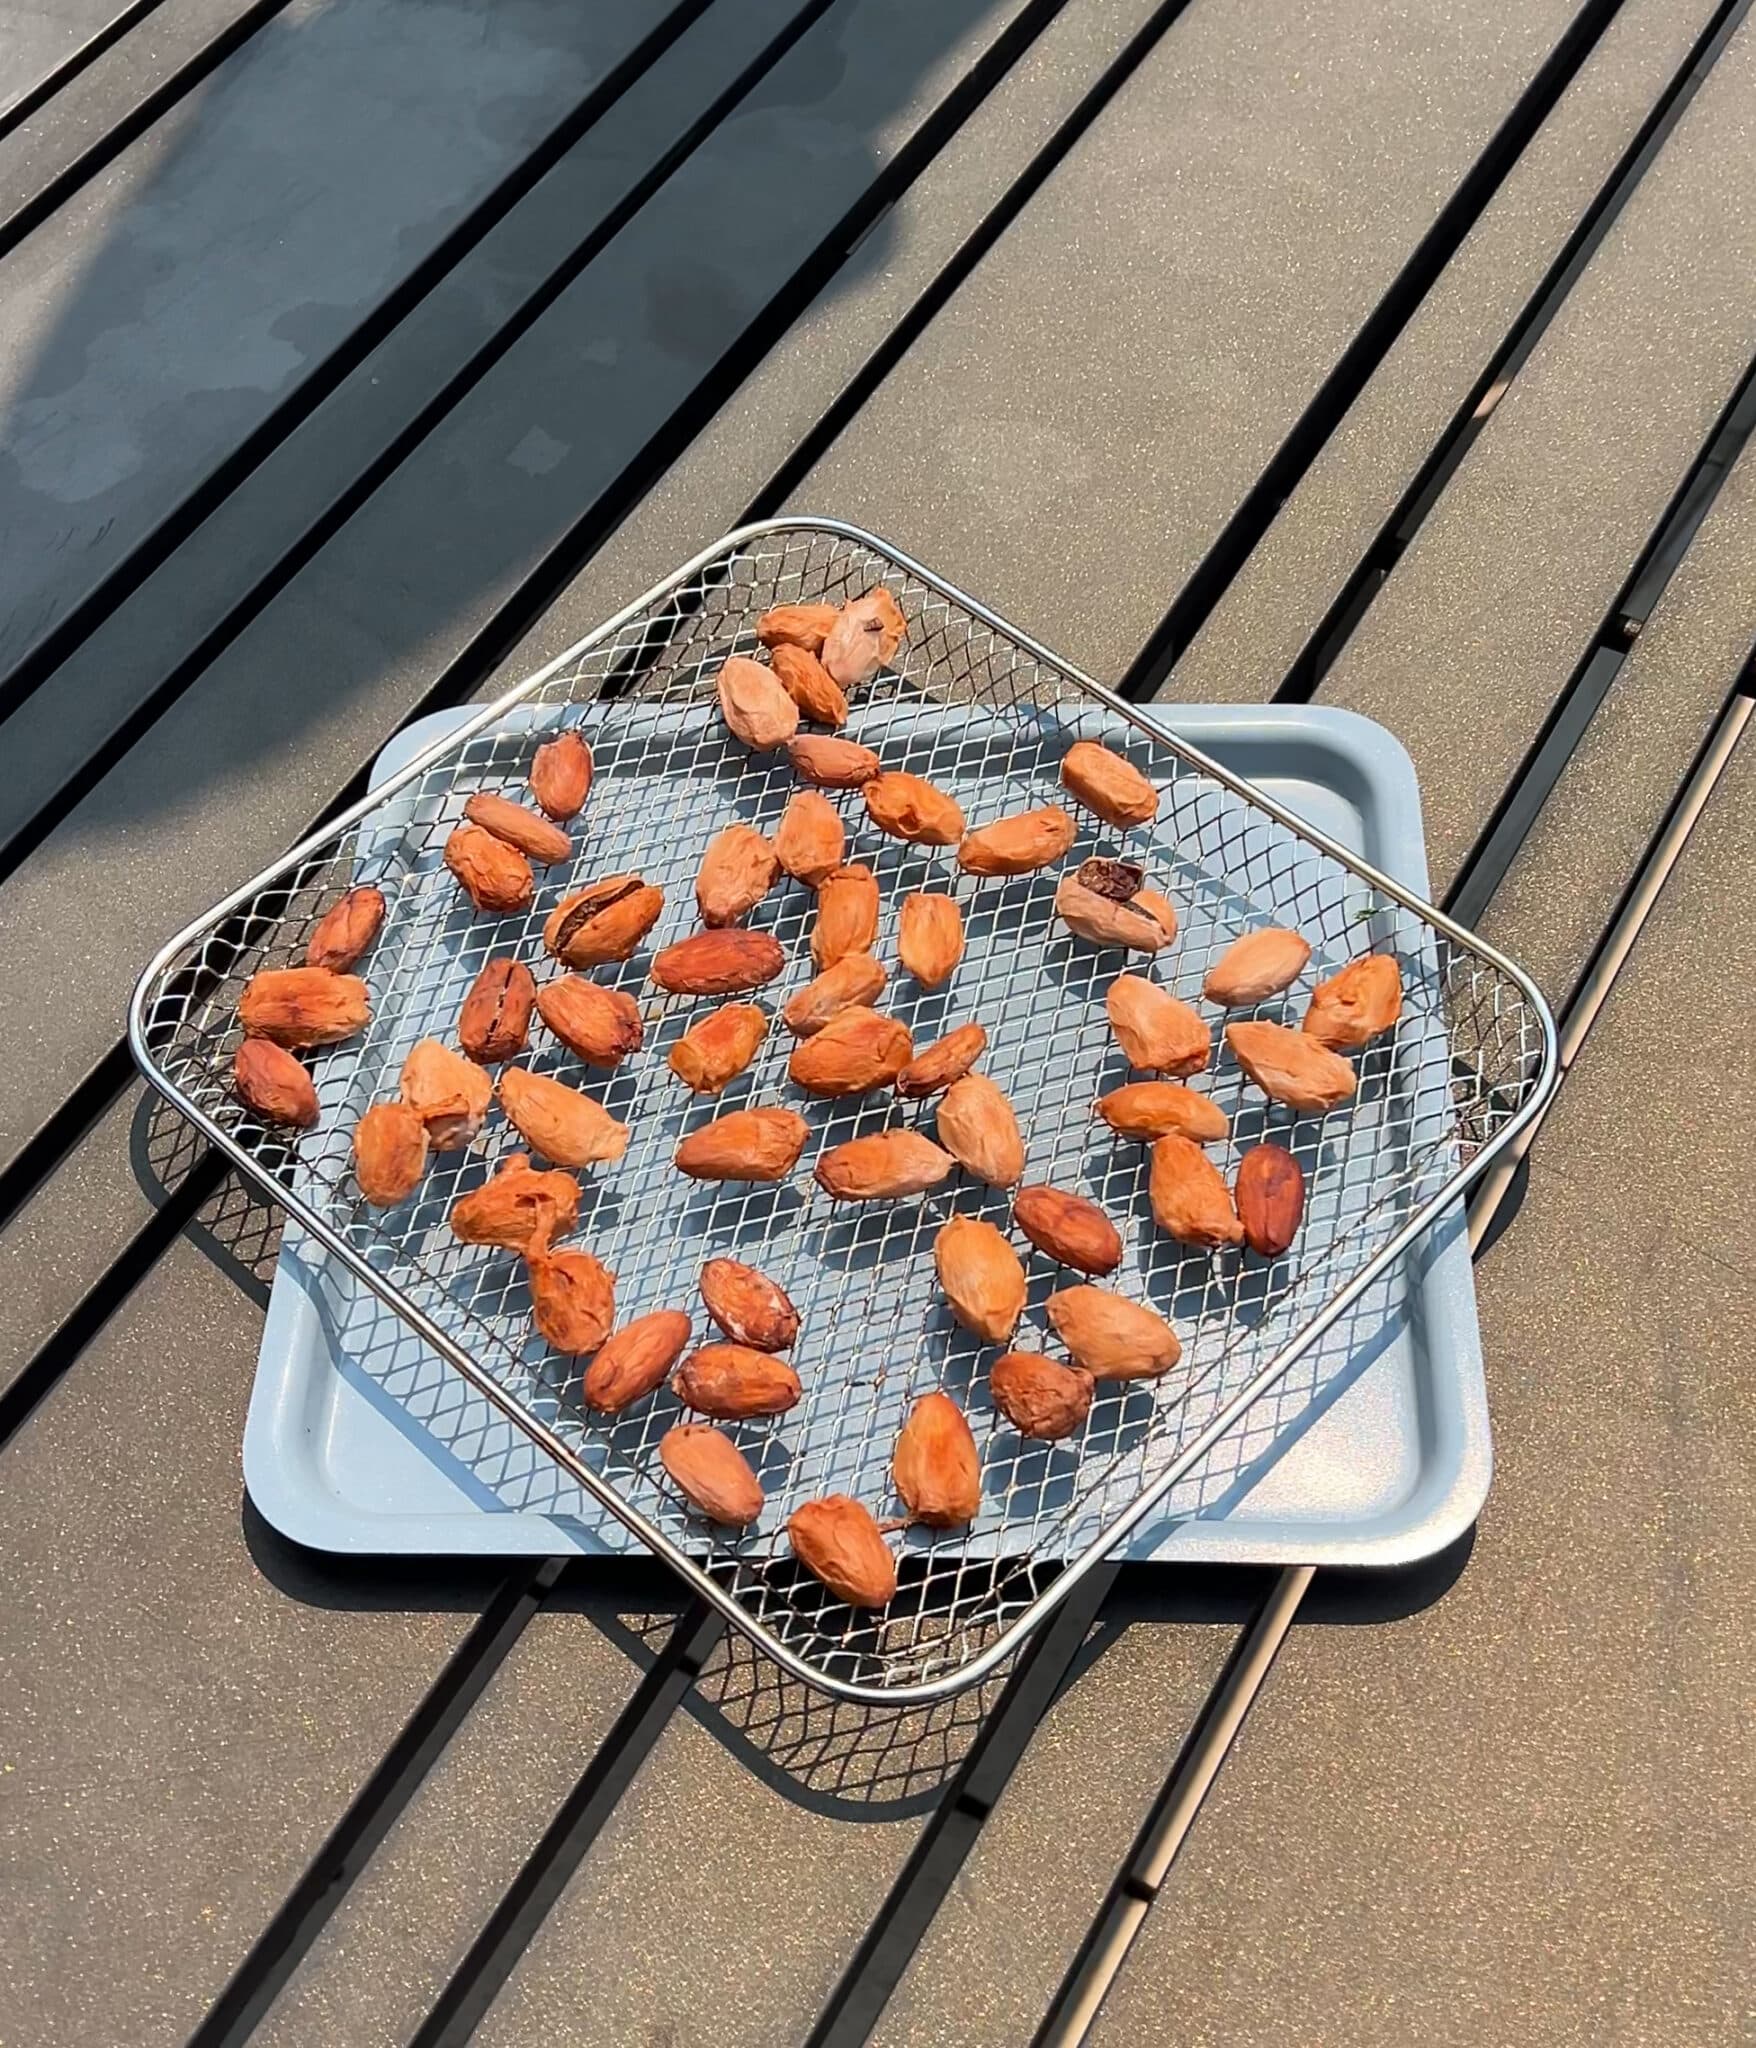
Once I had my fermented beans, I let my cacao beans sun dry for 1-2 days until the outer shell could easily crumble. You can also use a dehydrator.
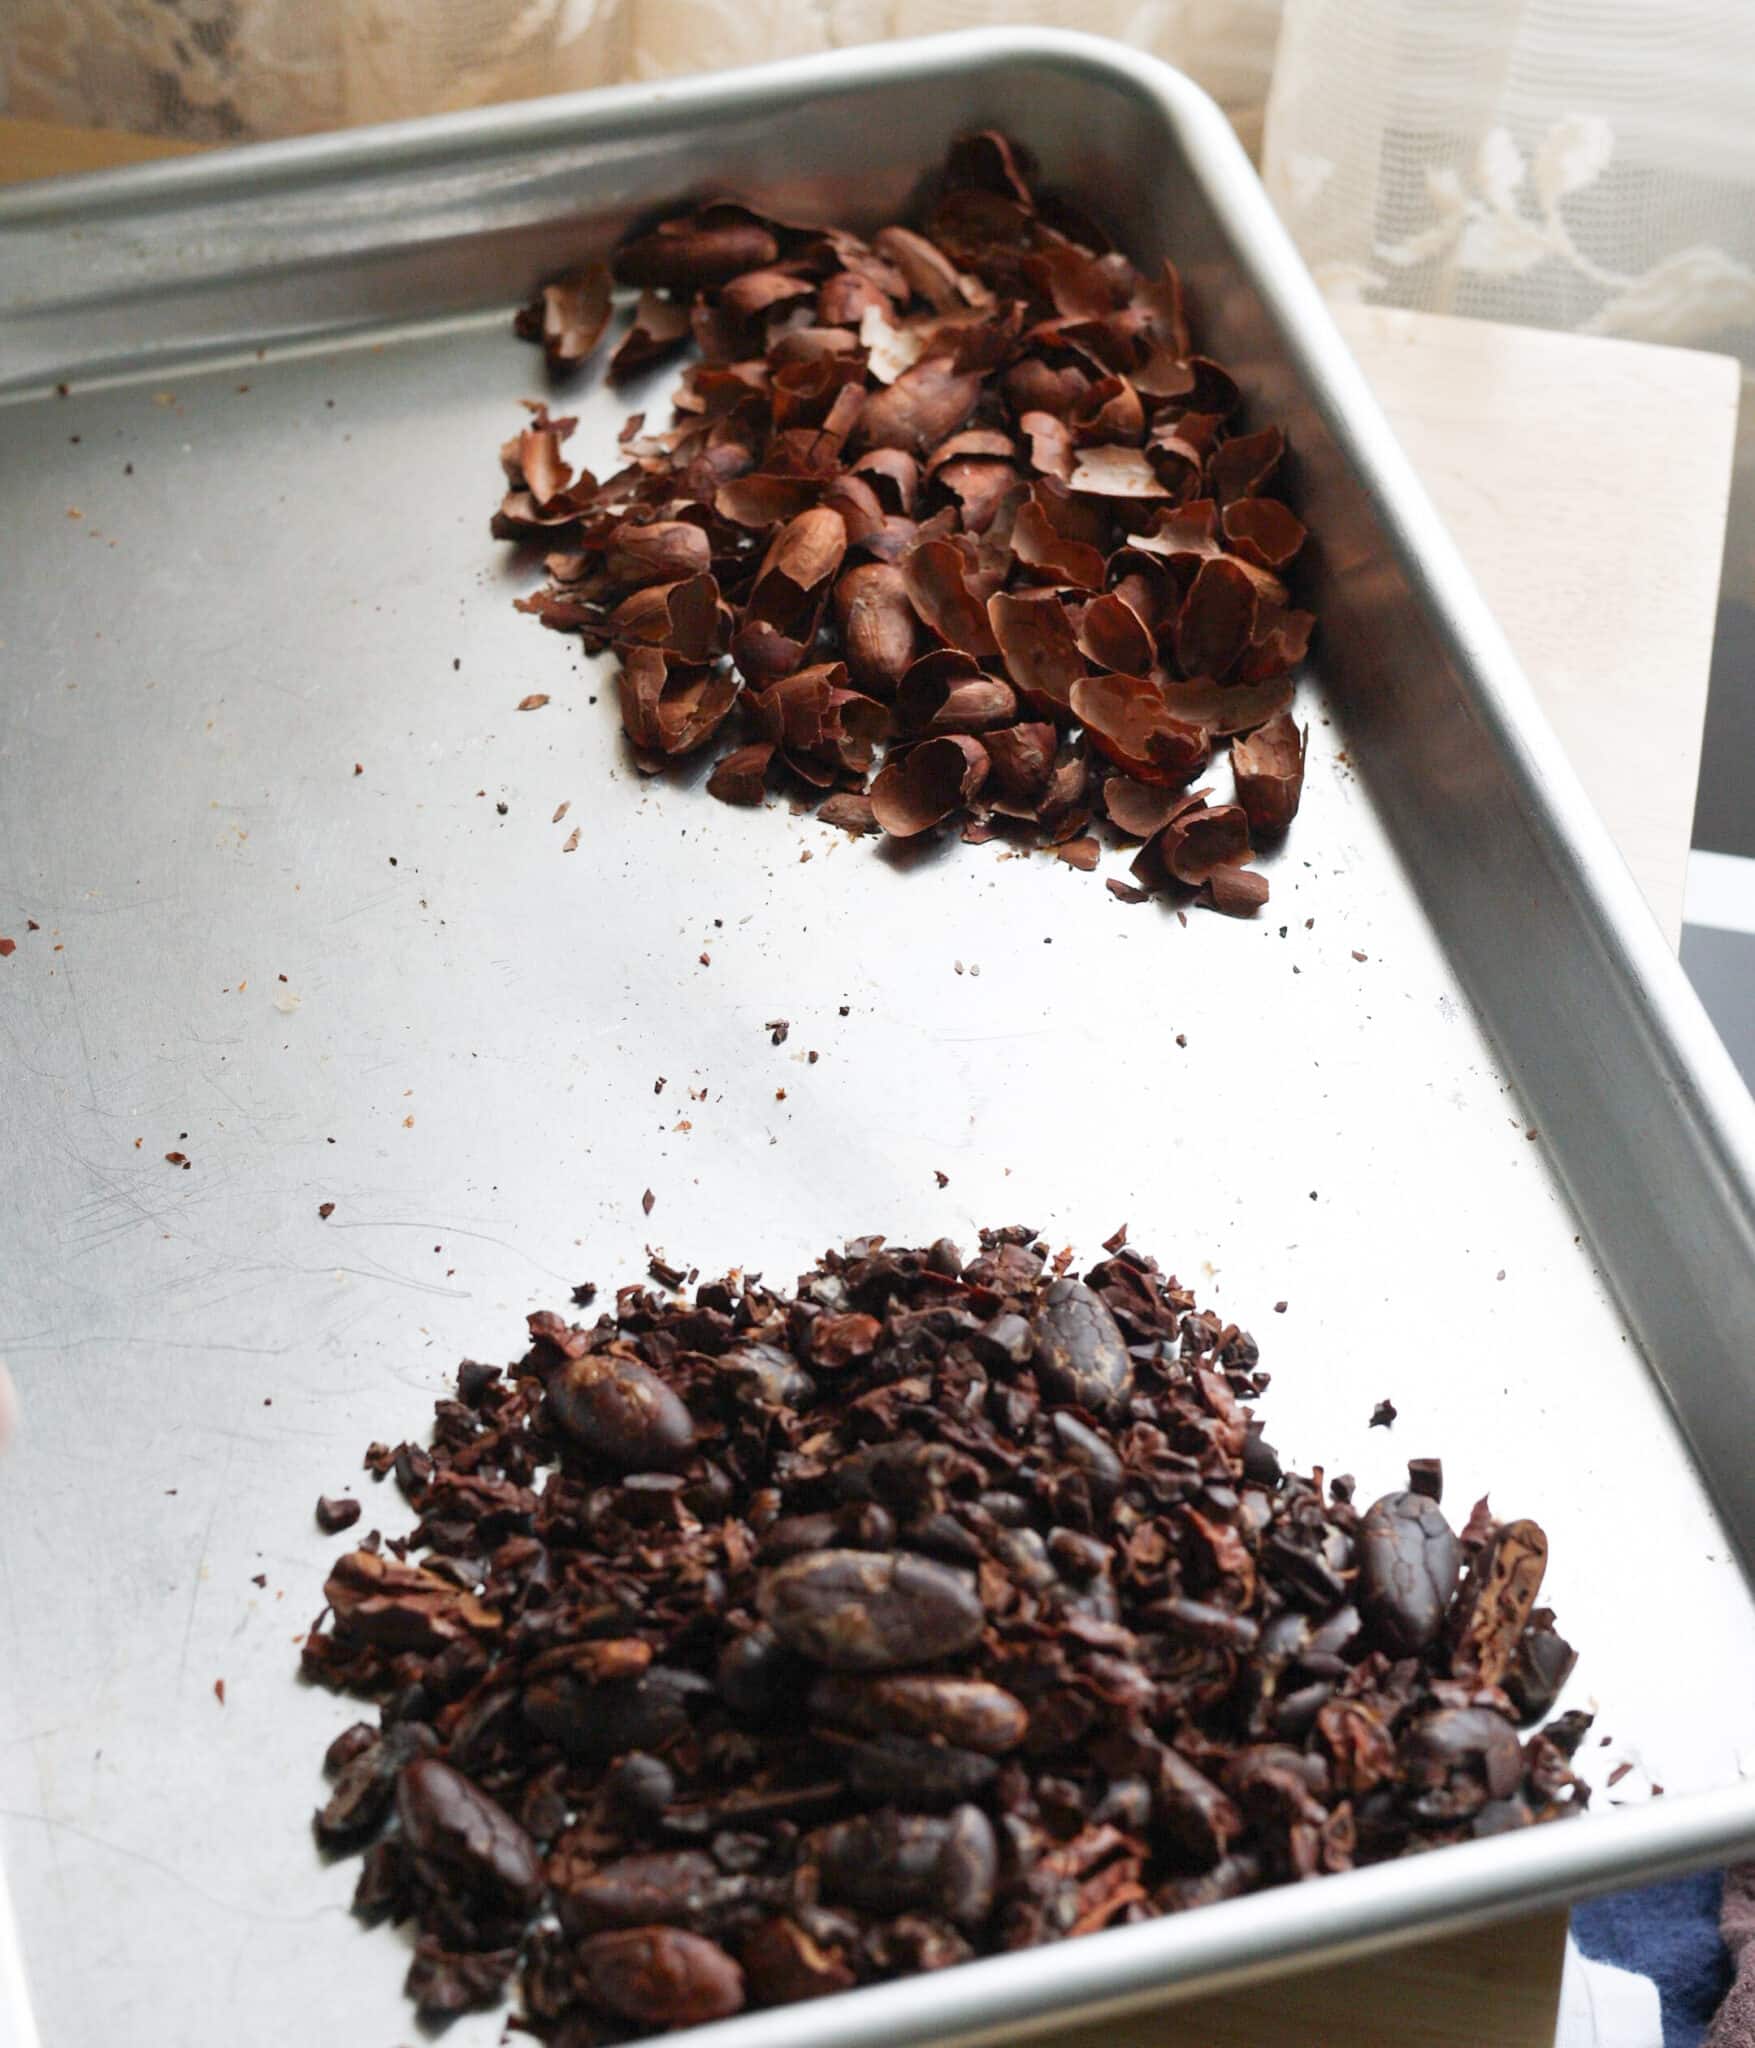
I roasted my beans at 300°F/150°C for 40 minutes. I let them fully cool, then gently peeled off each of the shells. You want to keep the inner part, which are essentially roasted cacao nibs!
I discarded the shells, but wish I didn’t! It wasn’t until after, I learned that you can make tea with them. Again…. next time! Haha.
Step 3: Grinding, Flavoring, and Tempering
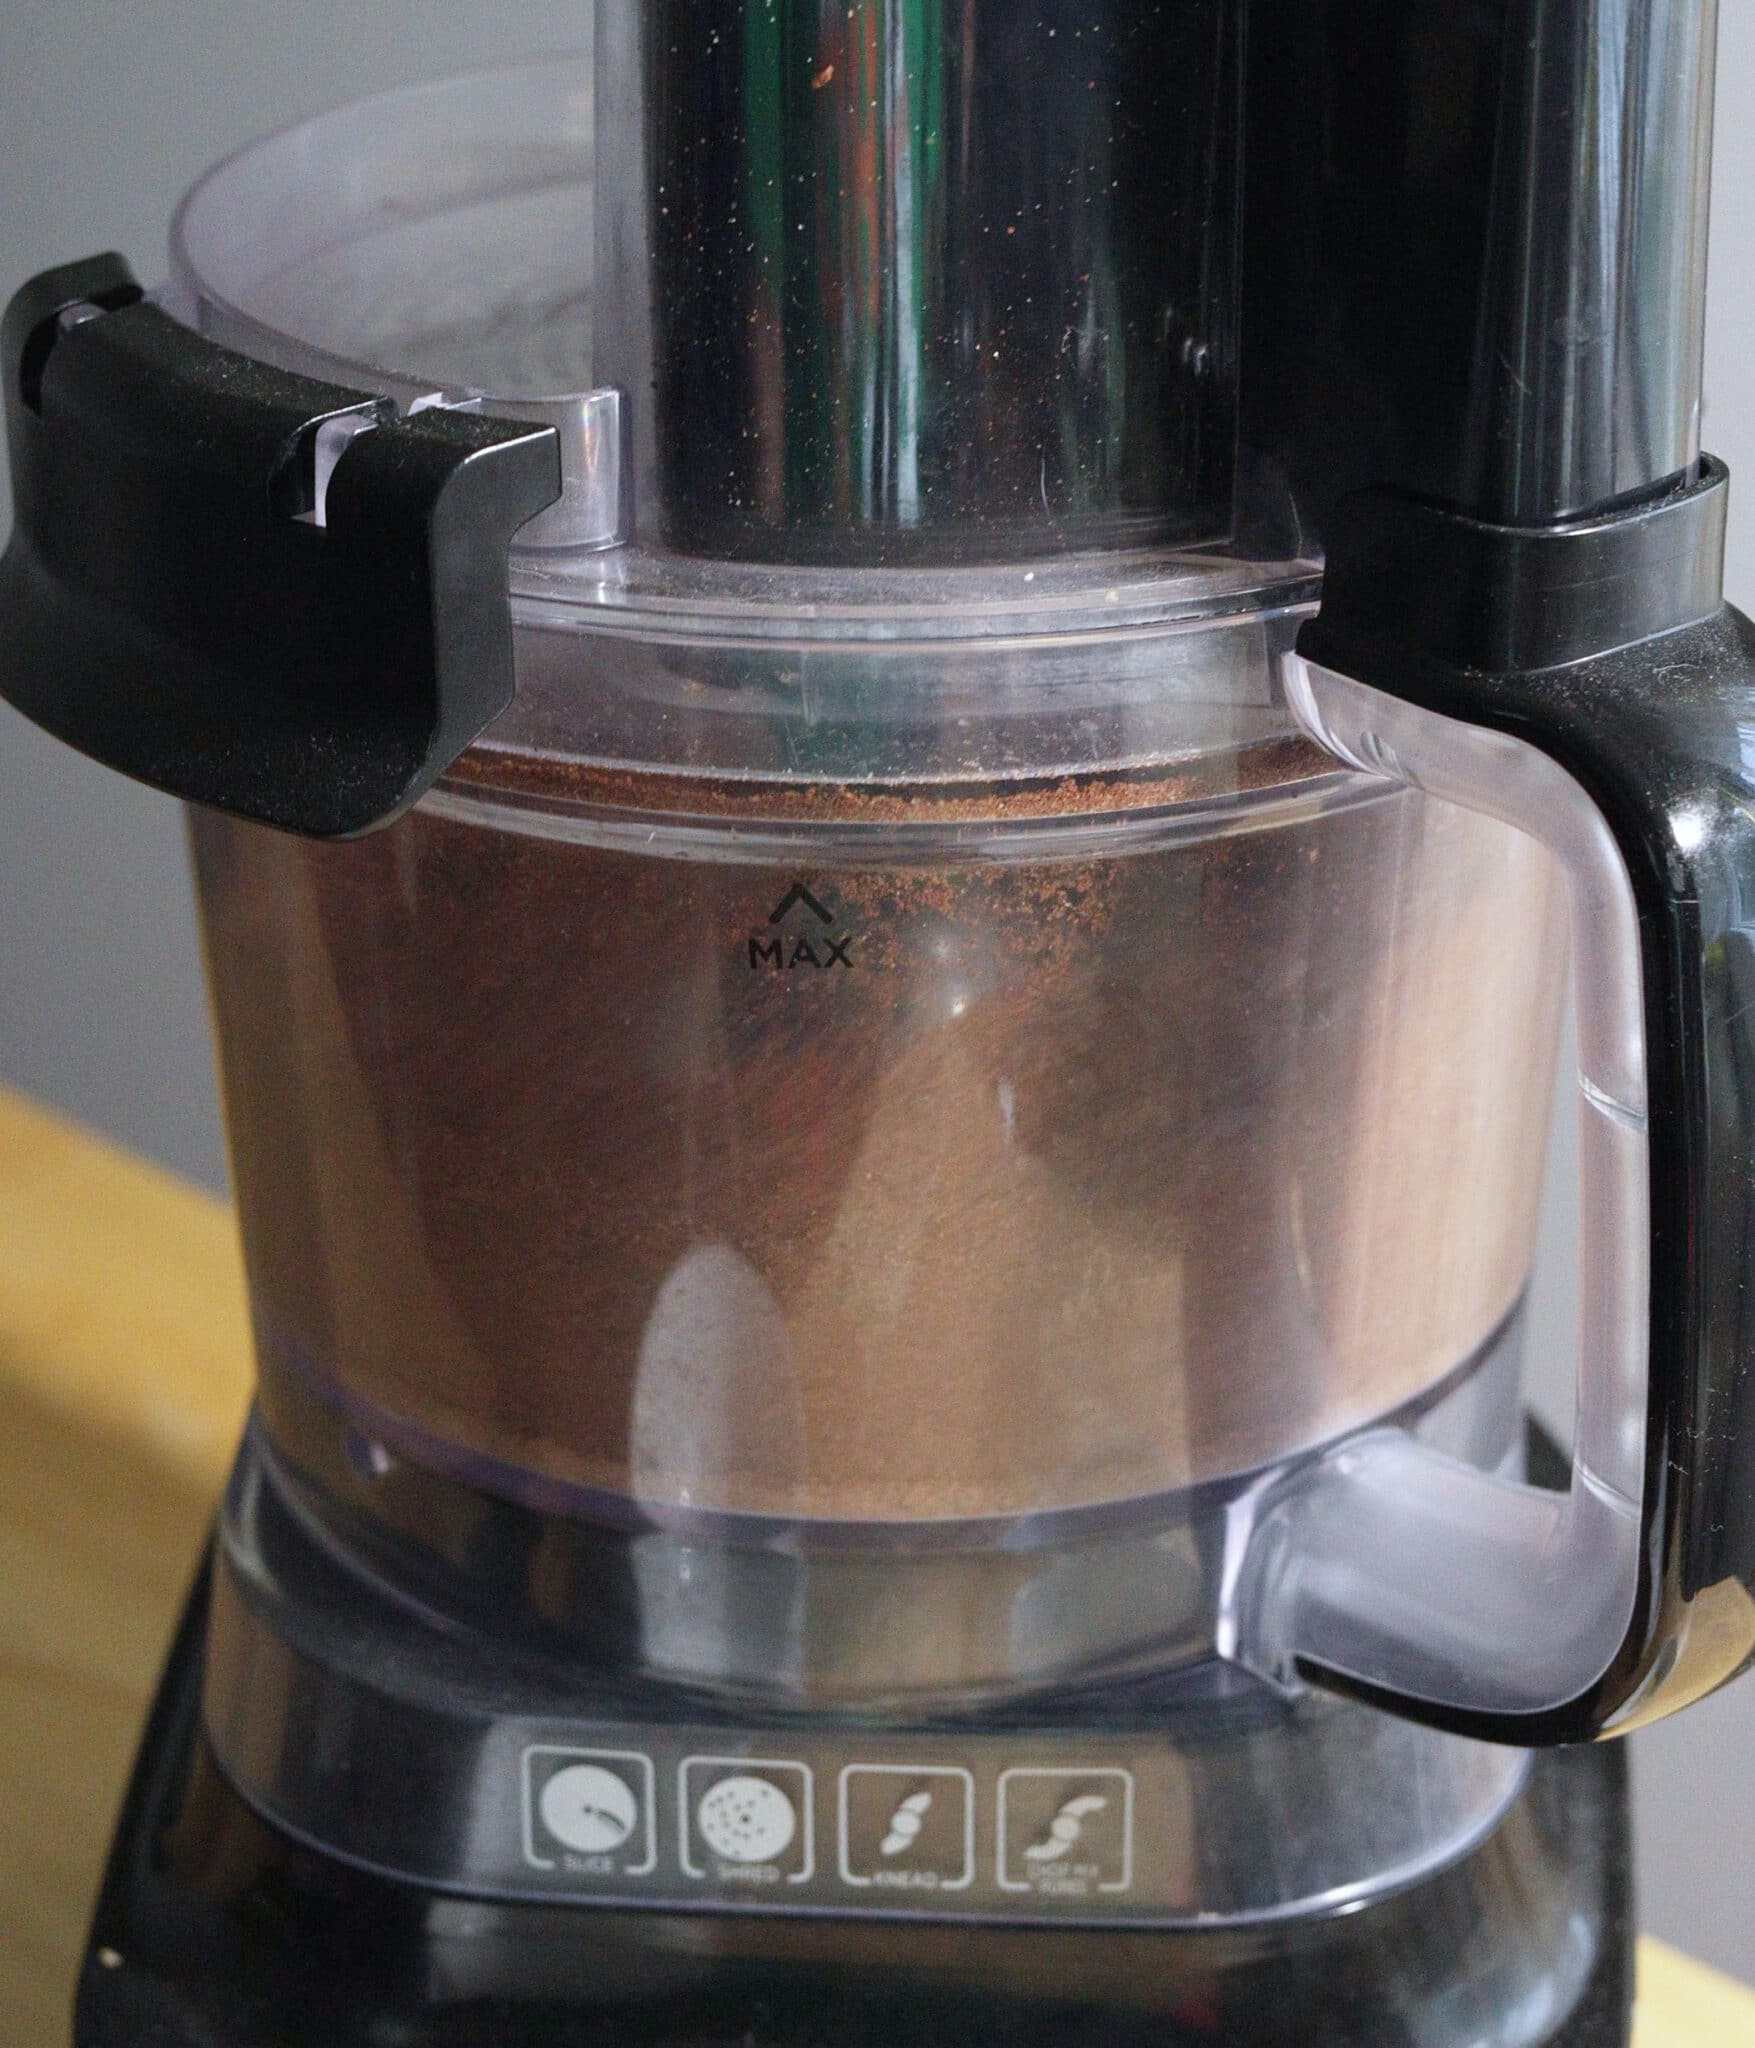
I added all of my roasted cacao nibs and sugar to my food processor, and blended until it became paste-like. Since I only had a few nibs from one pod, I wished I had a smaller food processor. A higher volume would’ve been easier to work with, so I wouldn’t have to scrape the chamber so often.
Once it became paste-like, I added melted cacao butter and some milk powder to make milk chocolate. By weight, I followed these ratios: 45% cocoa liquor, 8% cocoa butter, 29% granulated sugar, and 18% milk powder.
I blended the mixture for about 10 minutes, although it should’ve been much longer for smoother chocolate. I was just impatient because I had to scrape so much!
Ideally, you would use a mill or grinder and run that for 16-24 hours for ultra smooth chocolate.
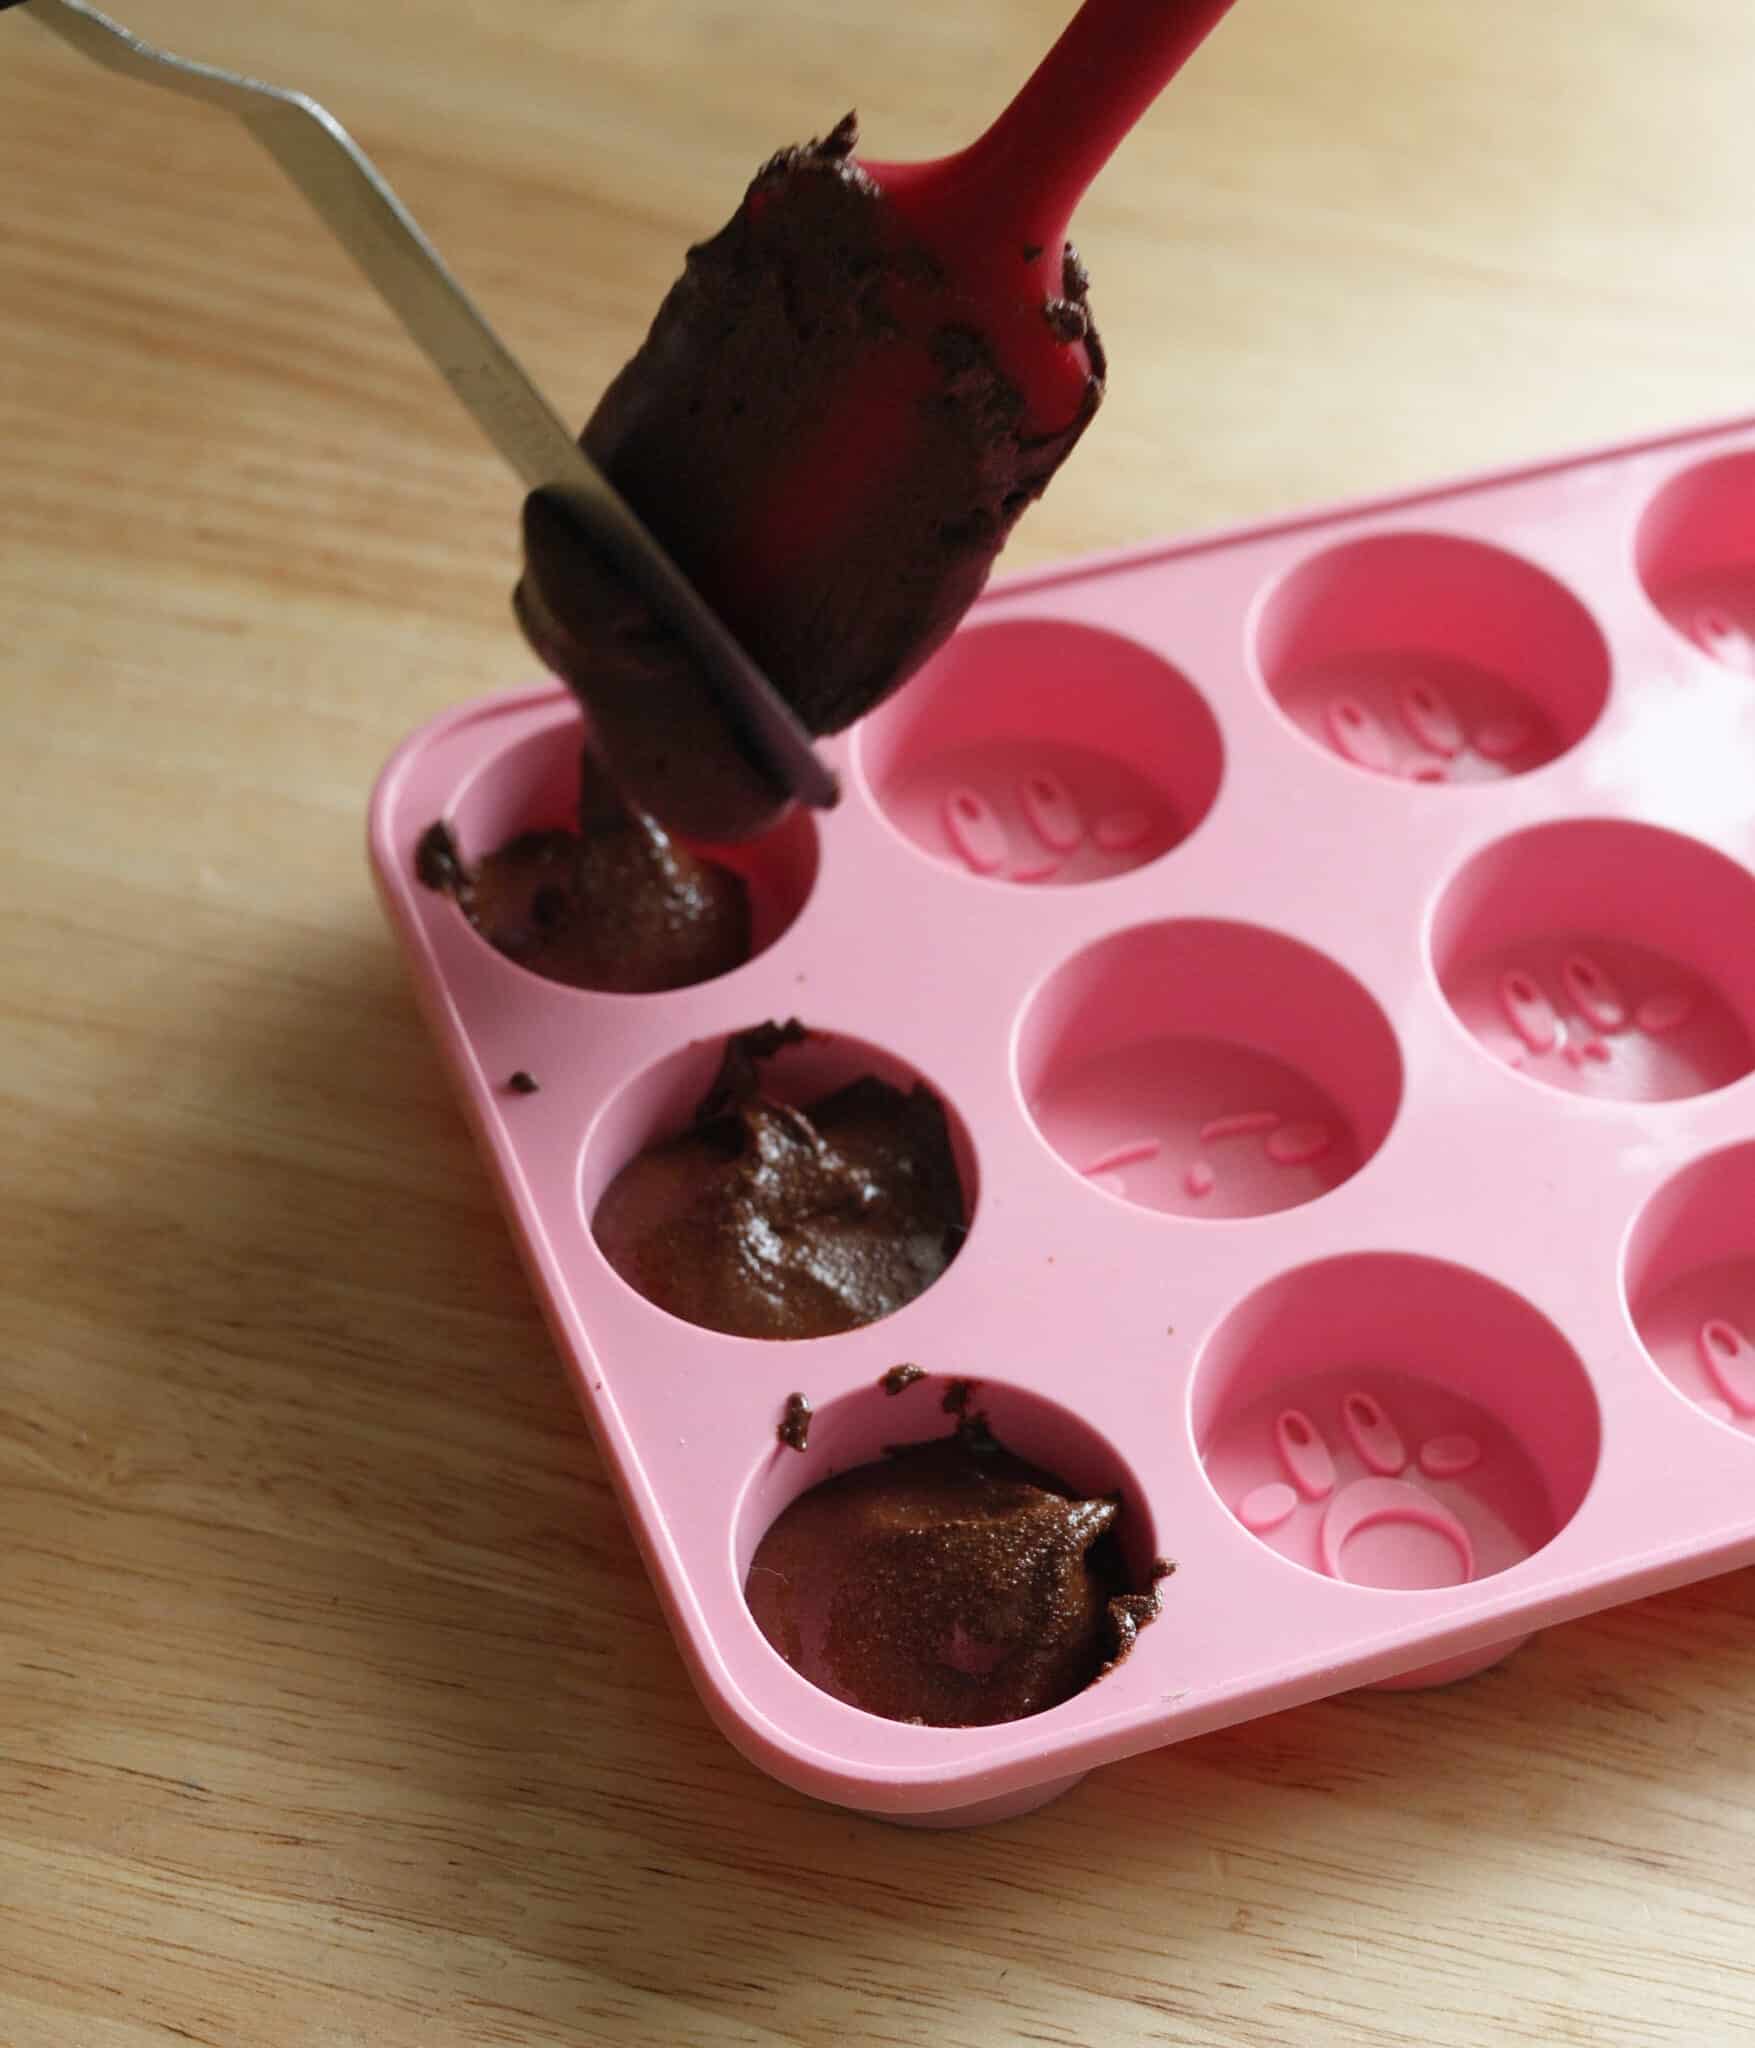
After blending my chocolate, I tempered it to create a smooth, glossy finish. Here’s a quick chocolate tempering guide by Ghirardelli.
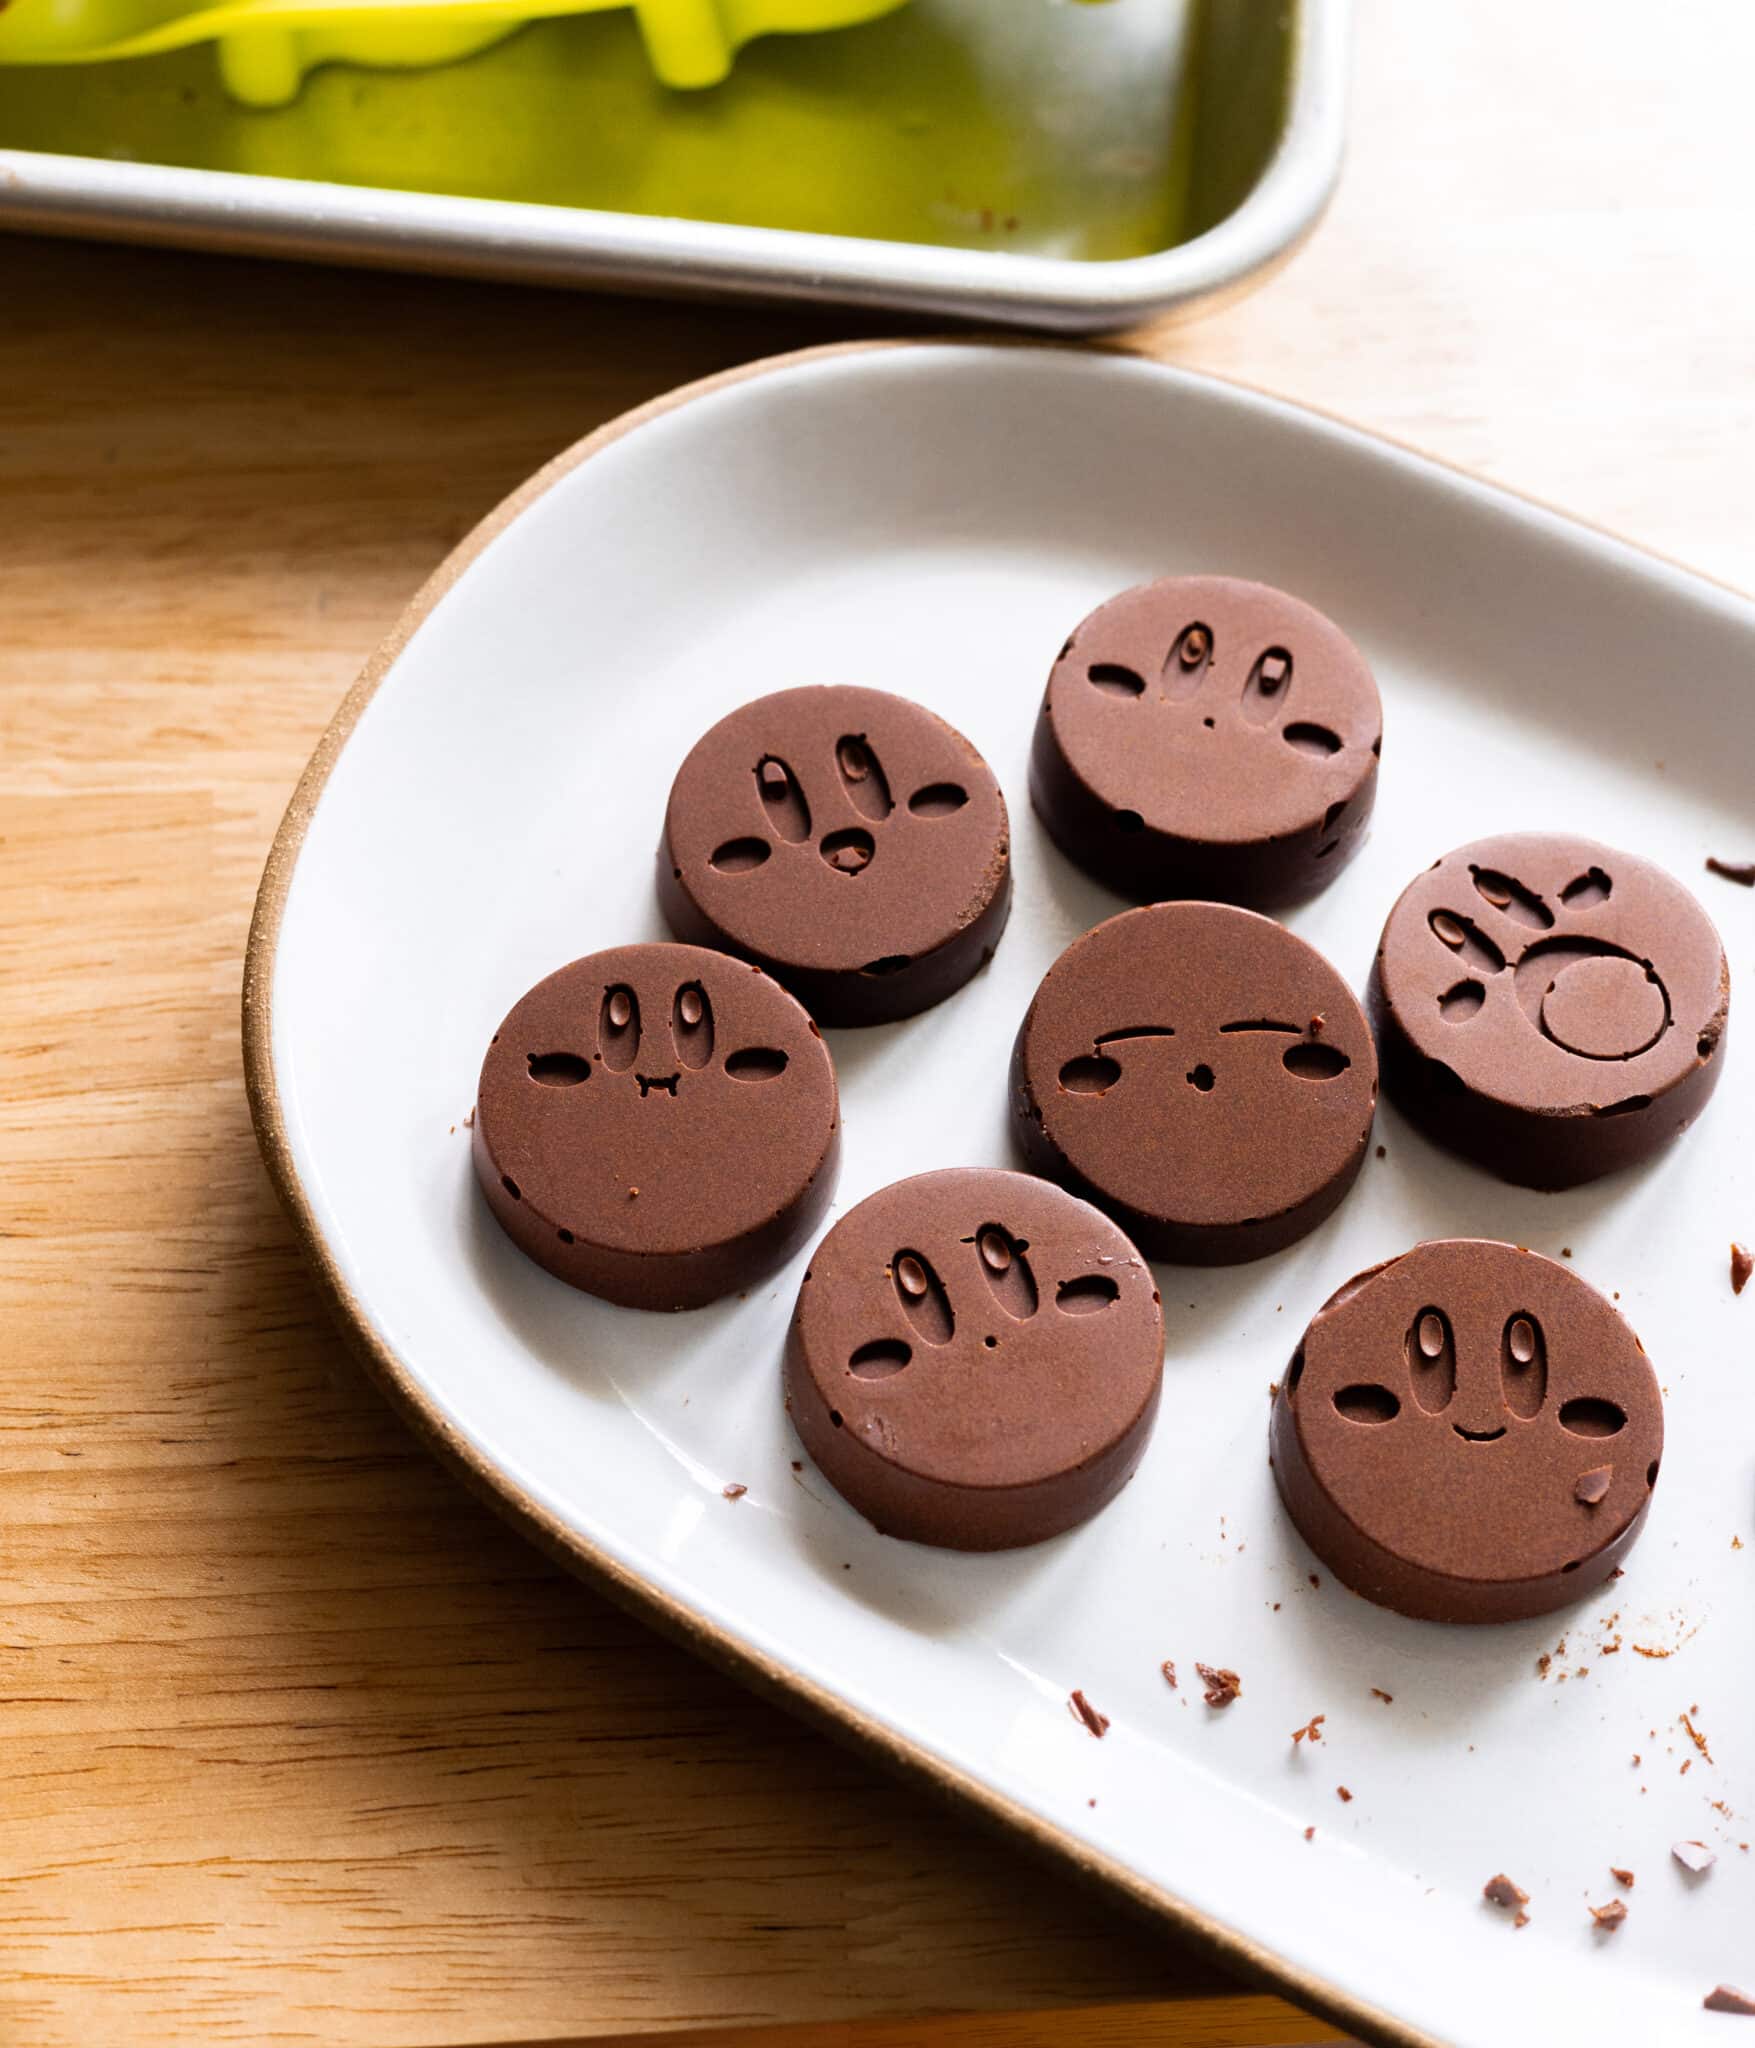
Since I didn’t have standard chocolate bar molds, I transferred my mixture to these Kirby molds, and let it set in the freezer for about 20 minutes.
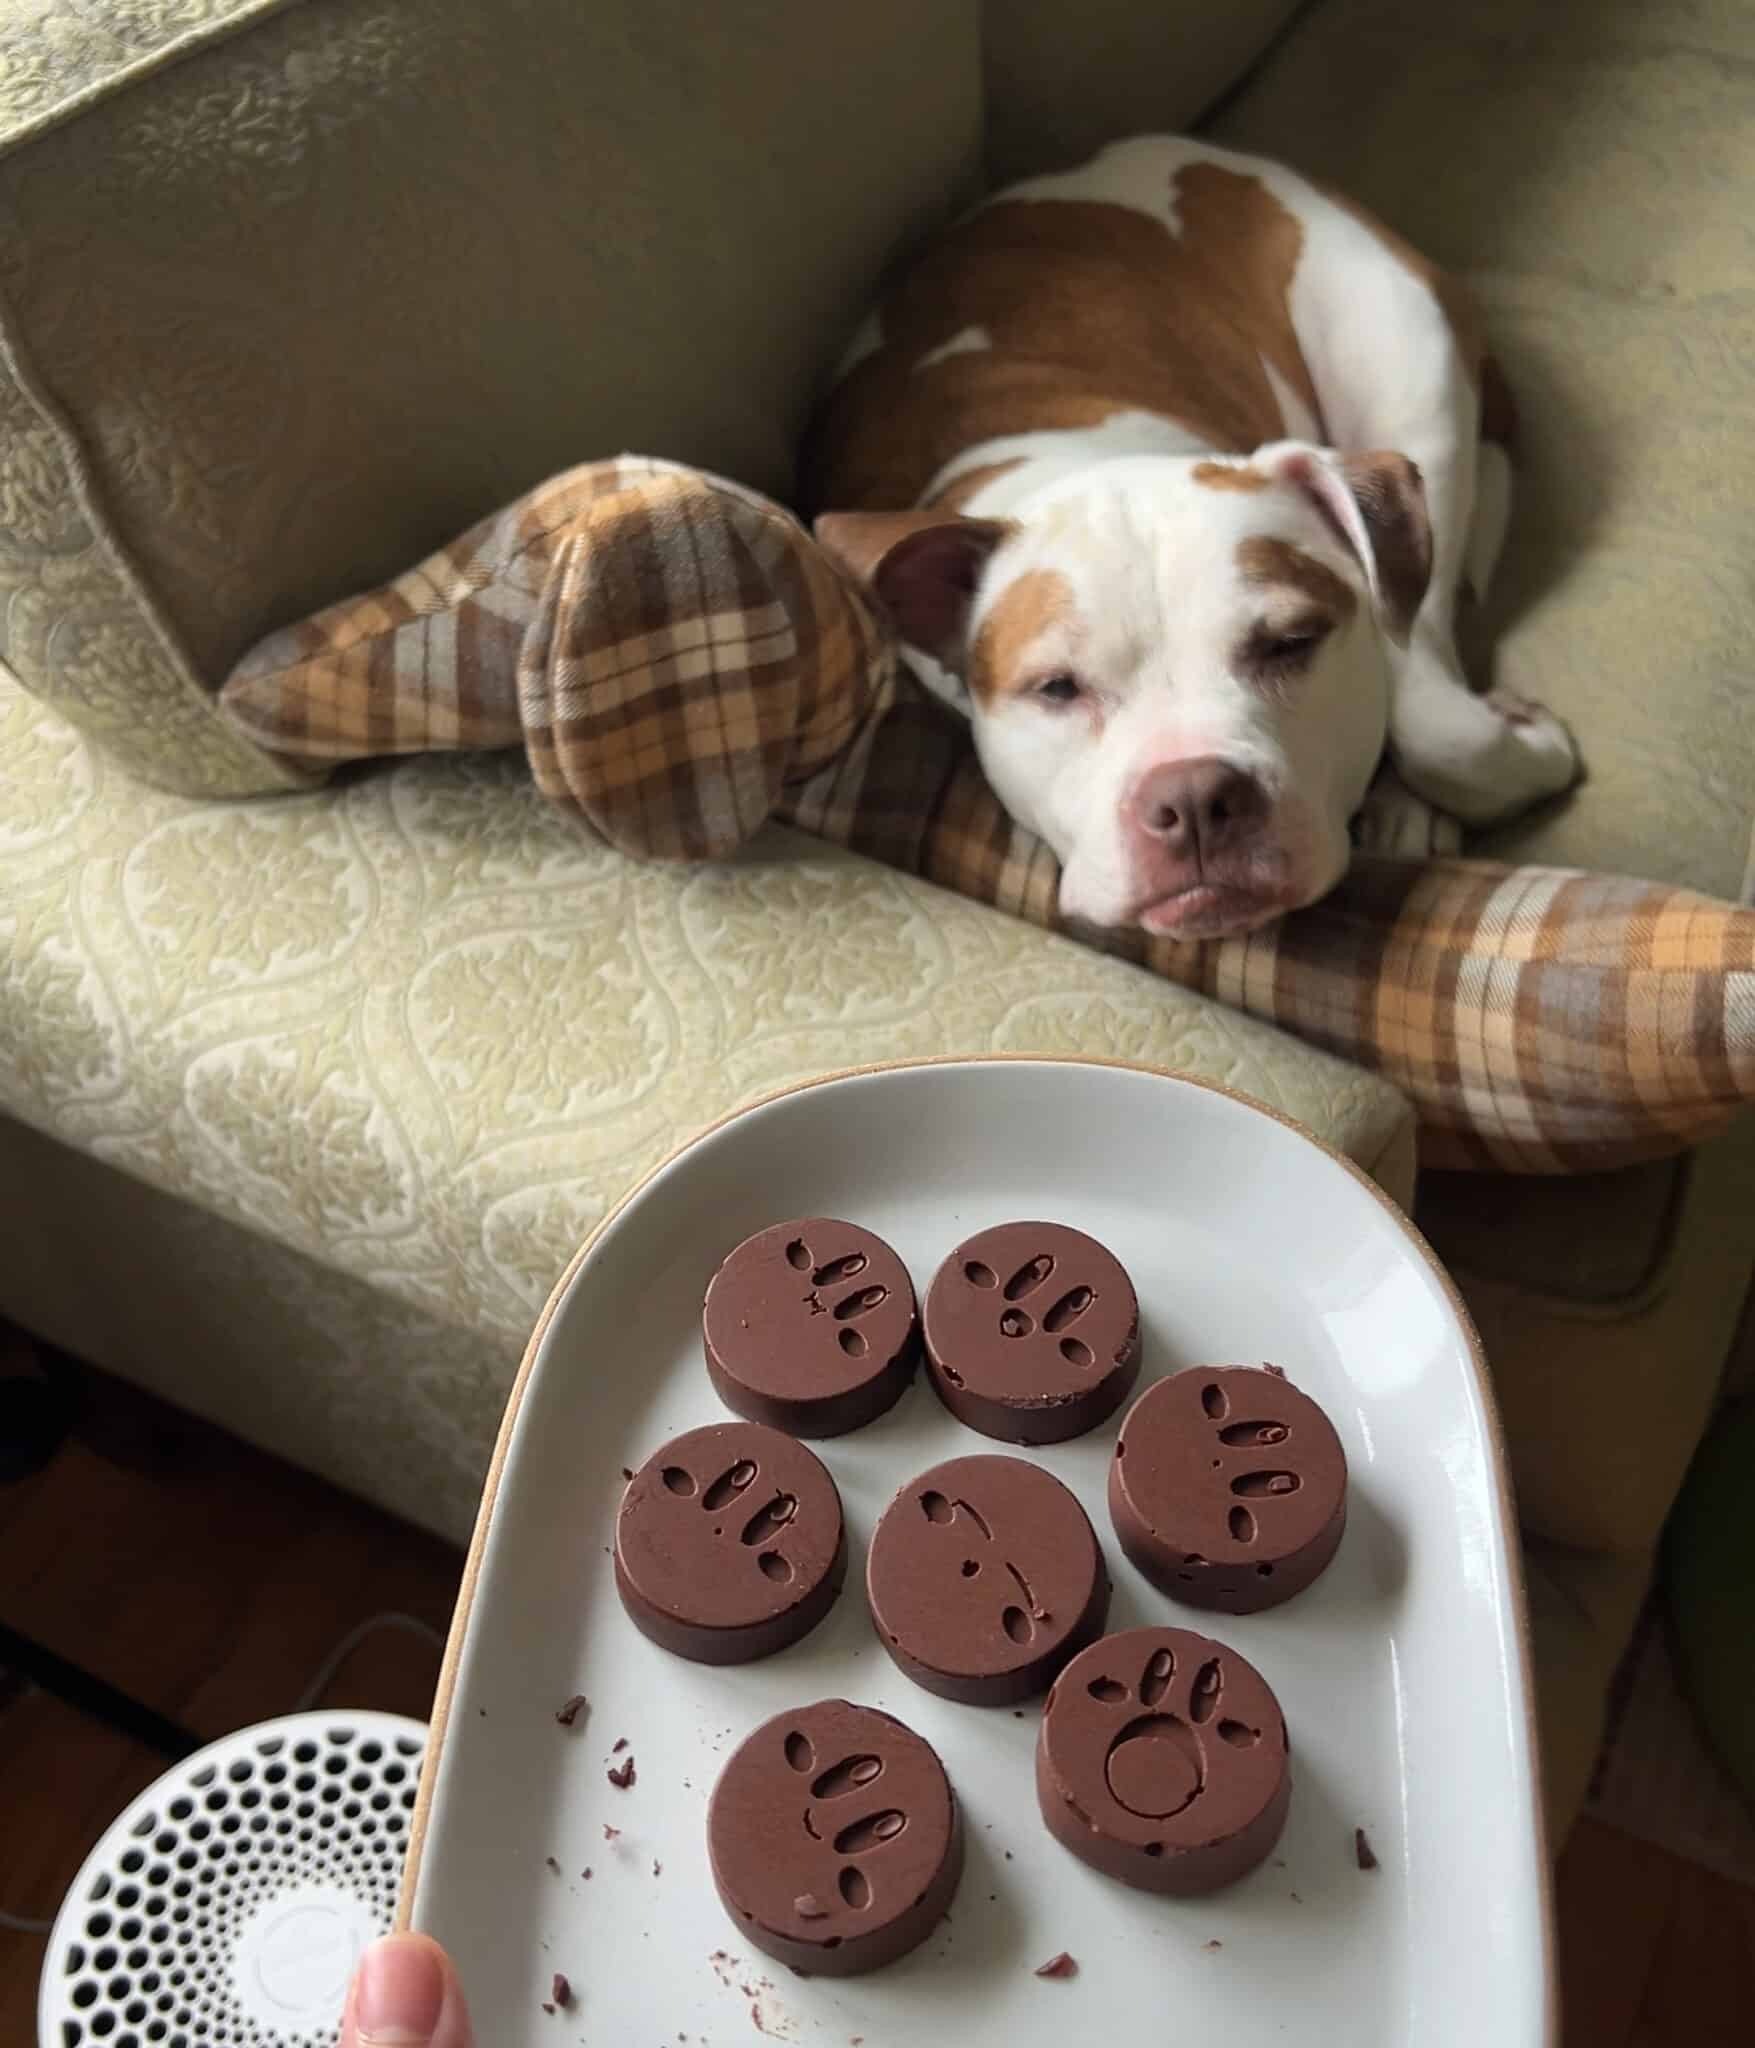
And that’s it! My dog, Miley, wasn’t that amused, but I was.
The full tutorial by University of Hawai’i can be found here: Making Chocolate From Scratch.
Now.. How did It Taste?!
I actually thought the chocolate was delicious and not too sweet! It was a bit gritty in texture, which I expected… since I don’t own a chocolate mill!
However, I really did enjoy it. It reminded me of Taza Chocolate, which is supposed to be gritty and not as refined as other chocolates out there.
This was such a fun experiment and I really want to try it out again. My next mission is to try making homemade cocoa powder and tablea—Filipino hot chocolate discs.
If you have any questions about how I made the chocolate, let me know!
Thanks for reading along. 🙂