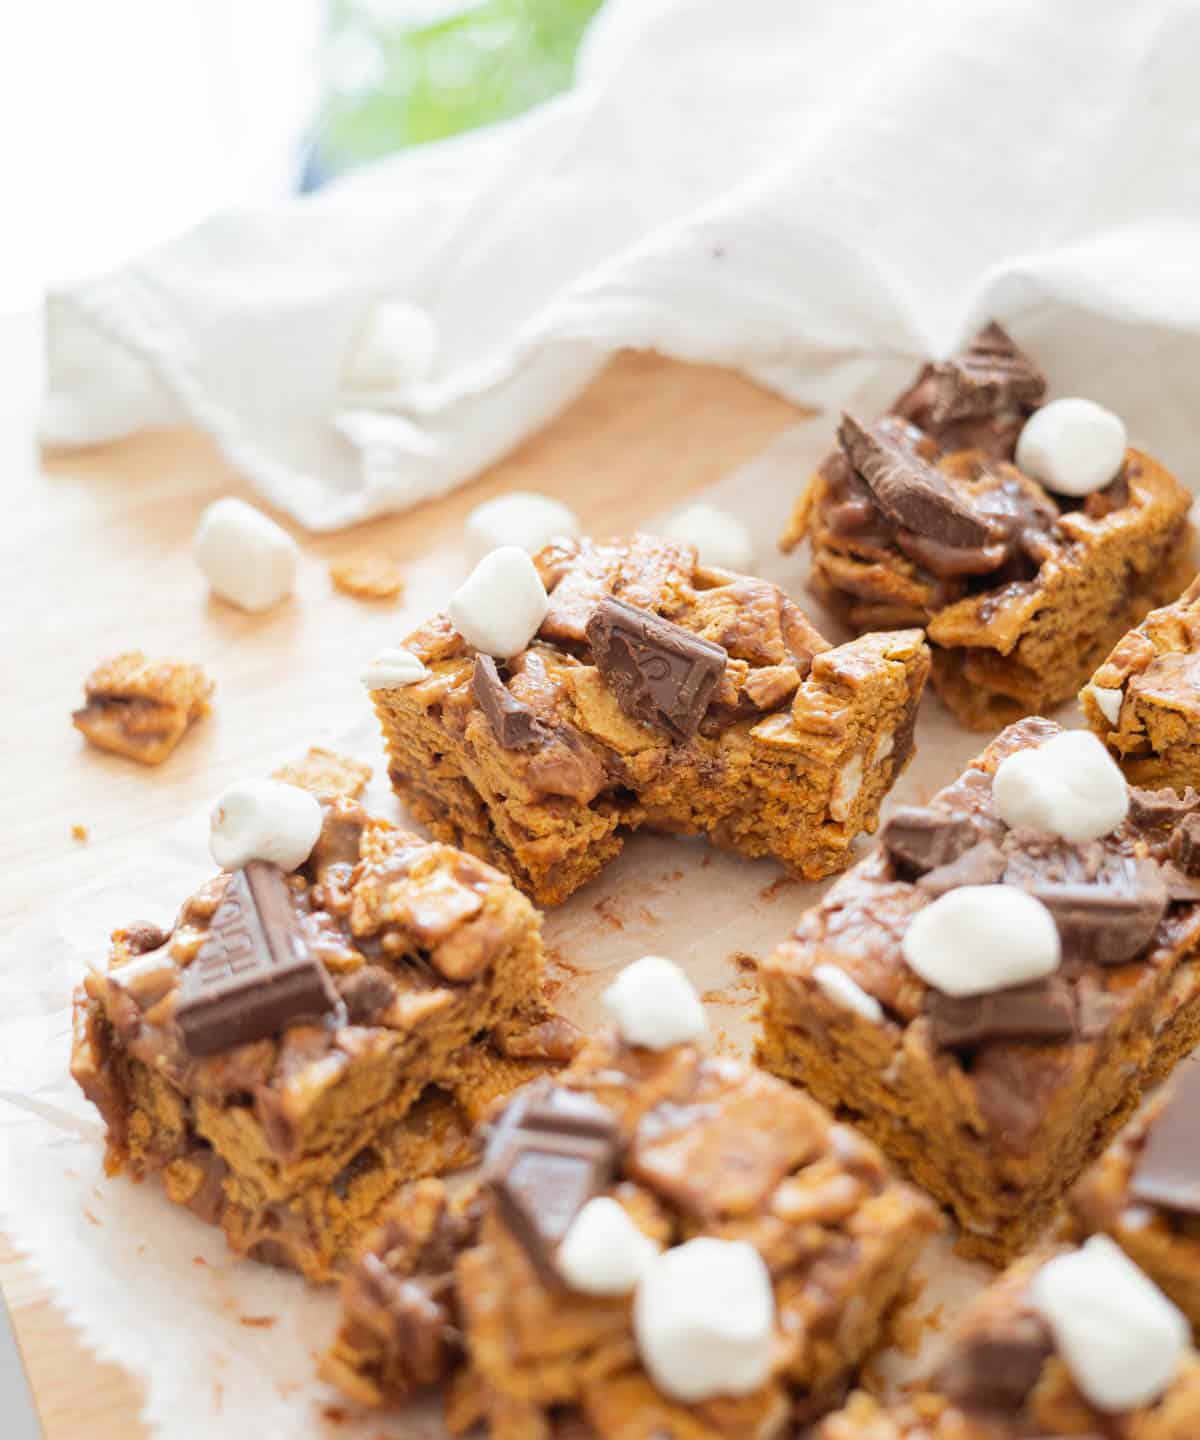
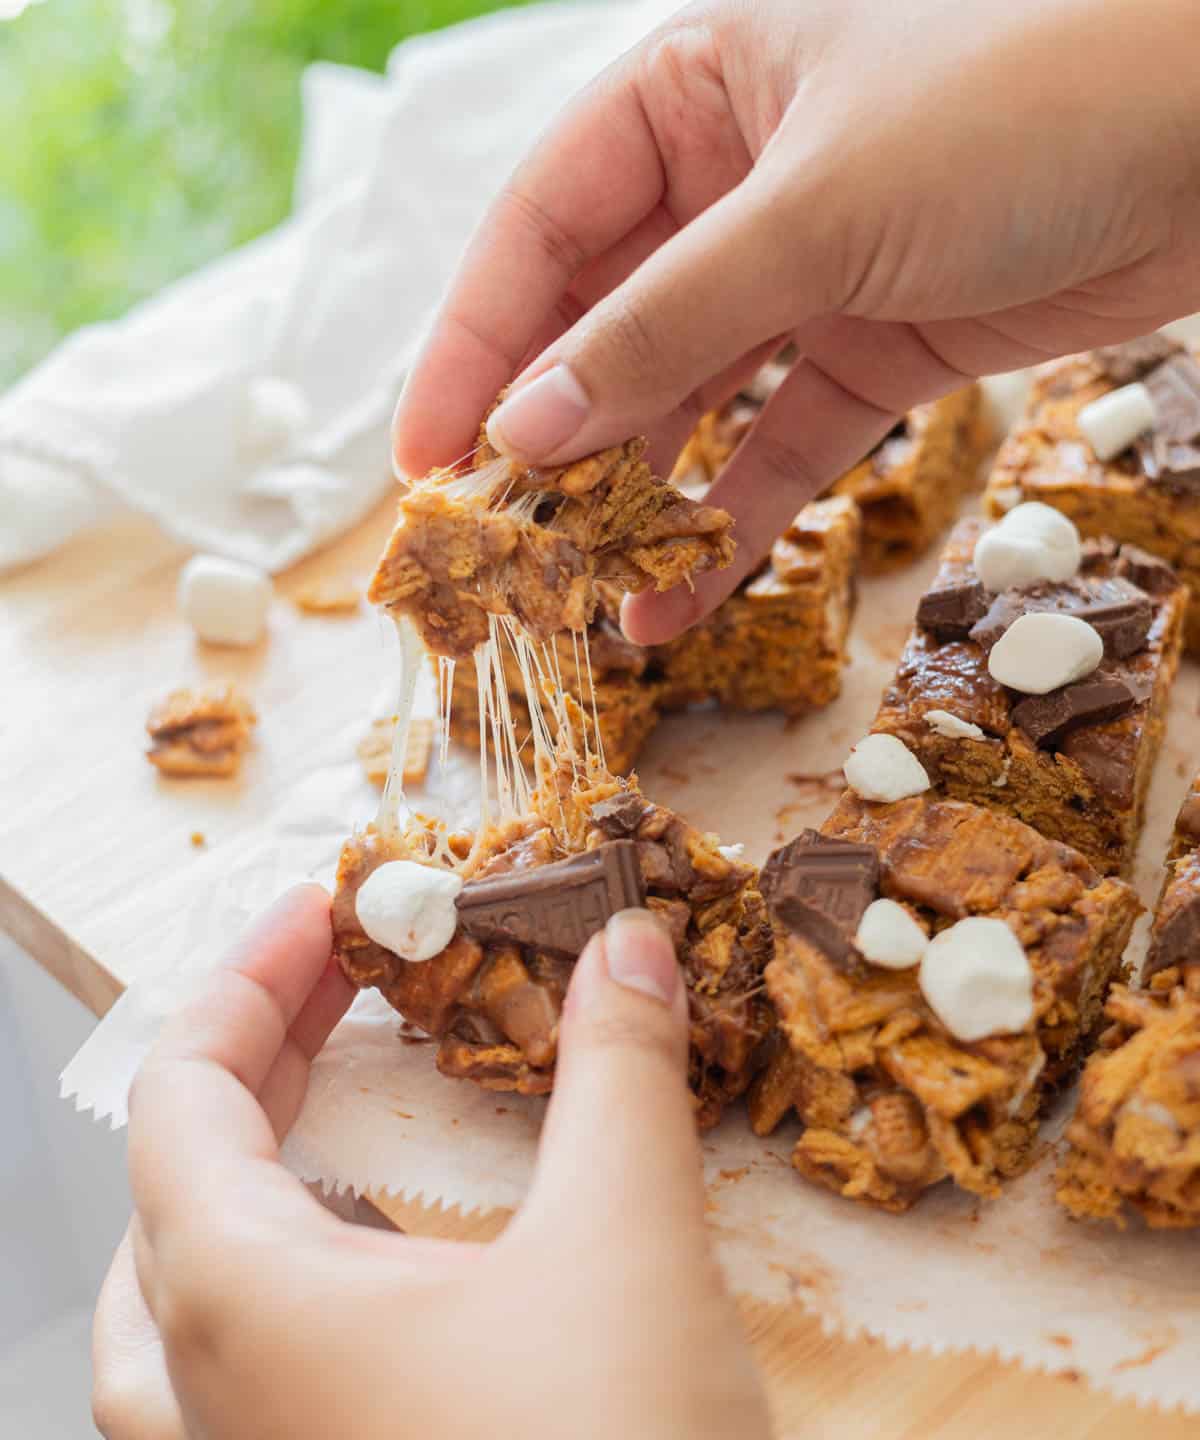
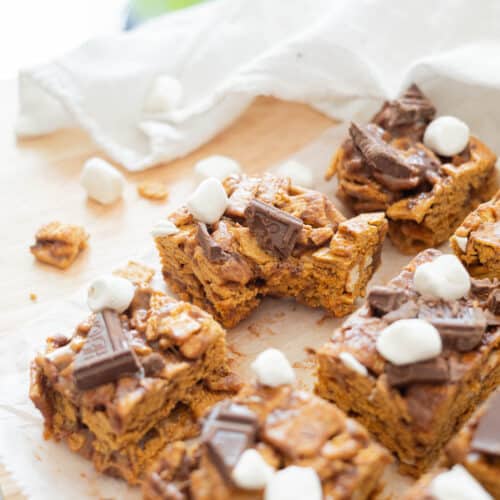
These ooey, gooey Golden Graham s’mores bars are the perfect no-bake treat to have on a hot summer day or a cozy fall/winter evening. They’re extra toasty because they’re made with browned butter and toasted marshmallows. Although they sound a bit fancier than a regular s’mores bar, they’re still quite easy to make and can be made in under an hour!
✉️ want to save this?
🍫 Why You’ll Love This Recipe
- It’s a quick, simple, no-bake dessert. Although the recipe sounds fancy-ish, browning the butter and toasting the marshmallows actually take less than 10 minutes! Everything is mixed together, pressed into a pan, and refrigerated until set. It’s fun to make by yourself, with friends, or even little ones! ❤️
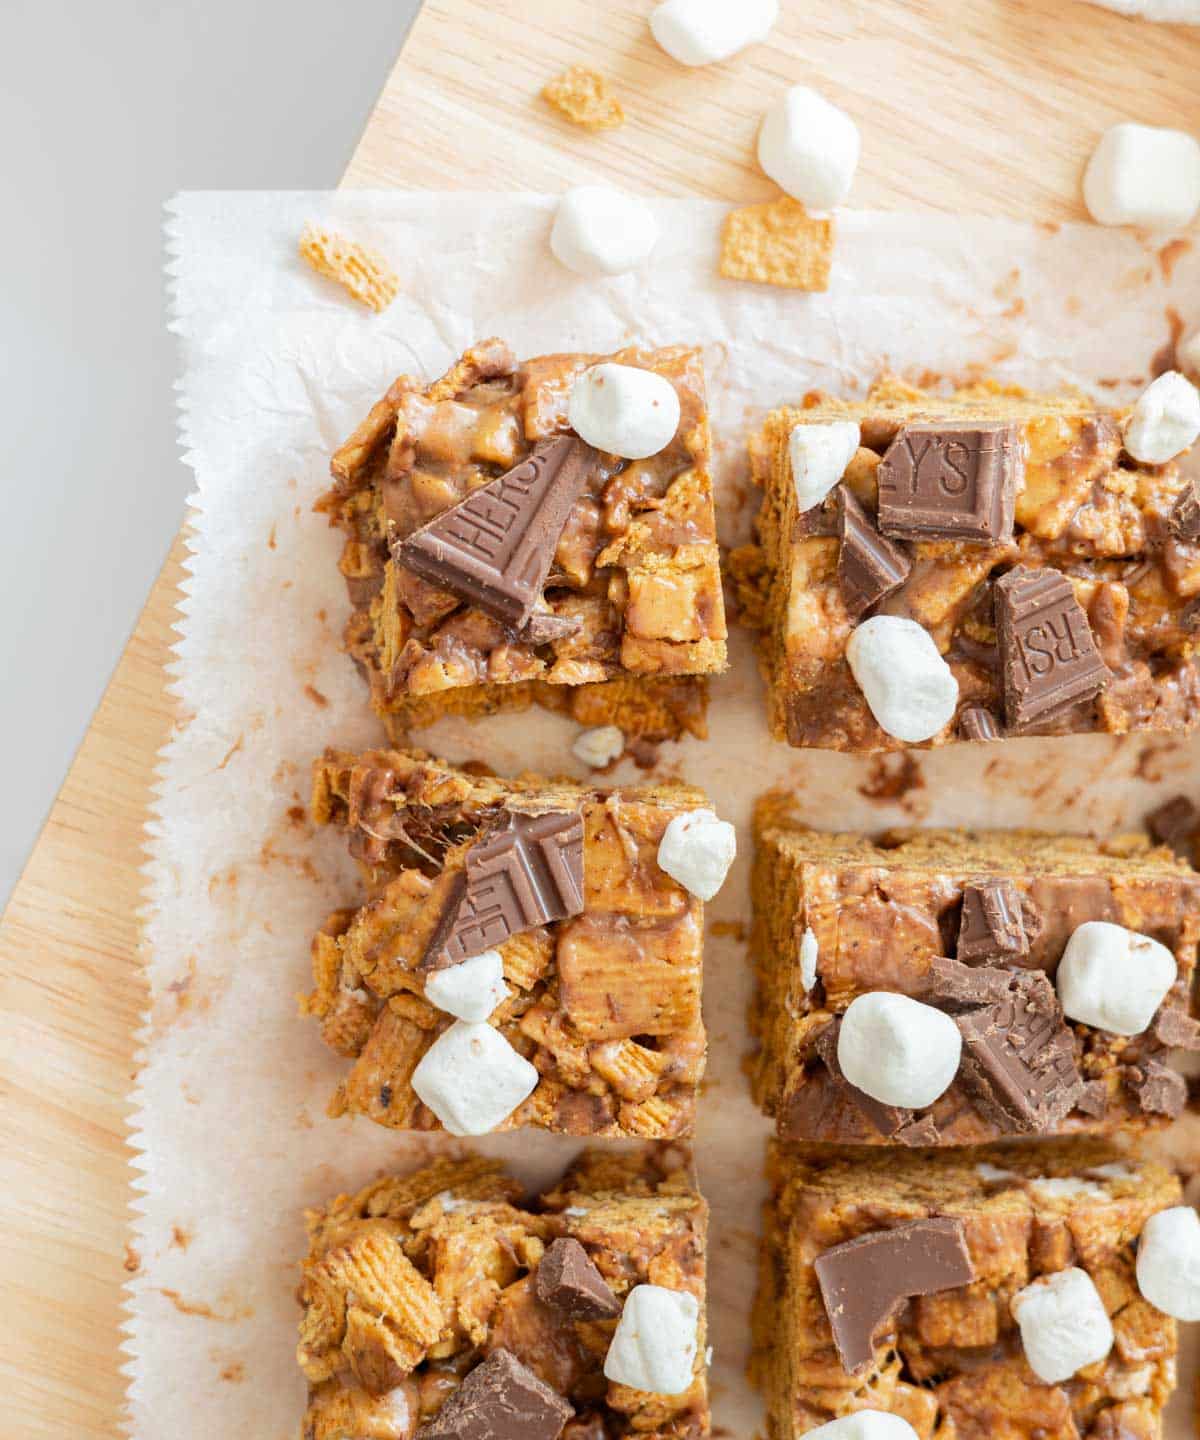
- They’re great for hosting & get-togethers. I made these in a 9×9-inch baking tin, which made 12 decently thick bars. You can always cut them into smaller pieces, or double/triple the recipe + let them set in a larger mold!
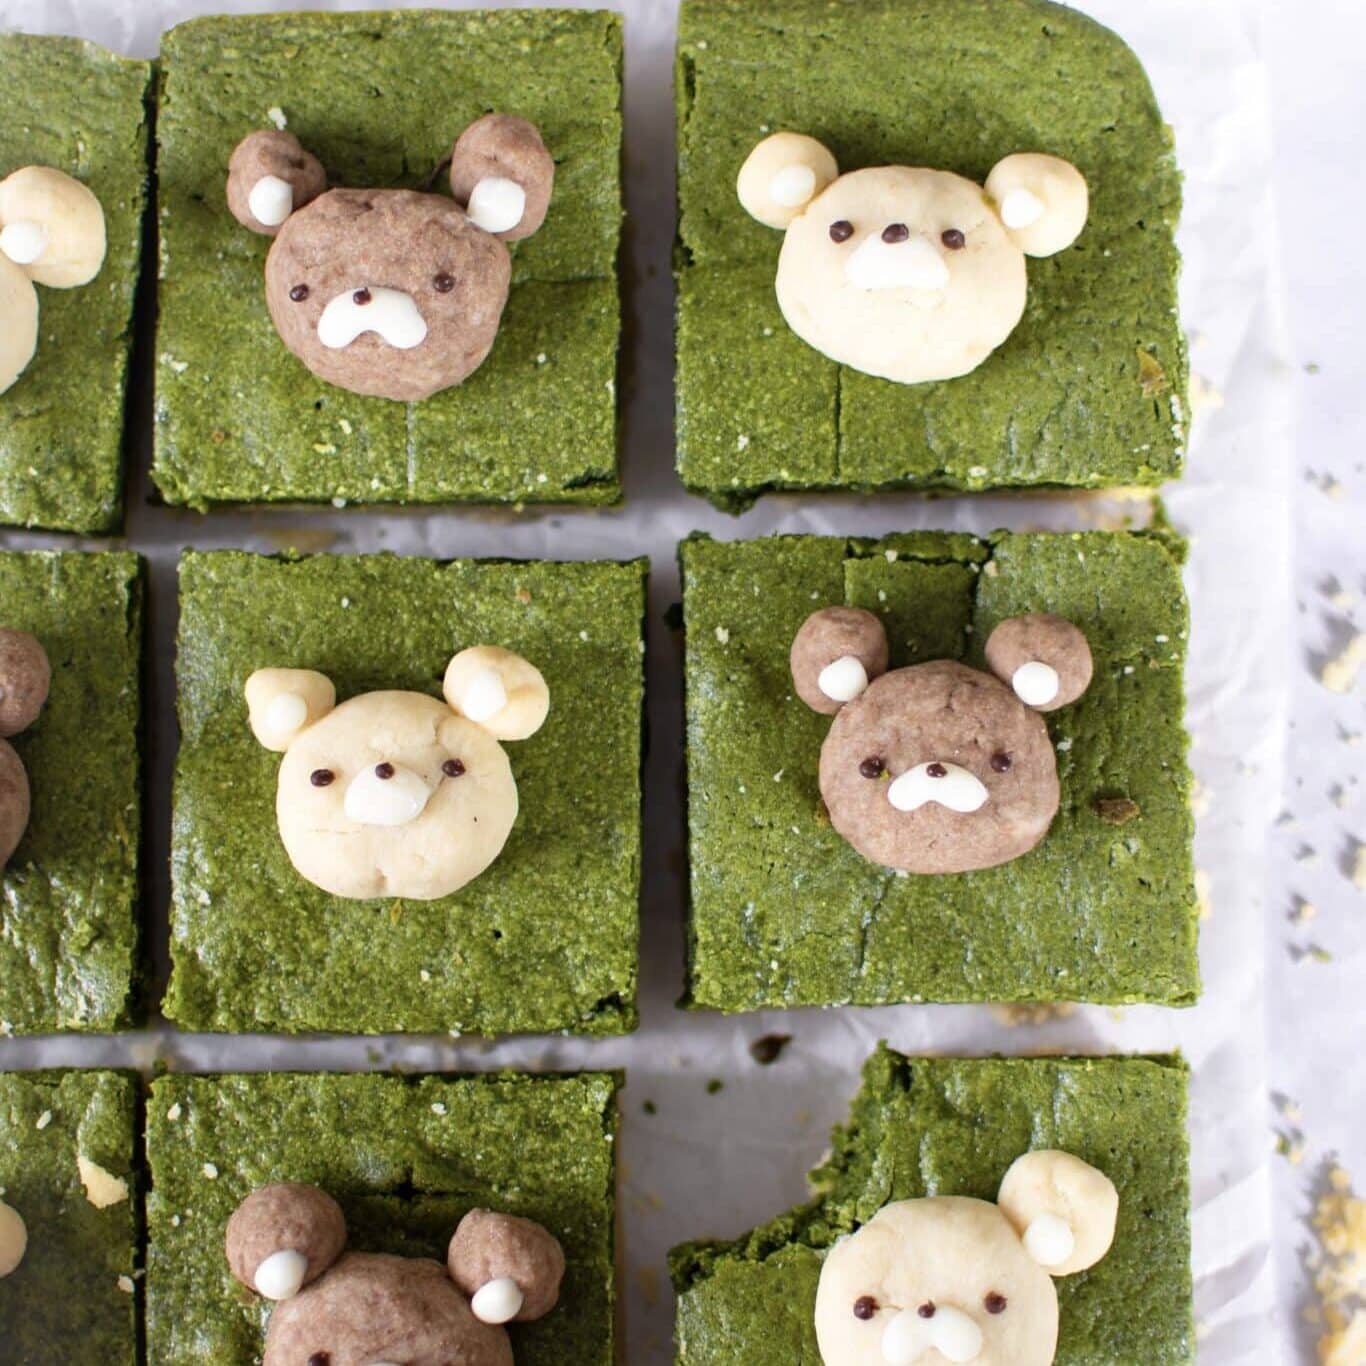
Looking for more easy bar recipes? Check out my s’mores blondies, chewy blondie bars and matcha mochi brownies!
🎥 Quick Video Tutorial
I really hope you enjoy this no bake s’mores bars with Golden Grahams! If you make it, I’d love to see! You can tag me at #bitesbybianca / @bitesbybianca on Instagram.
📖 Recipe
Golden Grahams S’mores Bars
These ooey, gooey Golden Graham s'mores bars are the perfect no-bake treat to have on a hot summer day or a cozy fall/winter evening. They're extra toasty because they're made with browned butter and toasted marshmallows. Although they sound a bit fancier than a regular s'mores bar, they're still quite easy to make and can be made in under an hour!
✉️ want to save this?
Equipment
Ingredients
- ½ cup (113.5 g) unsalted butter
- 12 ounces (340.2 g) marshmallows mini or regular-sized
- 1 tablespoons (1 tbsp) vanilla extract
- ½ teaspoon (0.5 tsp) table salt
- 4 ounces (113.4 g) chocolate bar roughly chopped
- 4 ounces (113.4 g) mini marshmallows
- 5 cups (200 g) Golden Grahams cereal
Instructions
Prep:
- Note: It is important to have all your ingredients & equipment ready to go! This is important because cooled, melted marshmallows are much stickier and more difficult to work with. By having everything prepped, following the recipe will be smoother!
- Line your 9×9-inch pan and baking sheet with parchment paper.
- Add Golden Grahams to your large mixing bowl.
Brown the butter:
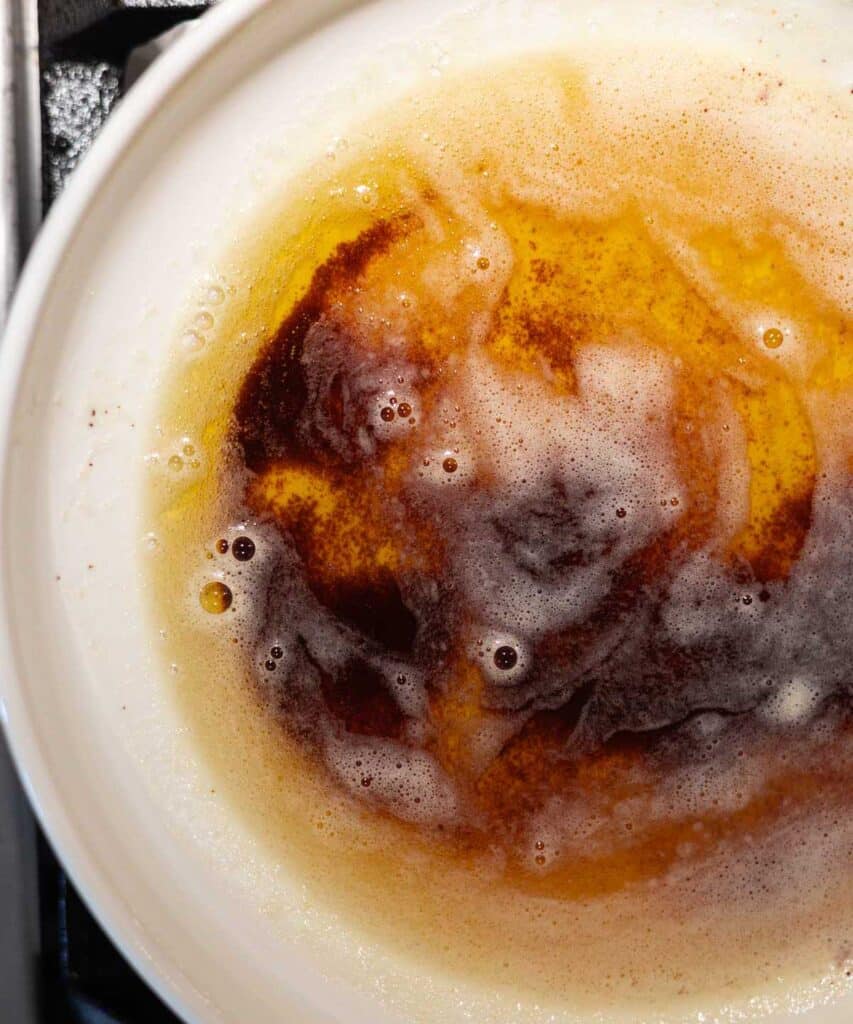
- In a light-colored pan over medium heat, add ½ cup unsalted butter. Continuously stir with a silicone spatula. After the butter melts, it will begin to foam. Then, the foaming will subside and brown specks will start to form at the bottom of the pan. Keep stirring.The color change will be fairly quick, so keep an eye on the butter. Remove the pan from heat once you smell a nutty aroma and the butter becomes golden brown. Transfer to a heat-safe bowl and set aside while you work on the next steps.You can also check out my more in-depth post about brown butter here.
Toast marshmallows:
- Add 12 ounces marshmallows to your lined baking tray.
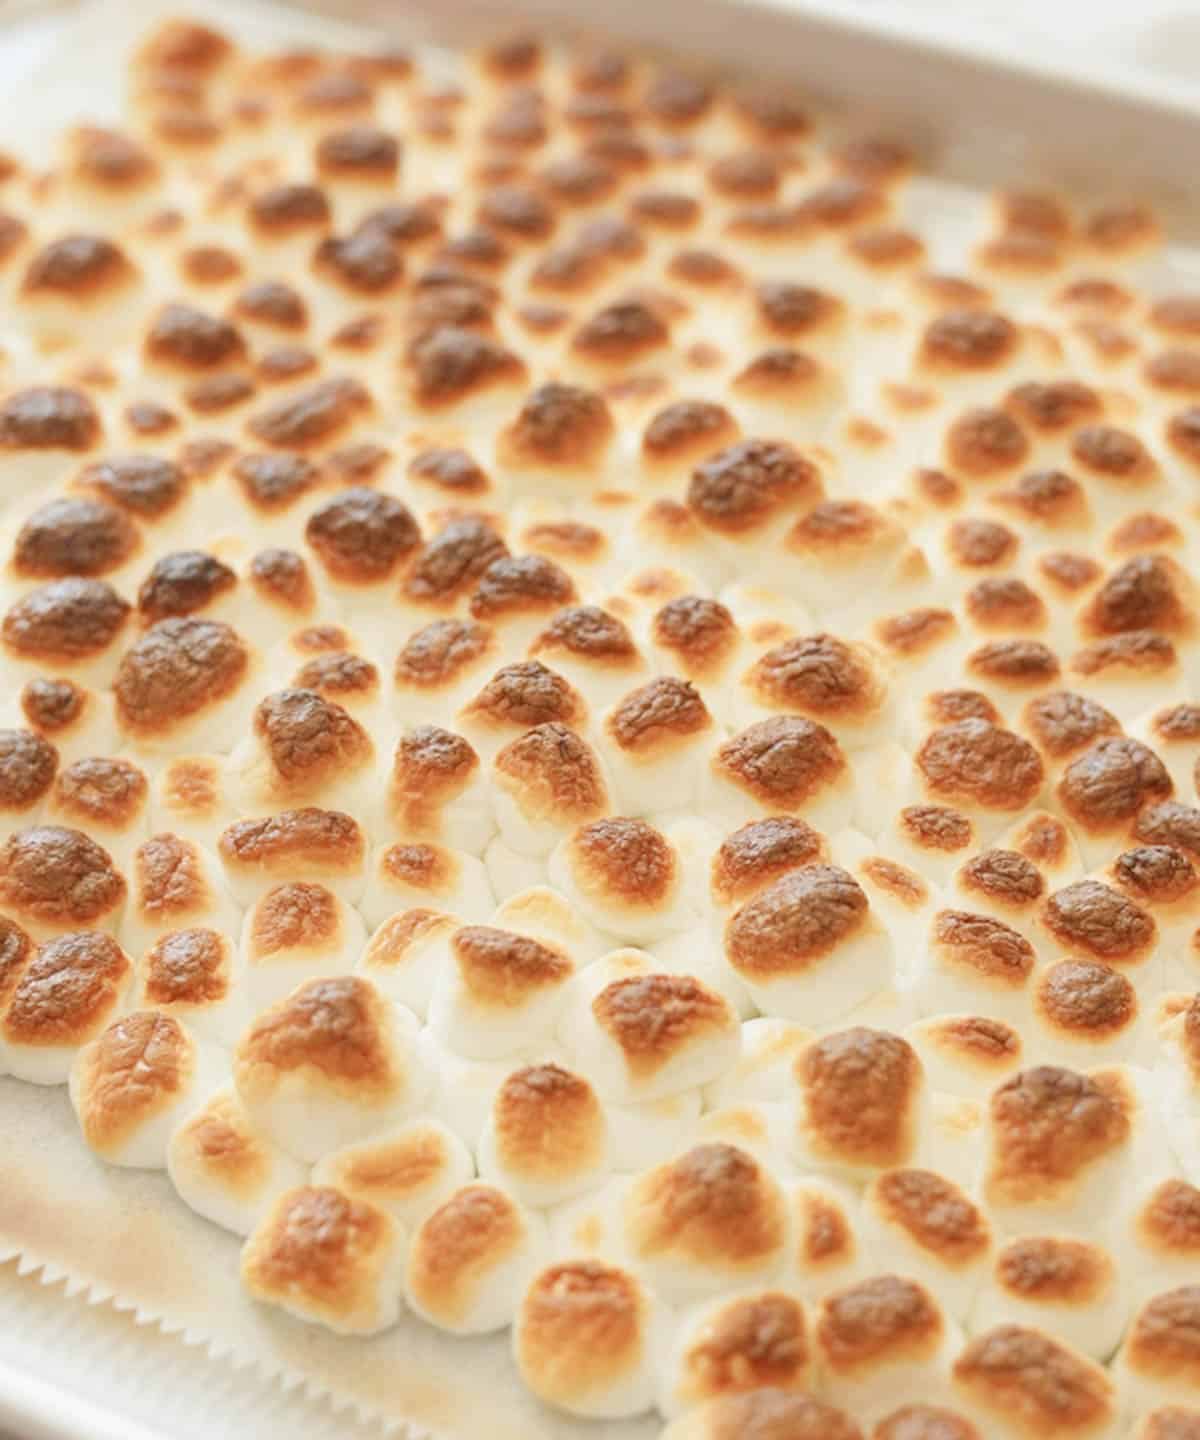
- Broil the marshmallows for 1-3 minutes, or until toasted to your liking. Make sure to keep a constant eye on them to avoid any burning! Remove from broiler.
Mix & assemble:
- In a large saucepan, add in your toasted marshmallows and browned butter. Heat on medium low and whisk until marshmallows are completely melted, about 2-3 minutes. Once completely melted, remove from heat. It's important to not overcook or else the s'mores bars will be tougher in texture.
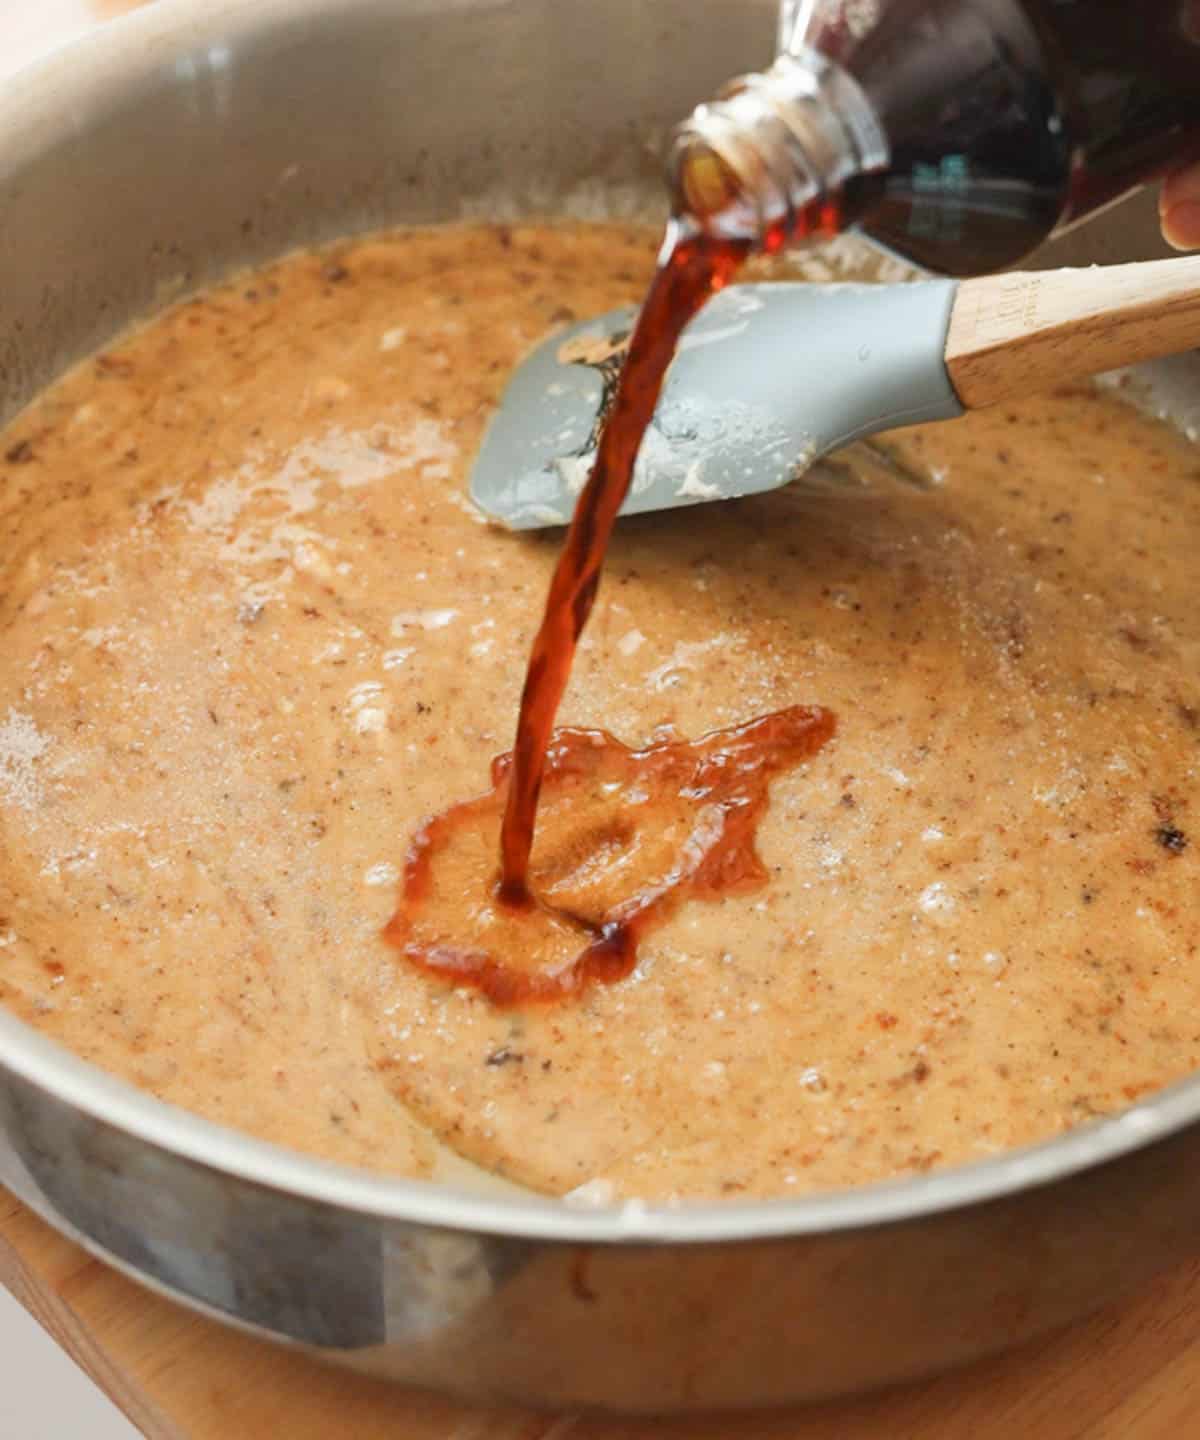
- Whisk in 1 tablespoons vanilla extract and ½ teaspoon table salt.
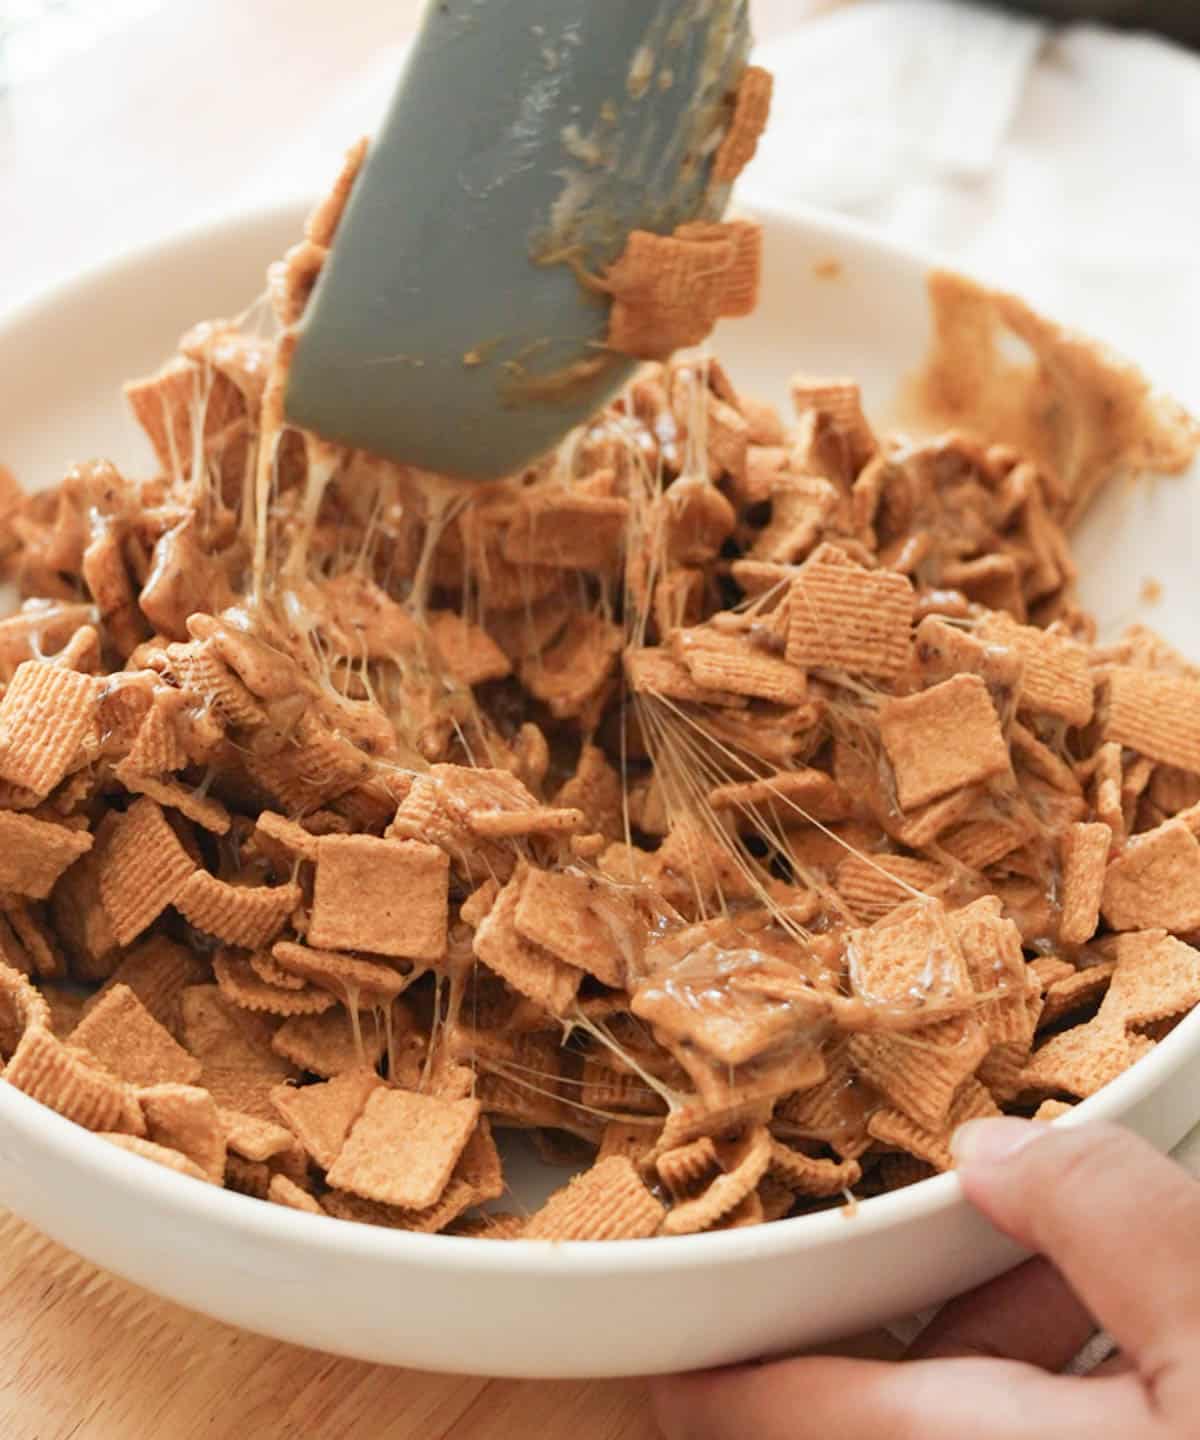
- Pour marshmallow butter mixture over your Golden Grahams. Using your silicone spatula, gently mix until the cereal is mostly coated.
- Fold in 90% of your roughly chopped 4 ounces chocolate bar and 90% of your 4 ounces mini marshmallows.
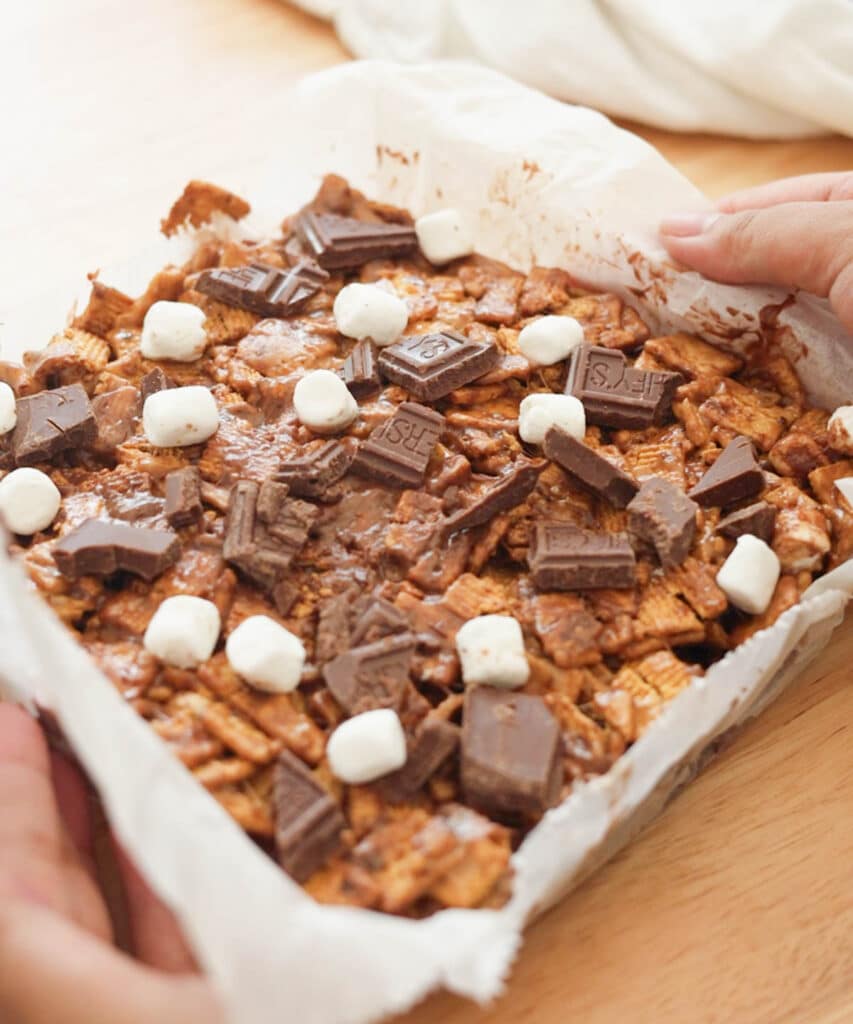
- Transfer entire mixture to your lined 9×9-inch pan. Use silicone spatula to press it down into an even layer.
- Scatter remaining mini marshmallows and chocolate on top. Refrigerate for at least 30 minutes until set.
- Use a knife to cut 12 even pieces and enjoy!
Notes
Storage: Keep in airtight container in the fridge for up to 1 week, or store in freezer for up to 3 months.
Did you try this recipe?Let us know how it was!



(I am the author of this recipe)
My boyfriend loves this recipe! I’ve made this a few times for us and it’s so easy to make and yummy.