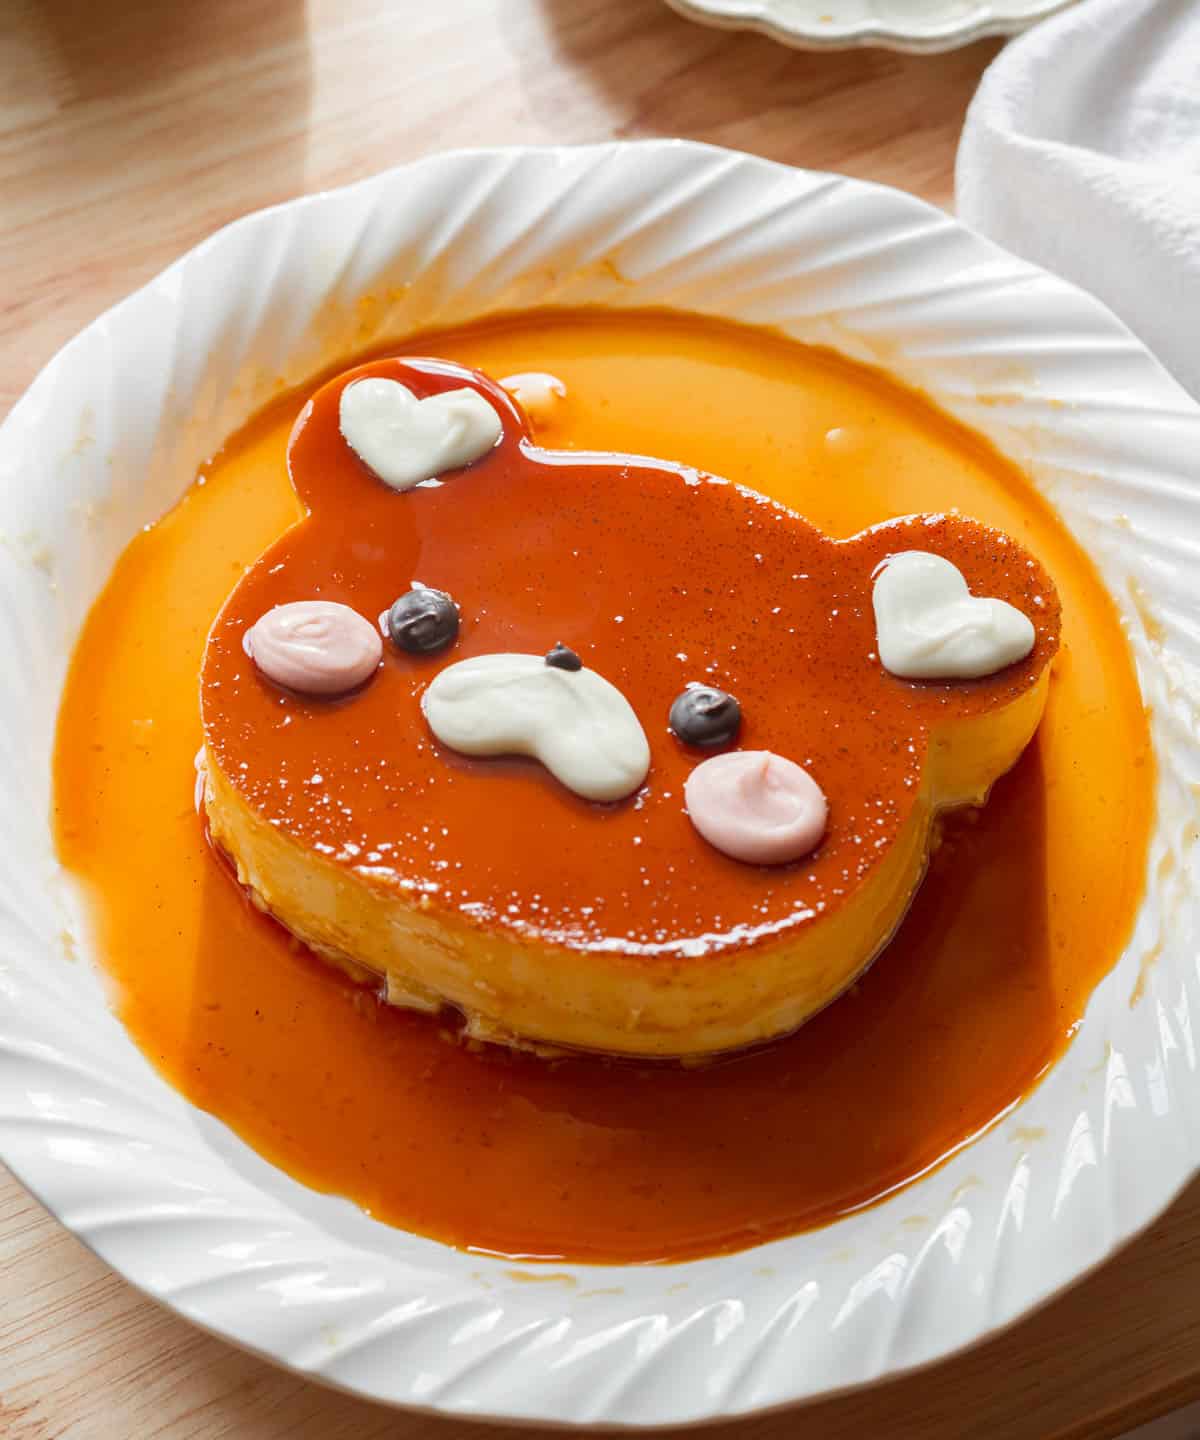
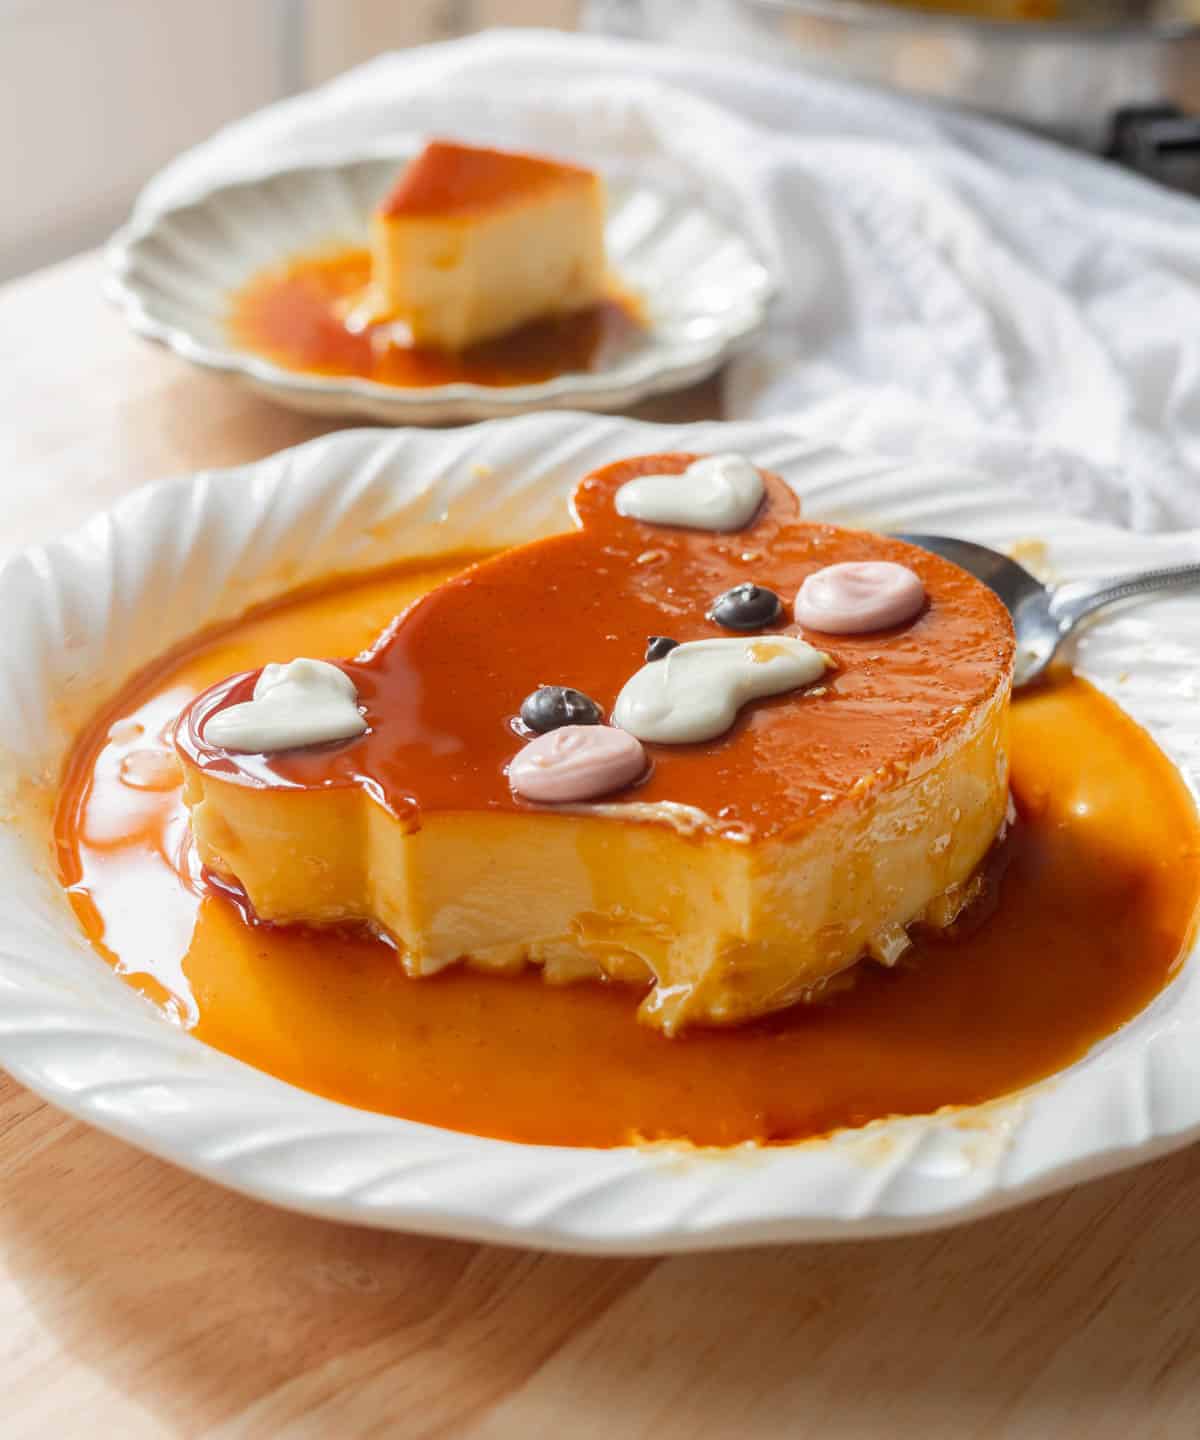
This is my fun twist on my mom’s leche flan recipe: an incredibly creamy, delicious flan… but cute! It’s a unique way to serve flan, making it an interesting centerpiece or gift. And don’t worry about the scraps—you can either eat them (aka the baker’s tax!) or blend them to make a super silky flan cream/pudding.
✉️ want to save this?
What Is Leche Flan?
Flan is a silky custard dessert topped with a rich caramel sauce. It’s such a beloved dessert that there are many countries around the world with their own version! They differ by using whole eggs vs egg yolks, different milks, extracts, etc. And all are delicious.
Leche flan is the Filipino version—a custard made with only egg yolks, condensed milk, evaporated milk, and vanilla. It’s super creamy, silky, and one of my favorite Filipino classics. If you go to a Filipino party, you’re bound to find leche flan there.
Not only is it delicious, but it’s easy to make. Although it might sound intimidating to make your own caramel and custard, it’s quite simple to prep. And if it’s your first time making it—don’t worry! This blog post will have all the information you’ll need. 🙂
❤️ Why You’ll Love This Recipe
- People tell me it’s the creamiest AND best flan they’ve ever had. The combination of egg yolks and milks make this flan so smooth and delicious!
- Making flan is much easier than you think! Cooking caramel sounds hard, but it’s actually quite quick and simple! And the custard is easy to make too, requiring common pantry items. The main trick is baking the leche flan until it is done, but my blog post has 3 different ways to test for doneness in case you aren’t sure.
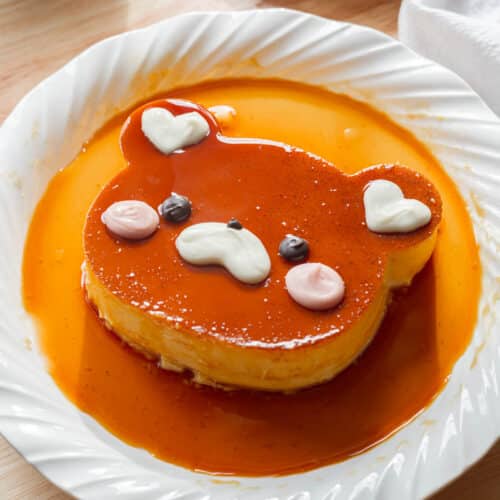
- It’s fun. Why make regular flan when you can make a cute design out of it? Sometimes a simple decoration is all you need to level up your baking. In this case, I used a large bear cookie cutter and some melted chocolates. But feel free to put your own twist on it and make your own design!
Looking for more Filipino desserts? Try out my triple mango float.
💡 Baking Tips
- Don’t feel like whisking? My mom’s friend told me that she blends all the flan batter ingredients together on low, until completely smooth!
- Don’t overcook the caramel. I actually like my caramel a little smoky tasting, so I cooked mine to that deep amber color you see in the photo of step 1. However, if you want a lighter tasting caramel, cook until it’s a light amber color!
- No llanera to bake the flan in? No worries! You’ll just need an oven-safe container that can hold at least 3 cups of liquid, like round cake pans. I’ve also split the caramel and batter into several ramekins, too.
- If you’re bringing the leche flan to a gathering, I suggest bringing your rimmed serving dish, offset spatula, bear cutter, and flan still in its baking mold to the location. Keep it chilled in the fridge. When you’re ready to serve, invert the flan onto your serving dish. It’s much easier to transport the flan while it’s in its mold, rather than carrying a container where the flan may slide around and break, with caramel dripping everywhere!
How to Make Bear-shaped Leche Flan
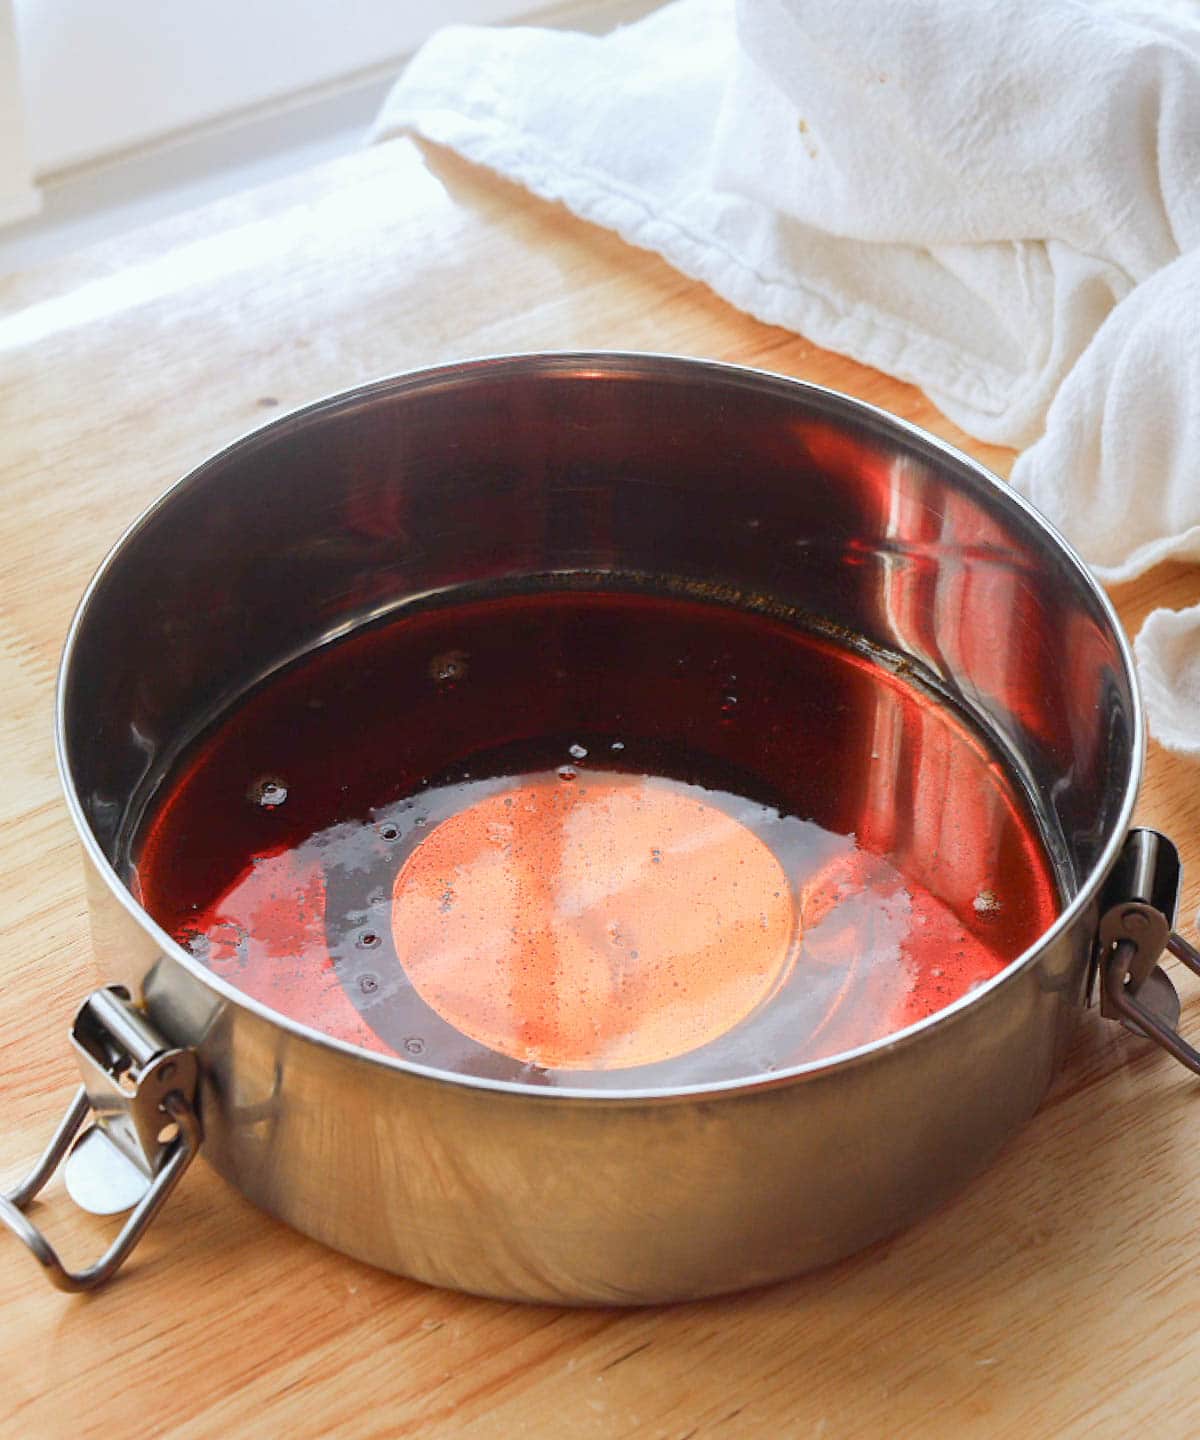
Step 1: In a saucepan, add granulated sugar and water. Cook on medium low until you get a light golden caramel, about 5 minutes (mine is a bit darker because I like the burnt caramel flavor haha!). Immediately pour into llanera/baking mold, making sure to evenly coat the bottom. The caramel will harden within the next few minutes.
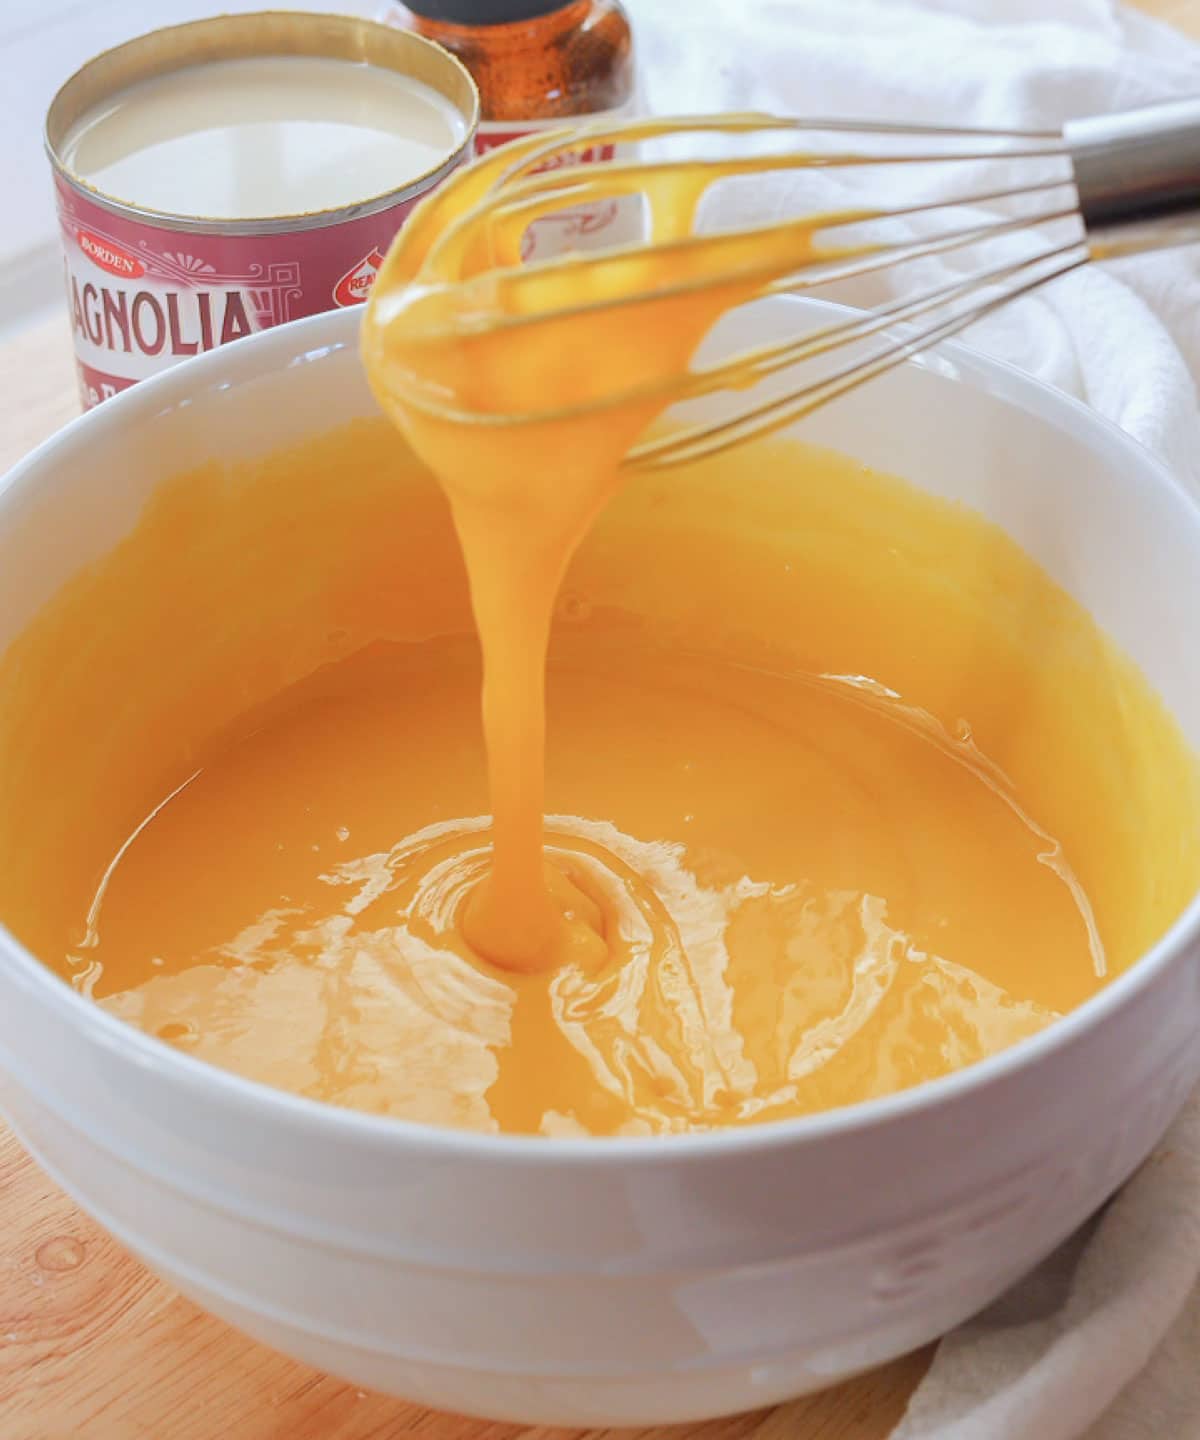
Step 2: Mix together egg yolks and sweetened condensed milk until combined.
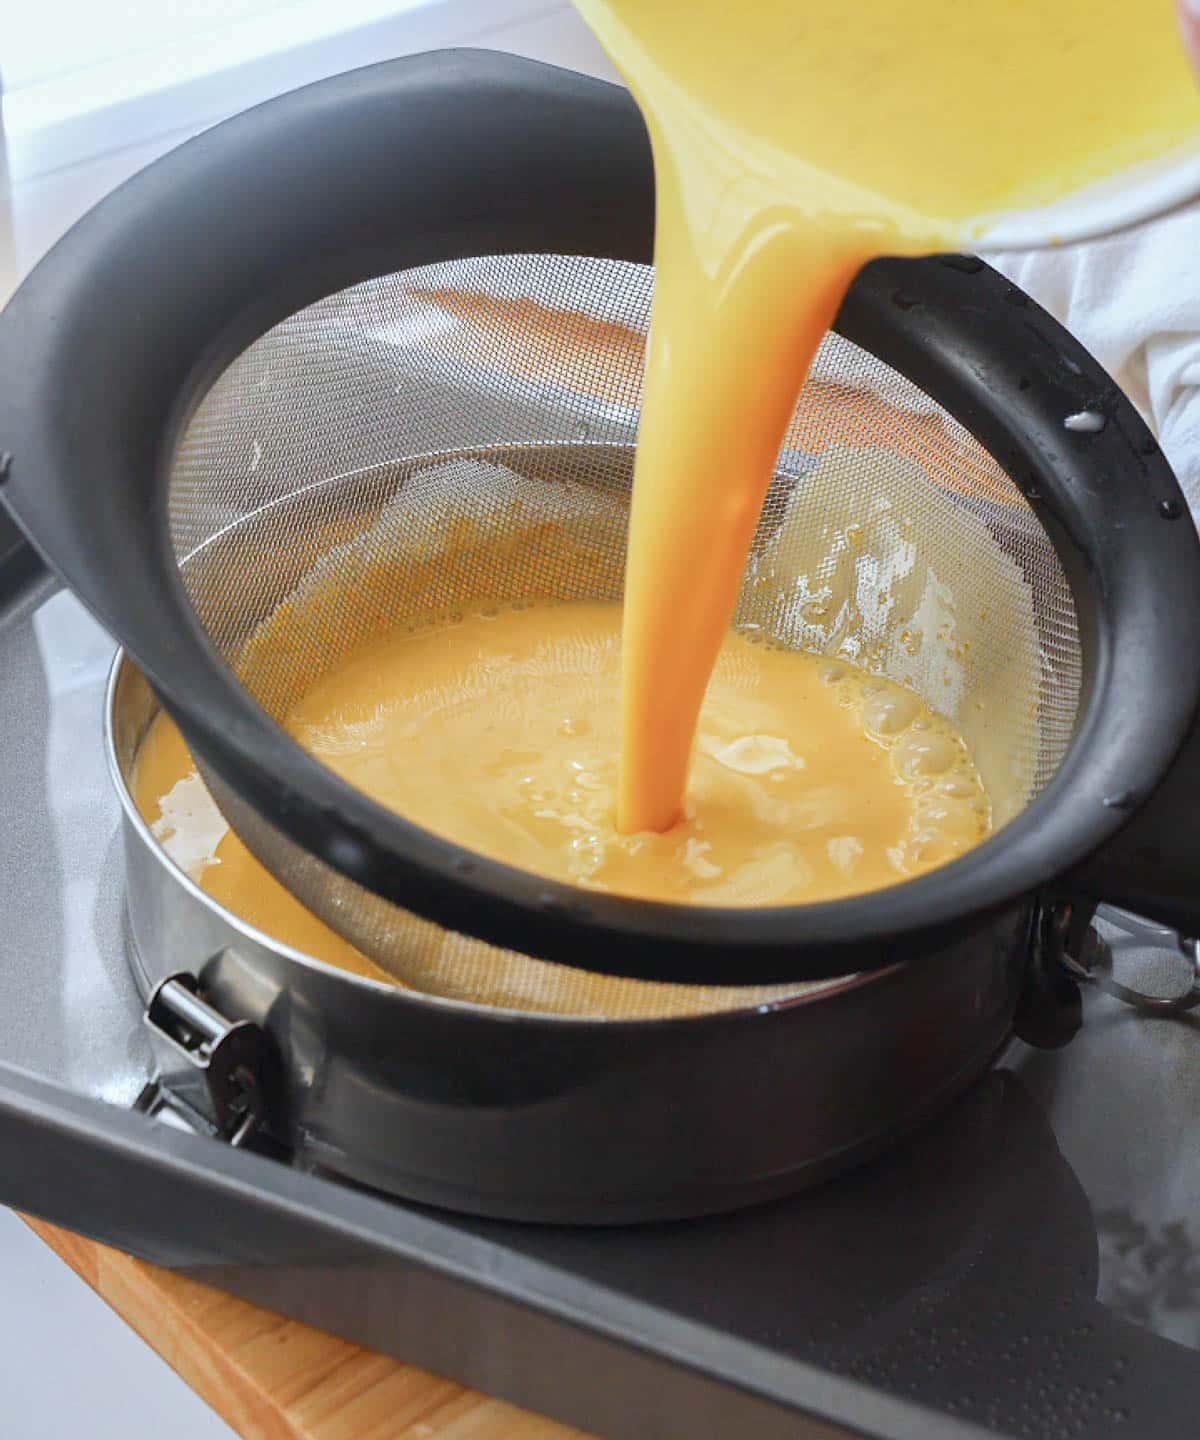
Step 3: Whisk in evaporated milk and vanilla until smooth. Fill large tray with room temperature water and place llanera inside. Pour flan batter through a sieve into the llanera to get rid of any eggy streaks. Lightly cover with lid (do not lock it so it’s easier to remove & check the flan for doneness) or aluminum foil. Bake flan in water bath at 350°F/177°C for about 40-60 minutes, depending on the size of your llanera. I recommend checking it at the 30 minute mark. To make sure it is done, it must pass these 3 tests: (1) the top should be set but still jiggle (2) when touched with a finger it shouldn’t stick (3) a toothpick inserted in the middle should come out clean.
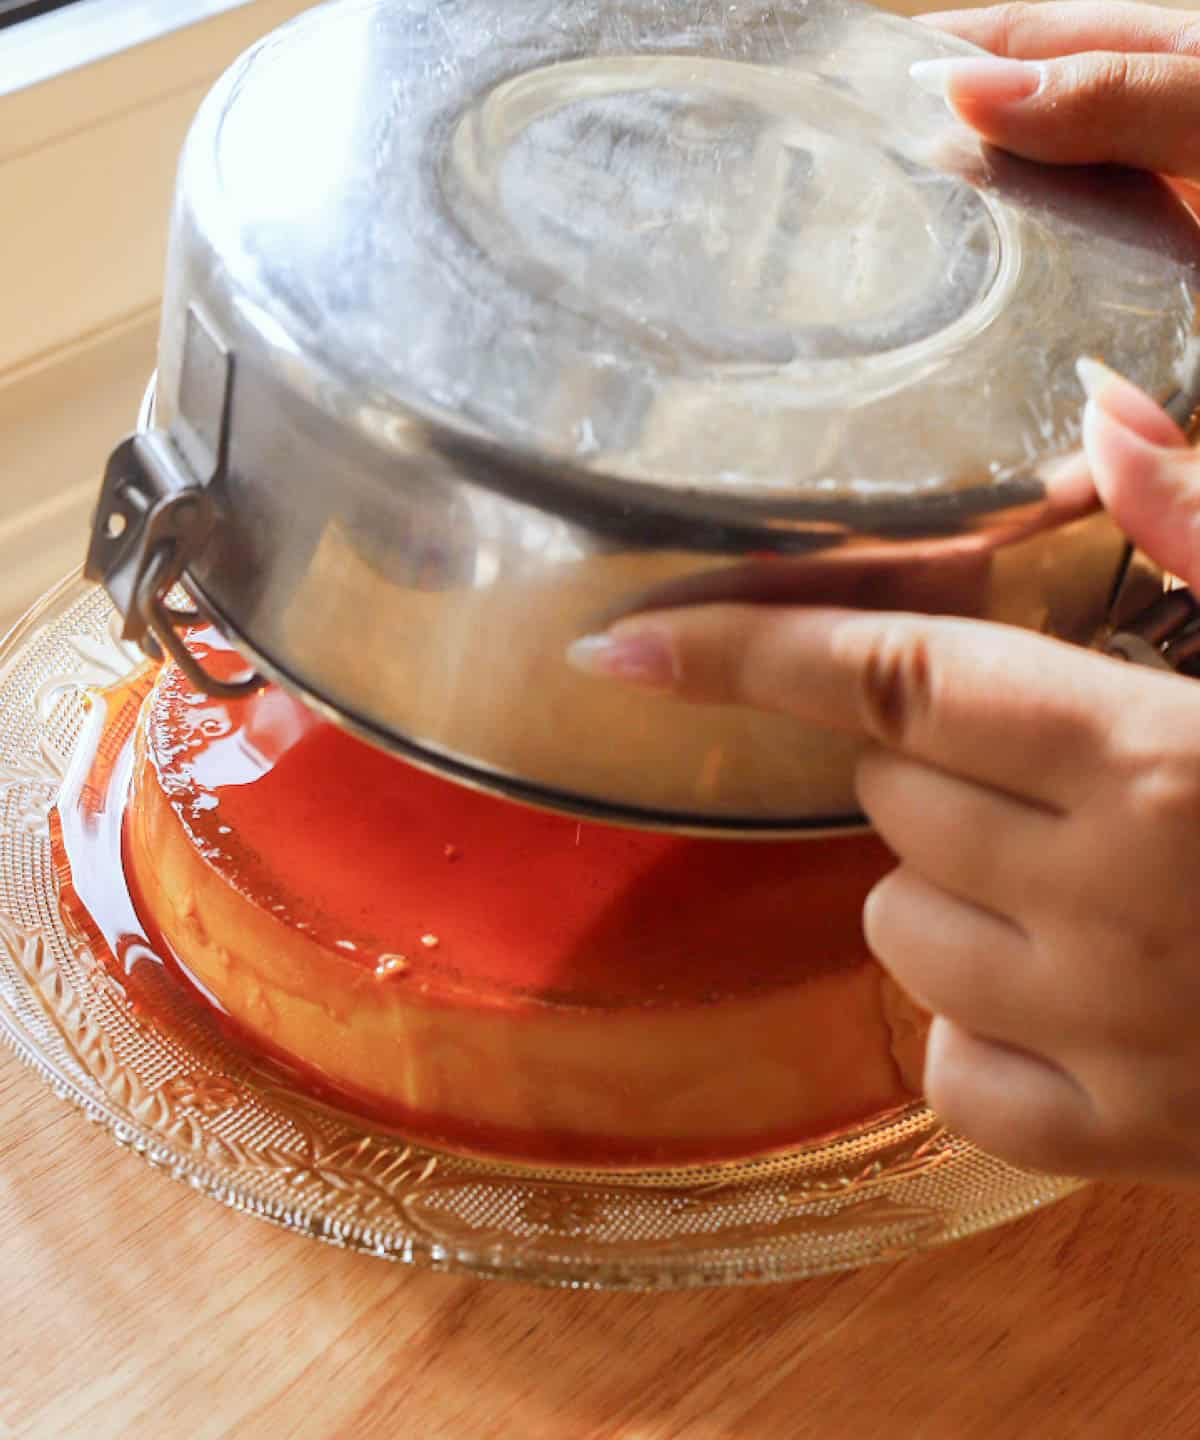
Step 4: Cool uncovered at room temperature for 30-45 minutes, then lightly cover and chill in the fridge for at least 3 hours until fully set. Uncover llanera and use offset spatula to loosen up the sides. Place a rimmed plate on top of the llanera and flip upside down. Tap the llanera and gently shake until flan comes out.
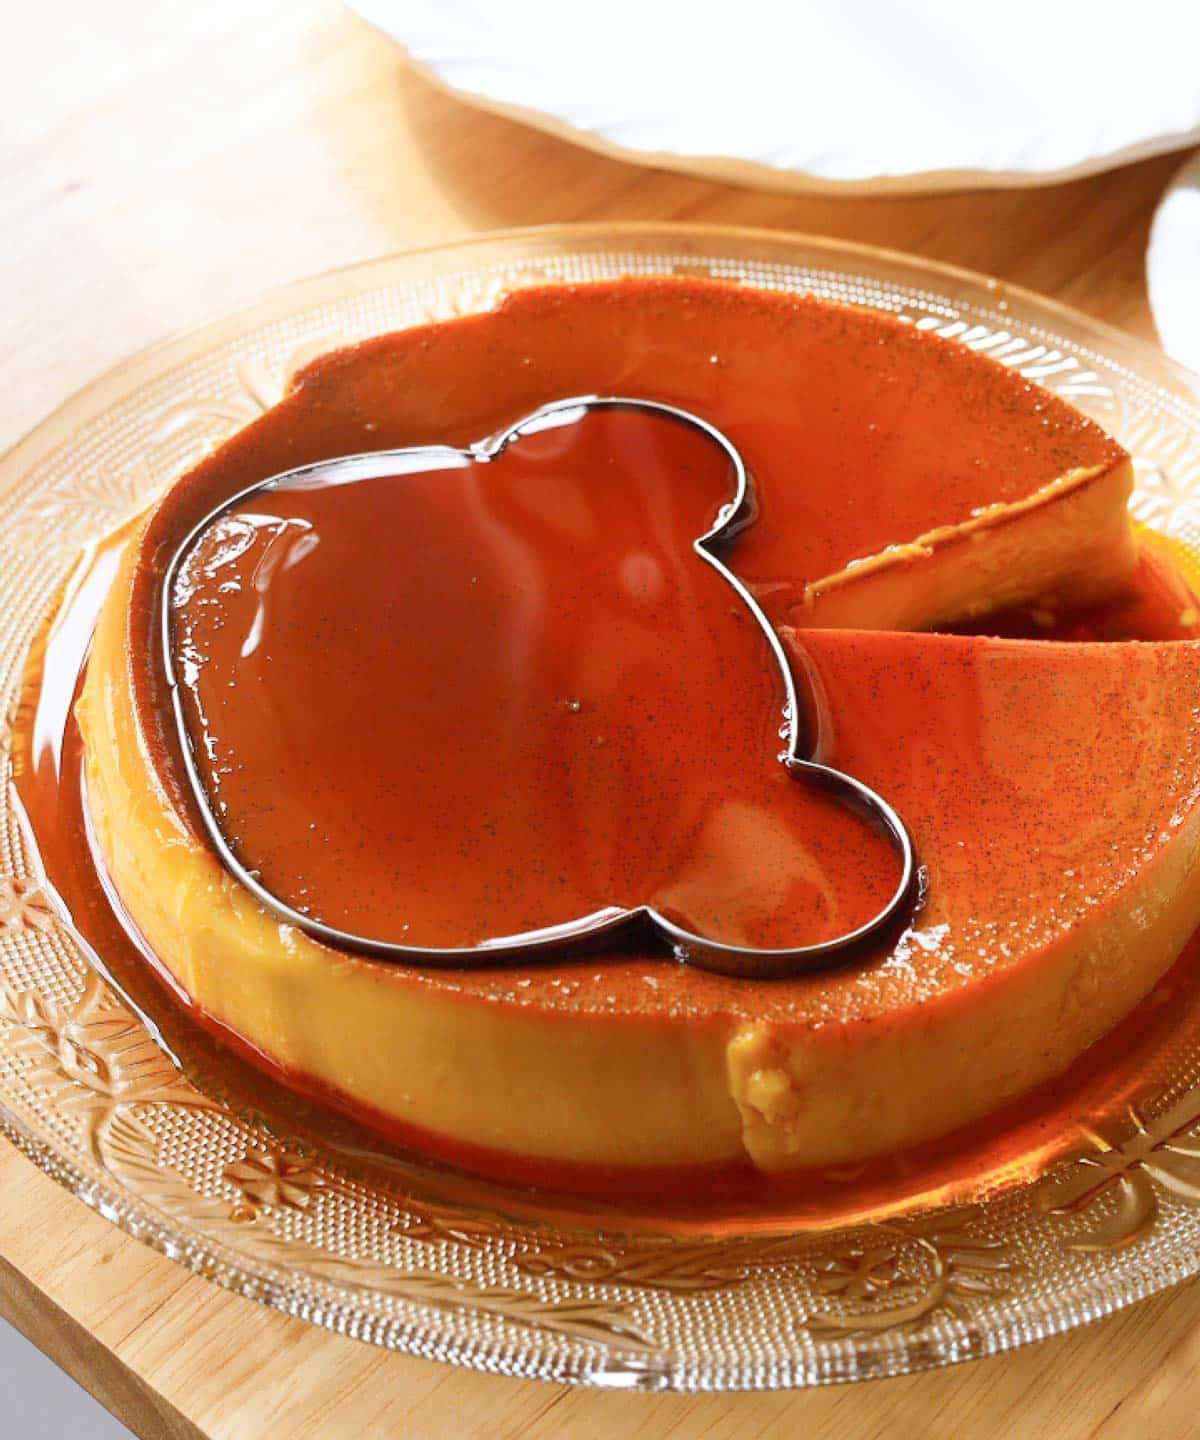
Step 5: Use a bear cookie cutter and remove scraps by hand or with an offset spatula. The scraps are known as the “baker’s tax”, so feel free to eat them 😉! Or, blend the scraps until smooth to make leche flan cream/pudding. It freezes well too, so you can store it away for later use.
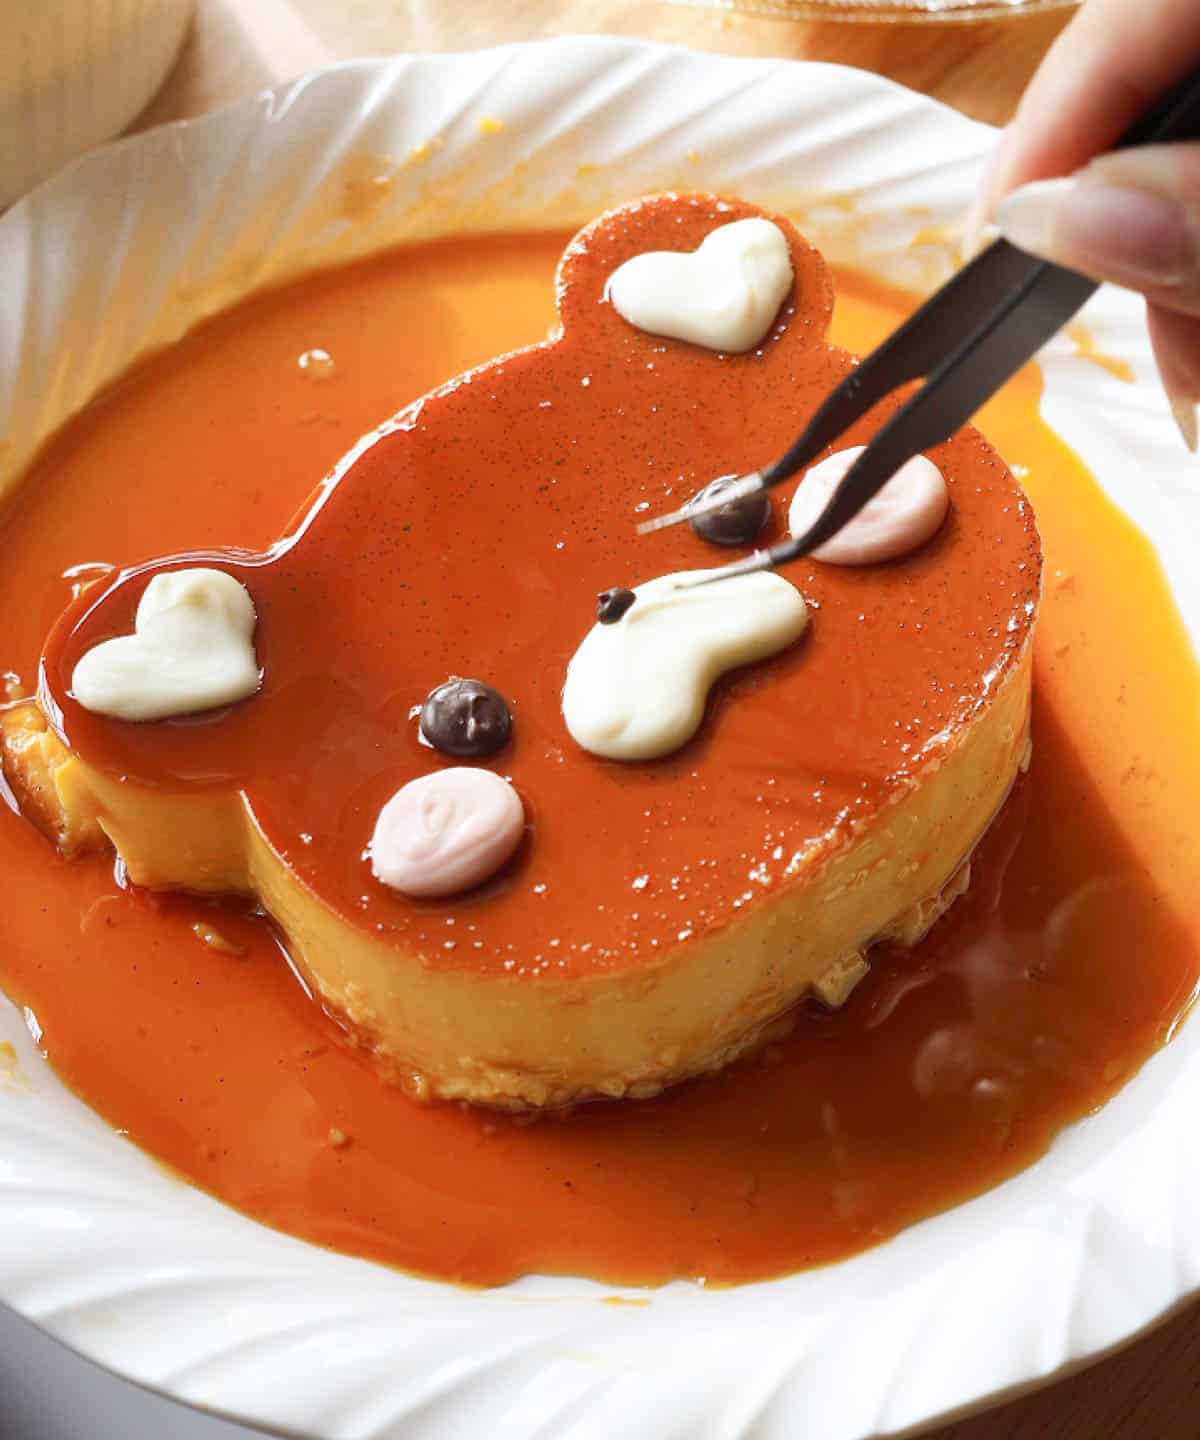
Step 6: Carefully transfer bear flan to serving dish. Decorate with melted chocolates, and enjoy!
For full instructions, see the recipe card below.
“This is the best flan I’ve ever had!” – my mom’s friends <3
🇵🇭 More Filipino Desserts

Did you try this recipe?
Please leave a review & share it with me on Instagram, Facebook, Tiktok, or Pinterest!
Thank you so much! -Bianca ❤️
📖 Recipe & Video
Bear Leche Flan
✉️ want to save this?
Equipment
- saucepan for making caramel
- llanera see notes
- deep baking pan for water bath; should be large enough to fit 2-3 inches of water and your llanera!
- large mixing bowl for flan mixture
- serving dish/plate make sure it is rimmed to hold the caramel sauce!
- Parchment Paper or wax paper
- Piping bags for chocolate designs
Ingredients
Caramel:
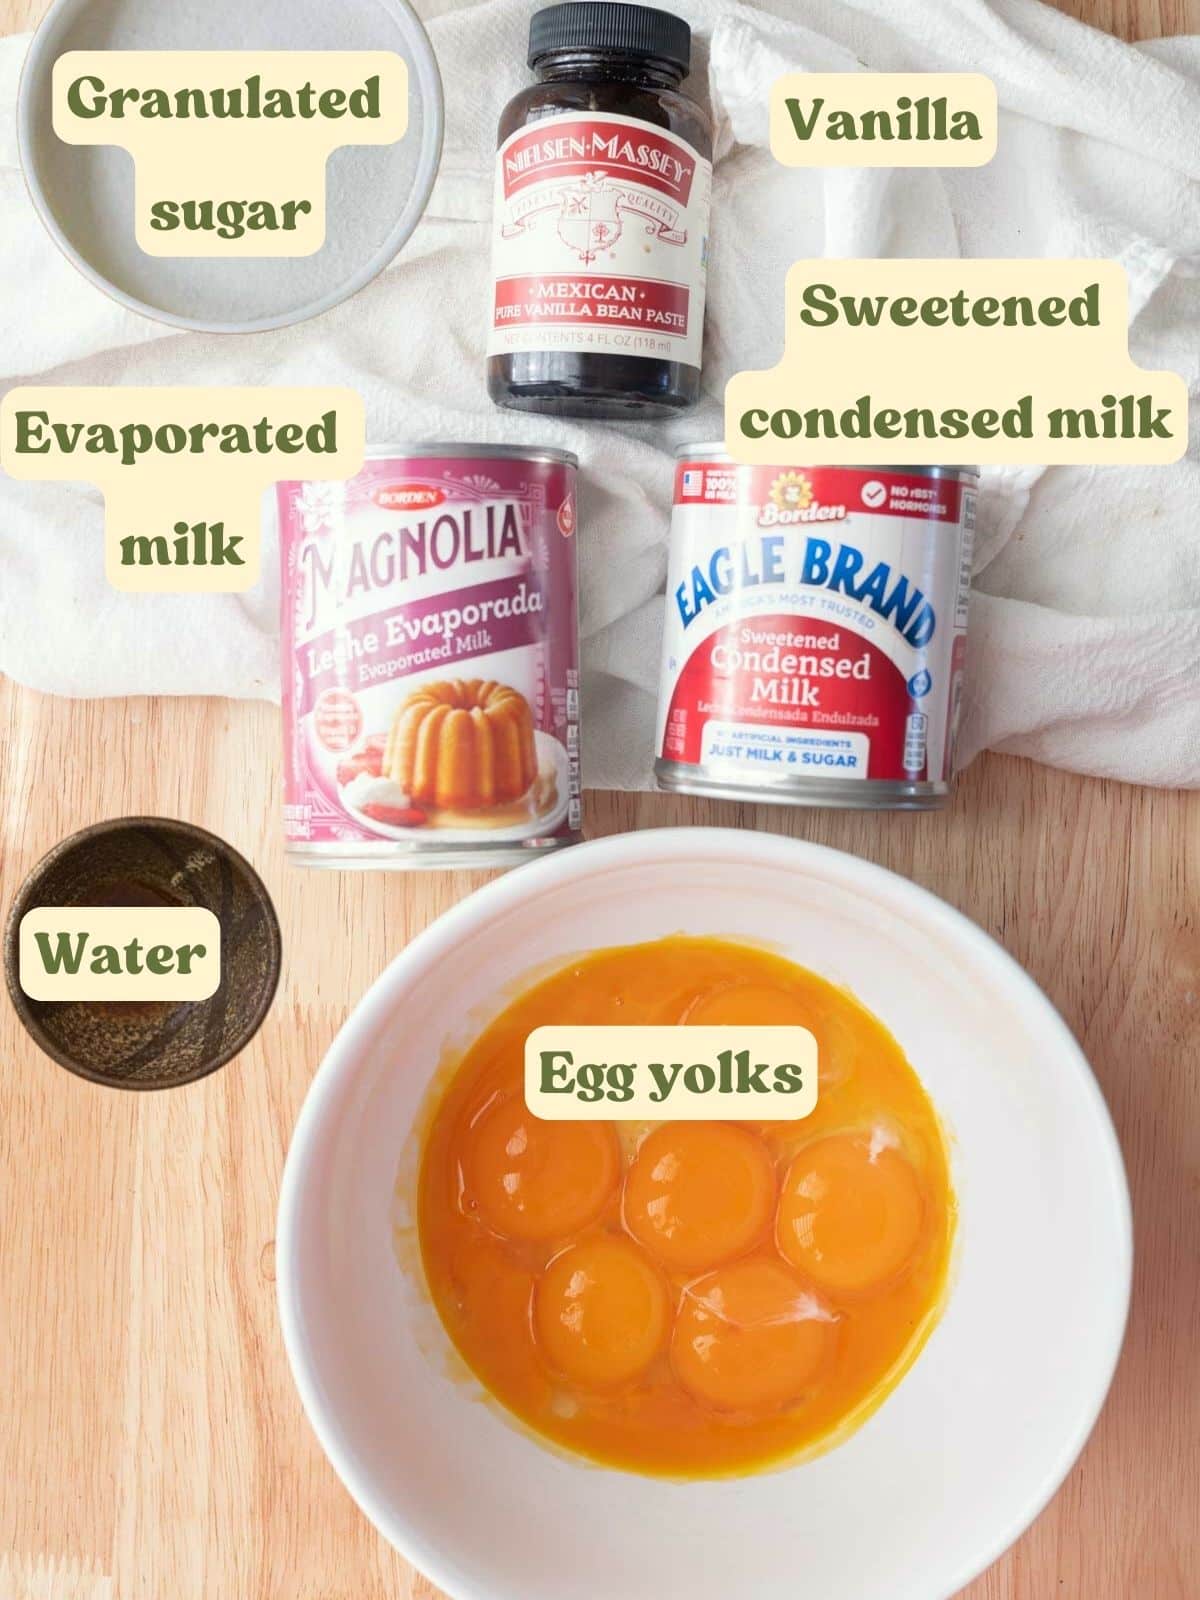
- ½ cup (100 g) granulated sugar
- ¼ cup (60 g) water
Flan batter:
- 8 (136 g) egg yolks
- 14 ounces (396 g) sweetened condensed milk
- 12 ounces (354 g) evaporated milk
- 1 tablespoon (13 g) vanilla extract or paste
Bear design:
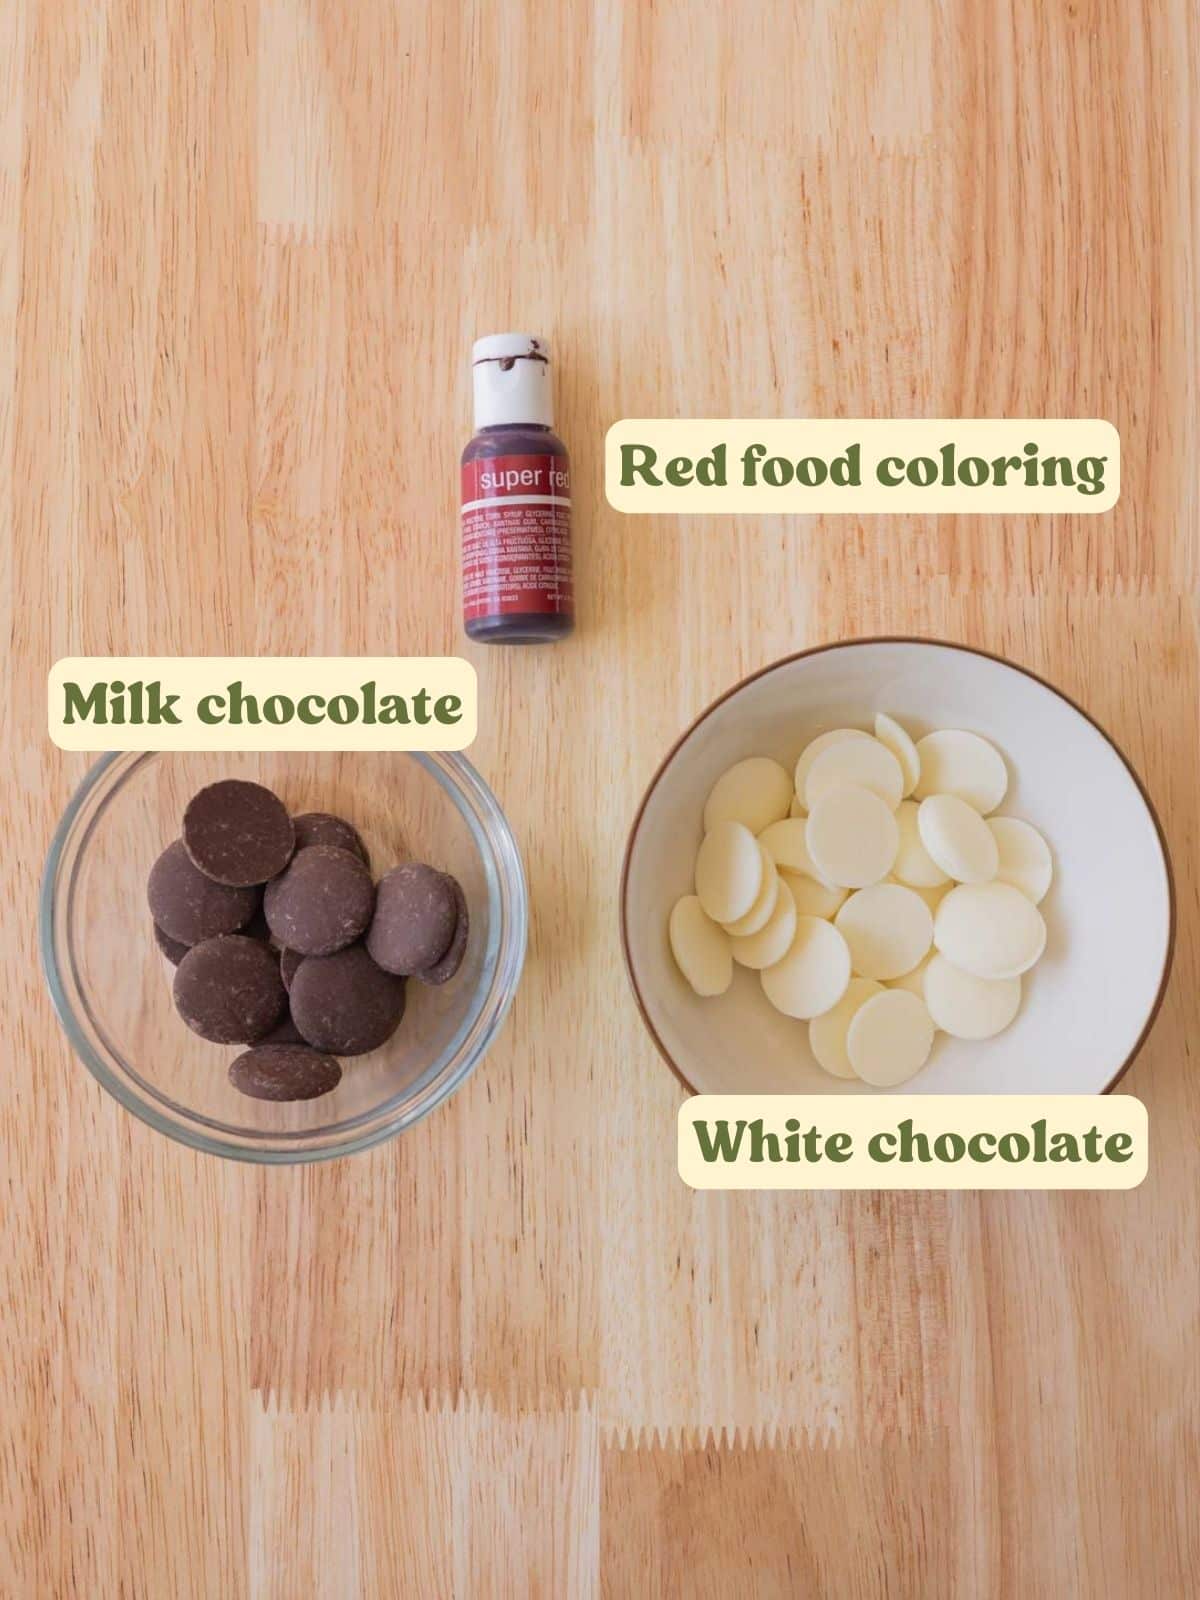
- 1 tablespoon white chocolate melted
- ½ tablespoon milk chocolate melted; or dark chocolate
- oil-based red food coloring or pink candy melts
Instructions
Preparation:
- Preheat oven to 350°F/177°C. Have llanera on hand because the caramel in the next step hardens quickly.
Make the caramel:
- *If you want a deeper, stronger smoky flavor, cook the caramel until it is a medium-dark amber color. If you want a lighter caramel, cook until it is a light amber color, similar to a shade or two darker than honey.In a saucepan, combine ½ cup granulated sugar and ¼ cup water. Heat on medium-low and do not stir. If you need to mix it, you can gently swirl the pan. As it cooks, the sugar should dissolve, bubble, then turn from a cloudy white liquid to a light golden color. Once the caramel reaches a light amber color, pour into your llanera, evenly covering the bottom. You can tilt the llanera to distribute the caramel around. Place llanera in baking tray and let caramel cool as you make the flan mixture.
Make the flan mixture:
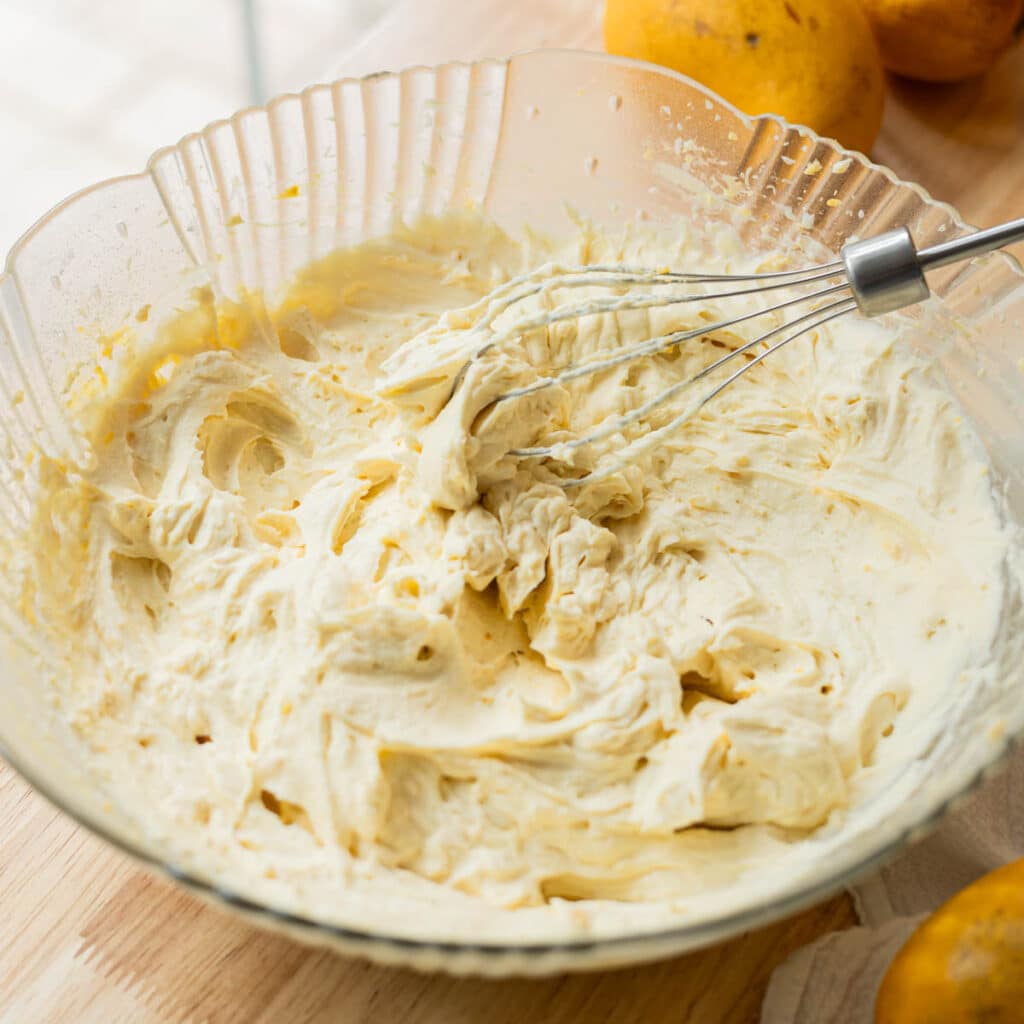
- In a large mixing bowl, whisk together 8 egg yolks and 14 ounces sweetened condensed milk until smooth.
- Stir in 12 ounces evaporated milk and 1 tablespoon vanilla until combined. Use silicone spatula to scrape bottom and sides of bowl.
- Pour flan mixture through sieve right into your llanera. This will get rid of any eggy streaks.
Bake:
- Add room temperature water into the baking tray so that the llanera is sitting in 2-3 inches of water. Lightly cover with lid (do not lock llanera so the top is easy to remove & check for doneness) or aluminum foil.
- Bake for 40-60 minutes, depending on the size of your llanera. I recommend checking it at the 30 minute mark. To make sure it is done, it must pass these 3 tests: (1) the top should be set but still jiggle (2) when touched with a finger it shouldn't stick (3) a toothpick inserted in the middle should come out clean.
Chill and decorate:
- Let cool at room temperature (uncovered) for 30-45 minutes. Lightly cover and chill in the fridge for a minimum of 3 hours (up to overnight) to allow it to fully set.
- Once set, remove cover from llanera. Use an offset spatula to loosen the sides of the flan. I like to run my spatula on the sides 2-3 times. Place your serving dish upside down on top of the llanera. Flip over, tap on the llanera, and the flan should slide out! If it's not coming out at all, flip back over and try to loosen the sides again with your offset spatula.
- Use bear cookie cutter to cut out bear shape. You can eat the scraps (baker's tax!) or blend them to make a custard cream.
- Melt white and milk/dark chocolate and transfer into their own piping bags. If you want to add blush, dye some white chocolate using oil-based red food coloring. If you don't have oil-based dye, you can use normal food coloring. The chocolate will split, but if you stir in a few drops of canola/vegetable/coconut oil, it should come back together.I recommend piping the face designs on parchment/wax paper, letting them harden, then using tweezers to place the decorations onto your flan.Enjoy!
- For easier clean up, I suggest pouring very hot (almost boiling!) water into your llanera and letting it sit for a few minutes to let the caramel melt. Pour this out into your sink and repeat as many times as possible!
Notes
- Don’t feel like whisking? My mom’s friend told me that she blends all the flan batter ingredients together on low, until completely smooth!
- If you’re bringing leche flan to a gathering, I suggest bringing your rimmed serving dish, offset spatula, knife/cake cutter, and flan still in its baking mold to the location. Keep it chilled in the fridge. When you’re ready to serve, invert the flan onto your serving dish. It’s much easier to transport the flan while it’s in its mold, rather than carrying a container where the flan may slide around and break, with caramel dripping everywhere!
- Refrigeration instructions: Store flan slices in an airtight container in the fridge for up to 5 days.
- Freezing instructions: Store flan slices in a freezer-safe container for up to 3 months. Let thaw in fridge overnight or on the counter for 30-45 minutes.


I made the leche flan and it was soo easy to make and also a smart way to use all the leftover yolks❤️
Sooo Silky Soo smoothh ❤️
Hi, Sanam! Thank you for your comment 🙂 so happy you enjoyed it!! <3
Truly the best leche flan I ever had! The texture and flavor were so on point.
Isabelle!! THANK YOU <3 I'm so glad you enjoyed it.
Your leche flan looks so perfectly baked and delicious!