✉️ want to save this?
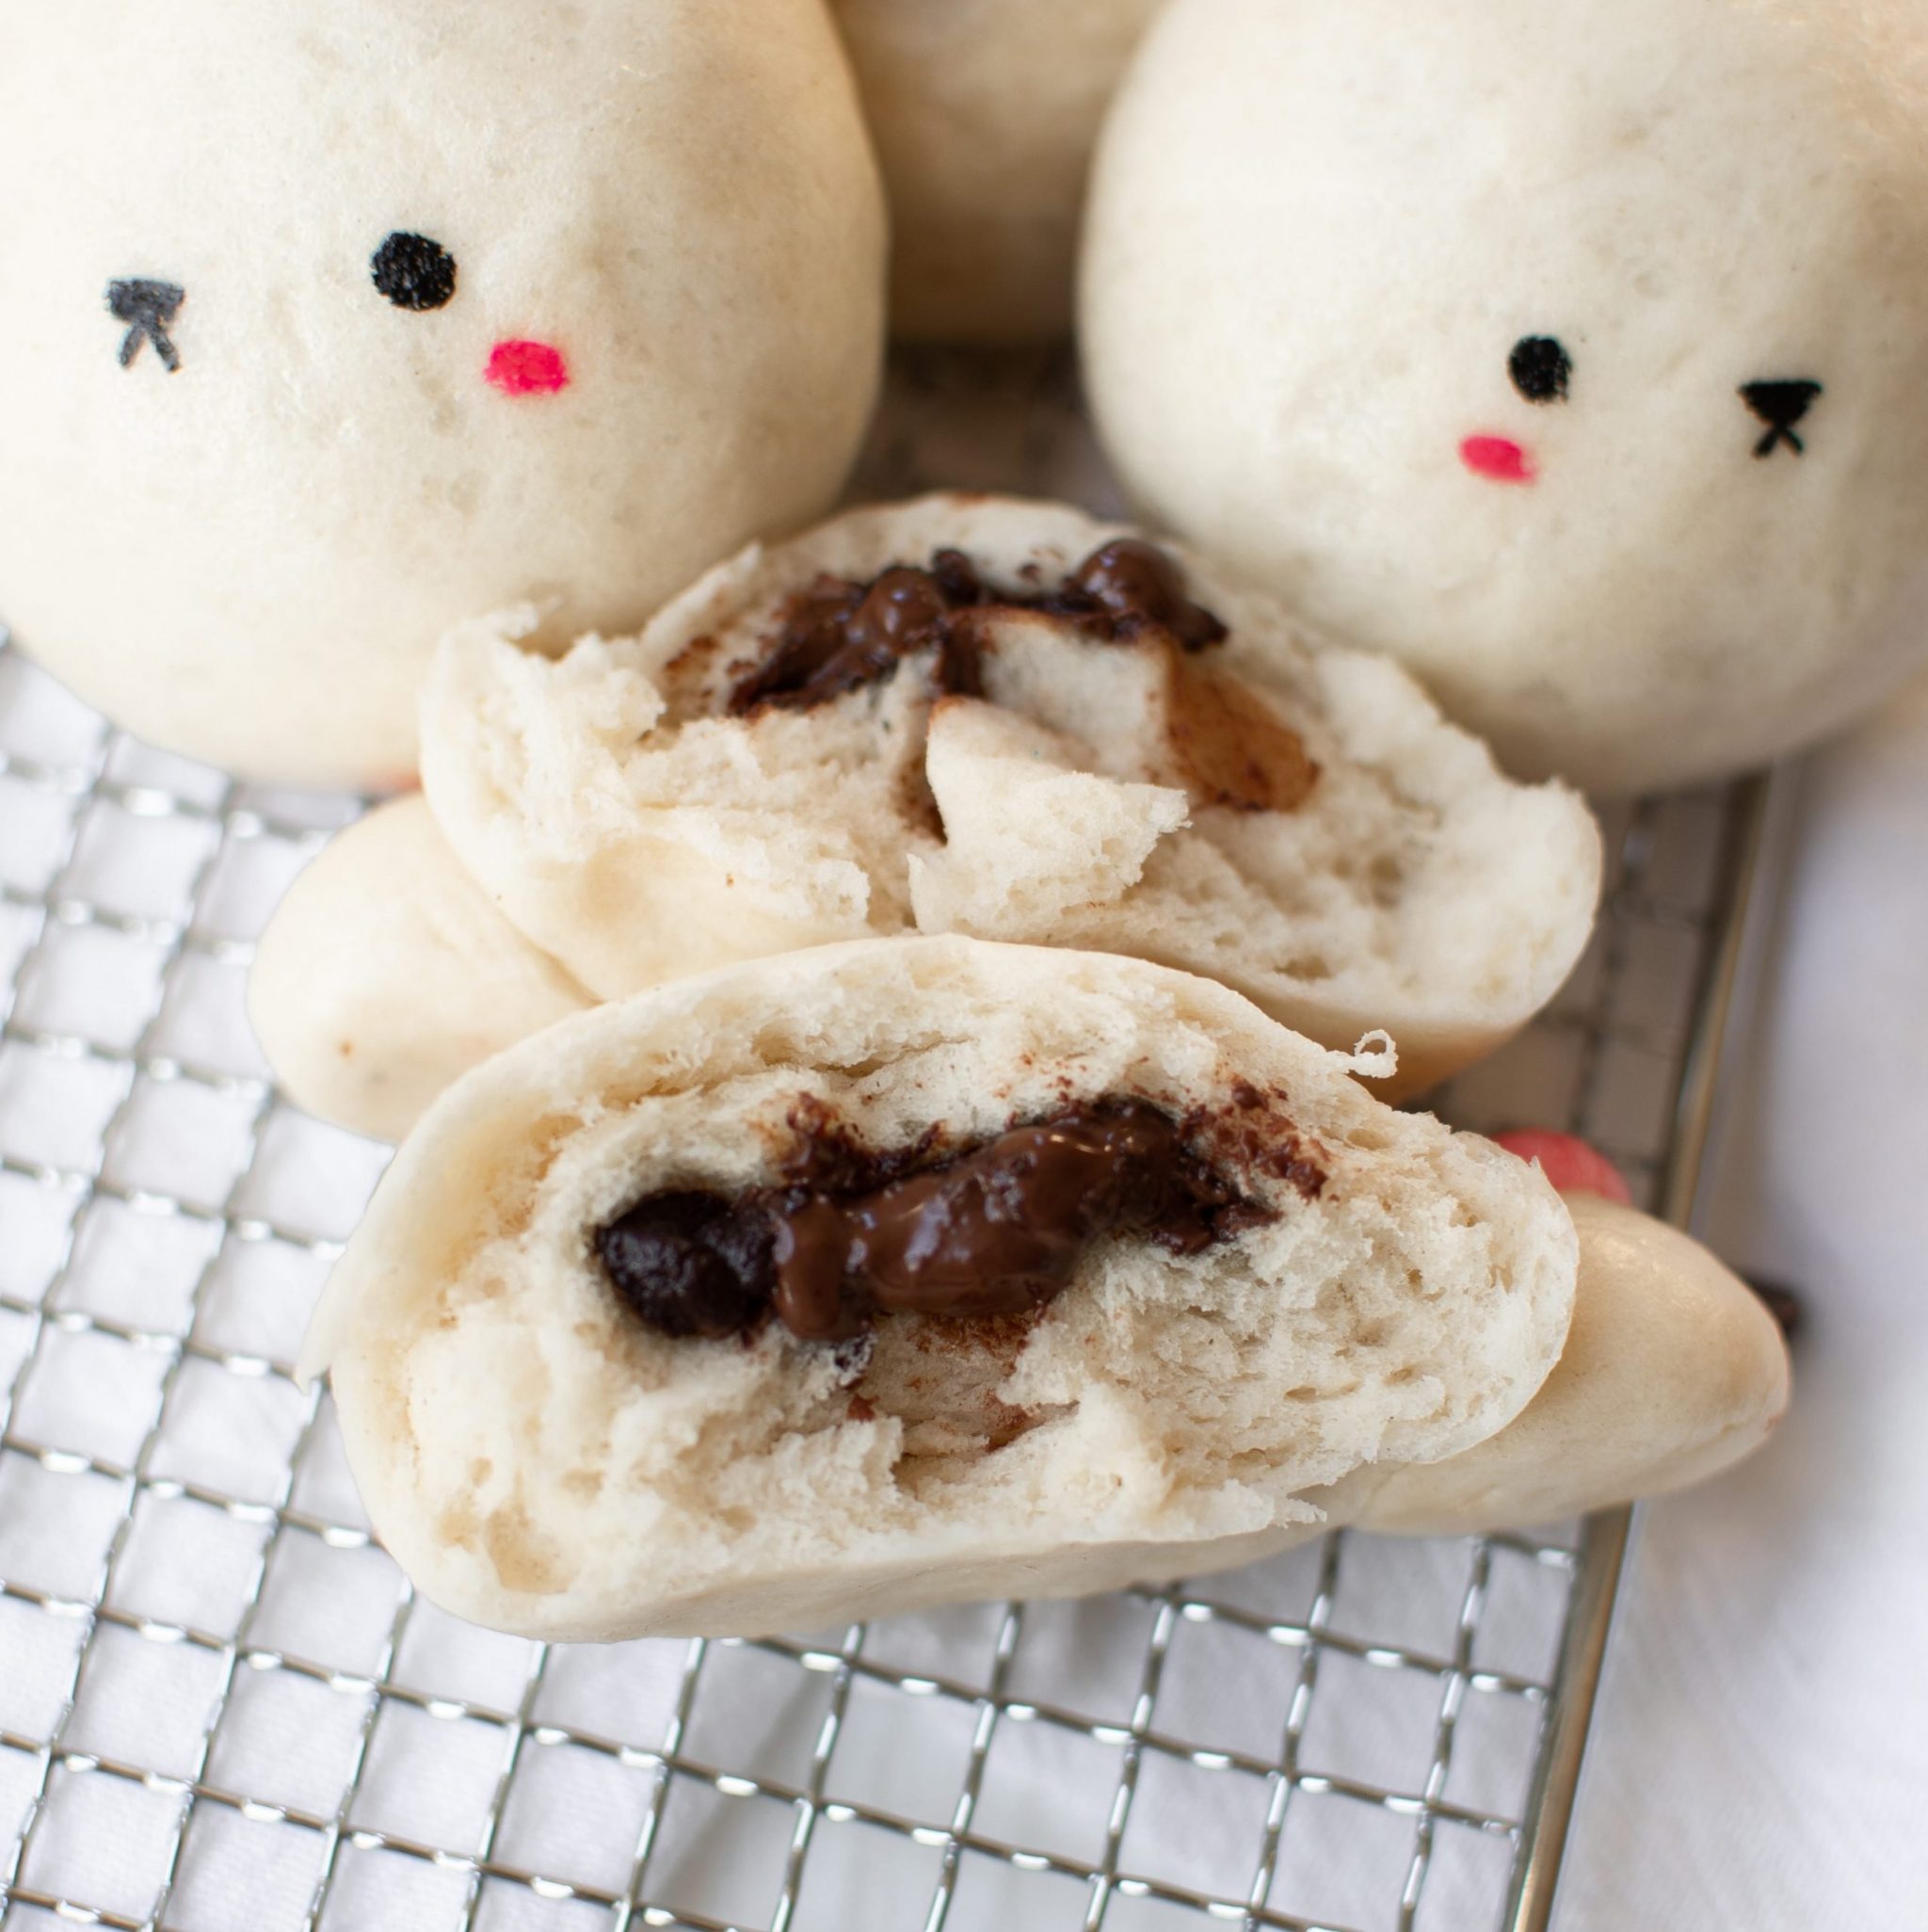
After making my chicken-shaped steamed buns, I wanted to make another one with an easy filling recipe for you all! The recipe for their steamed bunny buns is the same as the other one, except you add in chocolate chips in the middle. And I know I mentioned creating a cute siopao asado recipe in my last post—I’ll be making them sometime this Spring!
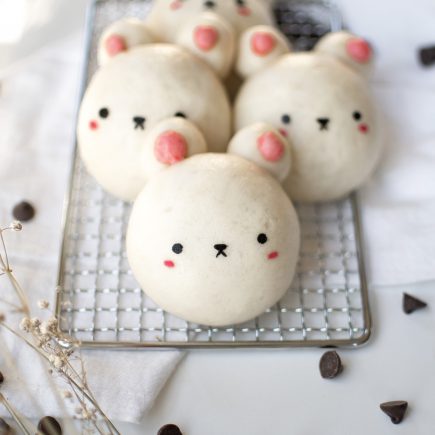
These vegan bunny-shaped buns are ridiculously fluffy, soft, shiny, and sooooo cute. If you’re a regular of my blog, you may know I like to shape foods into different animals. Since it’s Spring now (Easter is actually today!), I thought it would be fitting to make little bunnies. They’re lots of fun to make with other people, especially kids! And don’t worry, it’s actually really simple to make steamed buns at home. There’s only a few ingredients needed and you’ll just need a steaming basket + pot/pan that will fit it.

Making steamed buns from scratch is super simple and only requires a few ingredients!
The dough can all be mixed into one bowl, which is the best since I hate doing dishes!
First, you whisk together warmed milk, yeast, sugar, and oil until the yeast is dissolved. Then, dump in cake flour, all-purpose flour, and salt. Mix the ingredients until it forms a shaggy dough, then knead by hand or mixer until very smooth and elastic.
If you want to make plain buns, you can go ahead and divide and shape the dough into 6 balls, let the dough rest, then steam. However, if you want to make them bunny-shaped like these lil guys, have pink food coloring on hand!
Shaping the dough
You only need a little dough for the pink details. Since the overall dough weighed about 443g, remove ~6g dough and knead in pink food coloring for the inner ears. Next, remove ~24g white dough for the outer ears.
Since I wanted to make 6 buns, I divided the weight of the remaining white dough by 6, which was ~67g. Once I had all my doughs separated out, I lightly covered them in plastic wrap to avoid them from drying out while I shaped each bunny.
To shape each bun into a ball, first lightly flatten it. Then, add about 1 tbsp chocolate chips in the middle and bring the ends together, pinching the ends until it is closed. Shape the dough into a ball like in the video below, just until the top is smooth and the bottom is sealed. Then, place it onto its own cut square piece of parchment paper.
For all of the details, use water to act as your glue to stick the dough together. For the bunny ears, shape ~2g dough into an oval and stick it on top of the head. Repeat this for the other ear. For the inner ears, gather 1g pink dough, split it into two, and form it into balls. Attach each ball onto the bottom of each ear.
Proof the dough, steam, and eat!
After shaping the bunny buns, lightly cover them with plastic wrap and let them rest for about 60 minutes. They won’t really rise much, but you’ll want them to be around 50% of their original size.
Once they’re ready, place the buns about 2-3 inches apart into a steaming basket on top of a pan/pot with cold water. Make sure there is about 2″ of space between the bottom of the basket and the water. Cover the basket with the lid, then turn the burner to medium-low heat and steam for about 20 minutes. I know it’s tempting, but don’t peek inside or the buns will wrinkle and look dimpled. After the 20 minute mark, keep the lid on for about 2 minutes before removing.
After you remove the buns, you can add the final details. Use edible markers to draw on the eyes and blush… then they’re all done and ready to eat!
How to store and reheat the buns
You can store these cute steamed buns in an airtight container at room temperature for about 3 days. To reheat the steamed buns, place them on a plate and lightly cover them with a damp paper towel. Microwave for about 15-20 seconds and the buns should be perfectly soft again!
If you make these cute steamed buns, I’d love to see them. You can tag me at #bitesbybianca / @bitesbybianca on Instagram. Enjoy! 🙂
Bunny-Shaped Chocolate Steamed Buns (vegan)
✉️ want to save this?
Equipment
- steamer basket + pot
Ingredients
For the dough:
- 140 g warmed milk ($0.29)
- 40 g granulated sugar ($0.08)
- 3 g yeast ($0.01)
- 10 g neutral cooking oil ($0.03)
- 125 g cake flour ($0.44)
- 125 g all-purpose flour ($0.30)
- pinch of salt ($0.01)
- food coloring of choice, I used red and orange
For the filling:
- 6 tbsp (vegan) chocolate chips ($0.04)
For facial details:
Instructions
Make the dough:
- Whisk together warmed milk, sugar, and yeast.
- Add rest of ingredients (besides food coloring), mixing with a rubber spatula or wooden spoon until you get a shaggy dough. Place the dough onto a work surface and knead (can also use hand mixer with dough hook attachment) until you get a very smooth elastic ball of dough.
Divide and color the doughs:
- You can always divide the dough into 6 equal parts and shape them into balls, but if you want to recreate these steamed bunny buns, read on! Weigh out about 24g dough and keep it plain (white). This will be for ears.
- Weigh out about 6g dough and knead in the pink food coloring. This will be for inner ears.
- Since I wanted to make 6 buns, I divided the remaining dough by 6, which was ~67g.
- Once you have all the doughs separated out, lightly cover them in plastic to stop them from drying out.
Shaping the bunny buns:
- For the head of the bunny, shape the 66g dough into balls by first lightly flattening it into a disc. Then, add in about 1 tbsp of chocolate chips in the middle. Bring the ends together, pinching them so that you close the disc into a ball. Shape the dough into a ball like in my video above, just until the top is smooth and the bottom is fully sealed. Place it on top of a cut ~3×3 inch square piece of parchment paper.
- For the details, you will be using water as glue to attach the doughs together.To make each ear, take 2g of white dough, shape it into somewhat of an oval, and stick it on top of the head. Repeat for the other ear.
- For the inner ears, take about 1 g dough, split it into two, and roll each one into small balls. Stick each one onto the bottom of the each ear.
Proof the buns:
- Proof the buns under plastic wrap for about 60 minutes, or until the buns have increased by 50% their original size.
Steam the buns:
- Place buns into steaming basket (about 2-3 inches apart), cover, and put over a pot of cold water. Make sure there is about 2 inches of space between the bottom of the basket and the water.
- Turn the heat to medium-low and steam for about 20 minutes. Try to not peek inside or the buns may wrinkle and become dimpled!
- After 20 minutes, turn off the heat and leave the steaming basket lid on for 1-2 minutes to not shock the buns with cold air. Then, remove the lid and the buns.
Decorate the buns:
- Use edible food markers to add the blush and eyes.
- Enjoy!


Hello I have a question, instead of steam them can you put the in the oven?
Hi Myriam! I haven’t tried baking these. If you prefer to use an oven, Wok’s of Life has a baked bun recipe! You can swap out the filling with chocolate.
Can I use active dry yeast? I am not used to working with yeast so I don’t know the difference between the types.
Hi! Yes, you can use active dry yeast and use it as mentioned in the recipe: Whisk together warmed milk, sugar, and yeast. 🙂