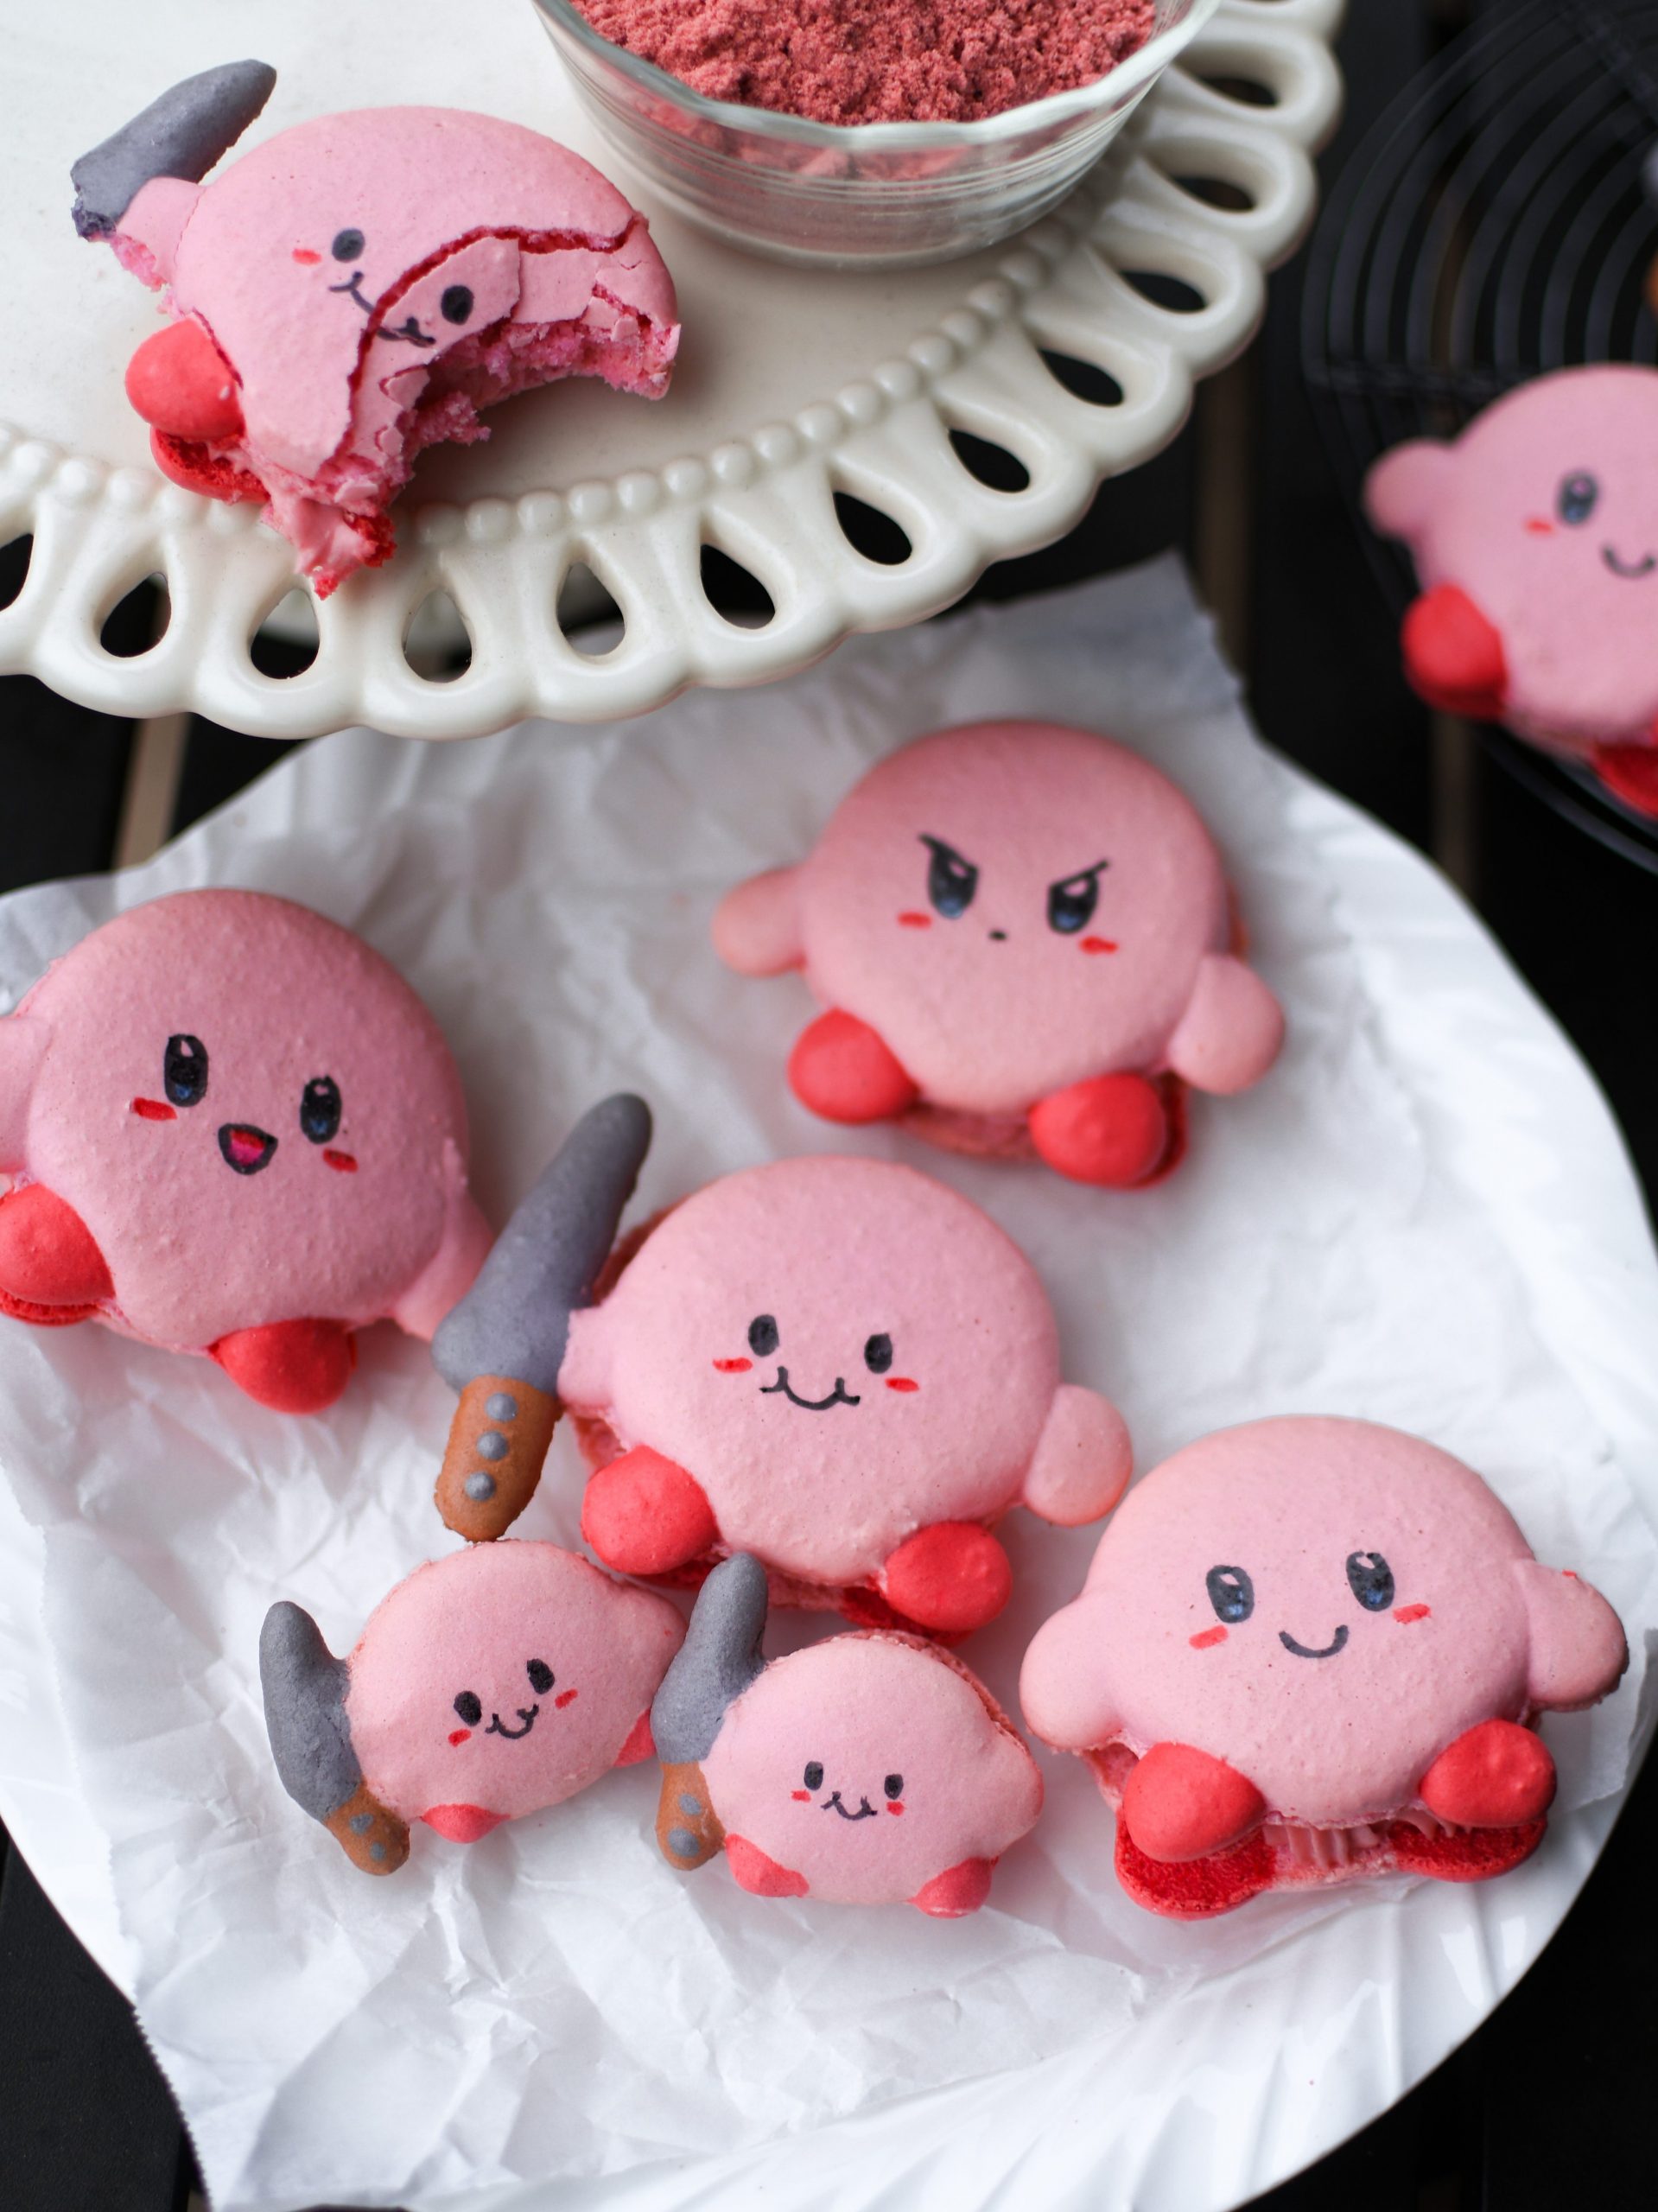
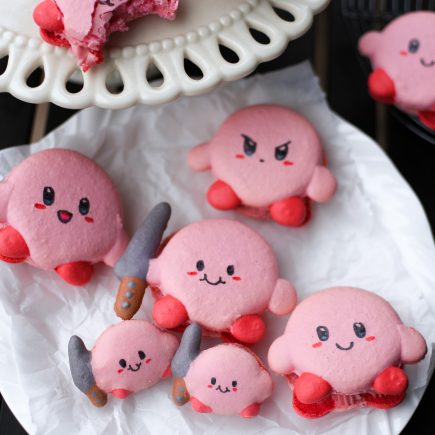
Kawaii, angy, chewy, strawberry cheesecake Kirby macarons decorated with edible markers!
*If this is your first time making macarons, check out my more in-depth post on how to make macarons. You can find more pictures, GIFS, and macaron templates on that page! I also recommend reading Mimi’s macaron post.
*Disclaimer: this post contains affiliate links.

✉️ want to save this?
Kirby Inspiration <3
Happy 2023, friends!
I wanted to start off the new year with these ‘lil guys. They were 10000% inspired by one of my favorite memes—plushie knife Kirby.

The funny thing is, after I baked these macarons and gave one to my older brother, he laughed because my Kirby was holding the knife by the blade. I was like, “omg. I can’t believe I messed it up when I looked at the meme as a reference??”, then I looked at the picture above.. Kirby is indeed holding the knife by the blade, which makes the meme even funnier. Knife Kirby is so haunting.
Anyway, I decided to fill these with a strawberry cheesecake filling. It’s not too sweet, perfectly smooth, and full of good ‘ol strawb flavor. My family was a big fan.
As for the Kirby shells, this design isn’t too difficult if it’s your first time making character macarons. BUT, if this is your first time making macarons EVER, I recommend checking out my more in-depth post on how to make macarons. You can find more pictures, GIFS, and macaron templates on that page! I also recommend reading Mimi’s macaron post.
Knife Kirby Macaron Template
These macarons are about 3.0 W x 2.4 H inches, if you count the knives. The circles alone are 2 inches in diameter.
You don’t HAVE to pipe the knife, just omit that if you want regular, not-as-threatening Kirbos.
Tips for baking and decorating
Use a kitchen scale
Macarons are incredibly finicky. A kitchen scale allows you to measure all the ingredients correctly and helps you create consistent, full, sturdy shells. AND, if you use a cute kitchen scale like this heart-shaped one, it’ll increase your overall happiness by at least 10%.
Look up Kirby poses!
You don’t have to make the Knife Kirby pose. If you want, look up different poses and try to copy them! You can still use the 2-inch macaron circle template I have, then pipe the arms and feet wherever you want them to go. Post-bake, you can also draw any face using edible markers.
Order of piping the batter
In my Instagram reel where I showed how I piped these macarons, I started off with the feet. I actually recommend starting off with Kirby’s body first, because you’ll be able to pipe a perfect circle. When I piped the body over the feet, Kirby’s body batter kind of spilled over the space between Kirby’s feet… giving him.. a low tummy of some sort. So, I had to do some scraping to to get him back to a circular shape. So, yeah, start off with the body, hands, feet, then the knife.
Piping details
If you make Kirby’s left arm and knife too thin, it’ll easily break off post-bake. So make them kinda thicker so they’re more stable to prevent you crying over Kirby falling apart.
Storing the macarons
In comparison to other fillings like ganaches, cream cheese fillings are very moist. This means your macarons will mature a lot faster (maturation: the shells soaking up the filling making them softer, chewier), and will not store as long.
I highly recommend storing them in an airtight container in the freezer once they are finished maturing. This is because if you let them sit in the fridge over a few days, they won’t be as chewy and will mostly be soft. But, if that’s your preferred texture, pls go for it! 🙂

I really hope you enjoy this recipe. If you make these Kirby macarons, I’d love to see them. You can tag me at #bitesbybianca / @bitesbybianca on Instagram. Enjoy! 🙂
Strawberry Cheesecake Kirby Macarons (French Method)
✉️ want to save this?
Ingredients
For the French macaron shells:
- 100 g egg whites, room temperature
- 80 g granulated sugar
- 120 g almond flour, sifted
- 100 g powdered sugar, sifted
- gel or powdered food coloring (pink, red, black, brown)
For the strawberry cheesecake filling:
- 6 oz cream cheese, softened
- 2 tbsp heavy cream
- 46 g powdered sugar
- 15 g freeze dried strawberry powder
- pink food coloring
For the decorations:
Instructions
Preparation:
- Put printed macaron template on baking trays. Place silicone baking mats or parchment paper on top of templates.
- Set up one large piping bag and three small piping bags. You don't need piping tips, you can just snip the ends of the bags later.
For the French macaron shells:
- In a medium bowl, mix the sifted almond flour and powdered sugar. Instead of sifting, you can also put the ingredients in a food processor and blend for <10 seconds until you get a fine powder.
- In a small bowl, add the granulated sugar.
- Pour the egg whites into the bowl of a stand mixer. Set up a stopwatch to time how long to whip the meringue. (These times are listed to help beginner macaron makers. With practice, you can go by eye.)0:00 – 4:00 minutes: Mix on medium-low for 4 minutes (Kitchenaid speed 4). 4:00 – 9:30 minutes: Turn the mixer to medium speed (Kitchenaid speed 6). Add a third of the granulated sugar. After 30 seconds, add another third. After another 30 seconds, add the last of the granulated sugar. Keep mixing at medium speed until you have reached a total of 9:30 minutes. The meringue should be balled up onto the whisk, very thick, glossy, and have stiff peaks. If not, keep mixing at 30-second intervals at Kitchenaid speed 8 until it is.
- Add all of the powdered sugar, almond flour. Using a rubber spatula, fold the macaron batter JUST until all of the dries are incorporated, often scraping the sides and bottom of the bowl. Do not fold any further, or you will overmix the batter.
- In a small bowl, add 10g of the batter and fold in a SMALL amount of black food coloring to create a gray colored batter for the knife. Fold until the batter ribbons off of the spatula. To test if it is ready, allow the batter to flow off the spatula and into the batter. If the ribbons do not melt into the rest of the batter after 30 seconds, continue folding. Be careful not to over mix or the macarons will not bake well. When it passes this test, transfer it to your small piping bag. You will use this method for the remaining batter.
- In the same small bowl, add another 10g of batter and mix in brown food coloring to create the batter for the knife handle. Transfer to a small piping bag.
- In the same small bowl, add 15g of batter and fold in red food coloring to create the batter for Kirby's feet. Transfer to a small piping bag.
- To the remaining batter in the mixing bowl, fold in pink food coloring. Transfer to the large piping bag.
- With your large piping bag, pipe 20 round pink shells onto your silicone mats/parchment paper, using the round macaron template as a guide. You should have leftover batter, which will be for the hands in the next step.Tap the trays against the counter a few times to get rid of air bubbles. If there are bubbles on the surface, you can use a toothpick or cookie scribe to pop them. Popping the air bubbles helps stop them from cracking when being baked.
- Pipe Kirby's hands on only half of the shells, since you only need to pipe the front of Kirby's body. Make the left hand a little shorter, since it will be holding the knife. But don't make it too thin, or it'll easily break off post-bake.Use a cooke scribe or toothpick to move the batter to your liking.
- Using the red batter, pipe Kirby's feet. Again, you only need to pipe the front of his body, so pipe feet on the 10 shells that have Kirby's hands. Use a cooke scribe or toothpick to move the batter to your liking.
- Pipe the knife on the left side of his body using the brown and gray batters. Again, you only need to pipe this on the front of his body. Use the original meme or my macaron photos as a reference! Make sure the knife isn't too thin, or it will break easily post-bake. It's better to be safe than sorry and pipe a thicc knife!
- Remove the templates from underneath the macarons. Allow the macarons to sit out at room temperature to dry for at least 1 hour. They will be ready to bake once the surface of the macaron is matte and dry to the touch. If it is a really humid day, it can sometimes take 2+ hours for them to dry.
- Preheat the oven to 325F. Place an empty baking sheet upside-down on the middle rack.
- Place the baking sheet with the macarons on top of the upside-down baking sheet. Bake for 15-20 minutes, rotating halfway through. To test if they are done baking, gently push the side of one shell. If it wiggles on the sheet, they need to be baked longer.
- Remove the macarons and place them on a wire rack. Bake any remaining macaron shells.
- Allow macarons to fully cool before peeling them off the parchment paper or silicone mats, about 15 minutes.
For the strawberry cheesecake filling:
- In a mixing bowl, beat the softened cream cheese, heavy cream, powdered sugar, freeze dried strawberry powder, and pink food coloring until smooth using a whisk, handmixer, or paddle attachment of a stand mixer.
- Transfer filling to a piping bag.
Assembly:
- Match the macaron shells, lining up each pair on your work surface.Using the edible food markers, draw on Kirby's face.
- Pipe the strawberry cheesecake filling on the bottom shell, then add the other shell on top.
- Leave macarons in an airtight container in the fridge for at least 1-2 hours before eating. This allows them to mature, making them softer, chewier, and more flavorful. Eat at room temperature. *Maturation time is usually overnight, but cheesecake fillings are very moist and mature the shells quickly. I recommend storing them in the freezer vs fridge so they don't get too soft over time.


These Strawberry Cheesecake Kirby Macarons look absolutely scrumptious – I can’t wait to try making them myself!