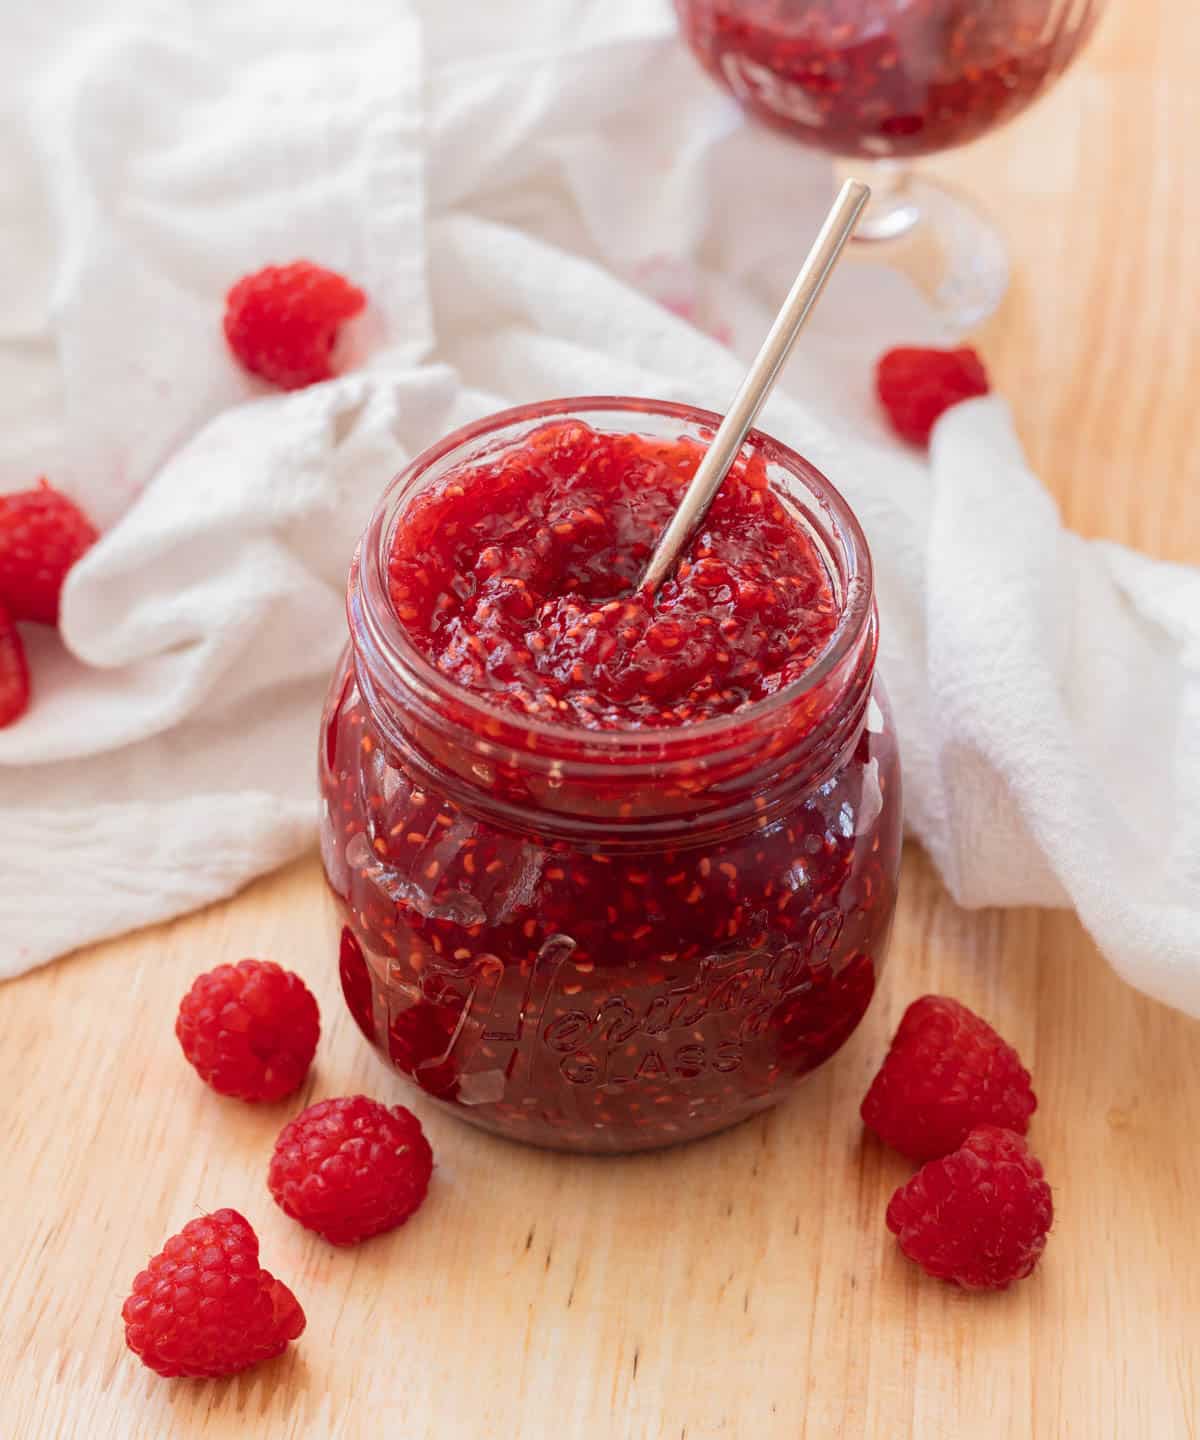
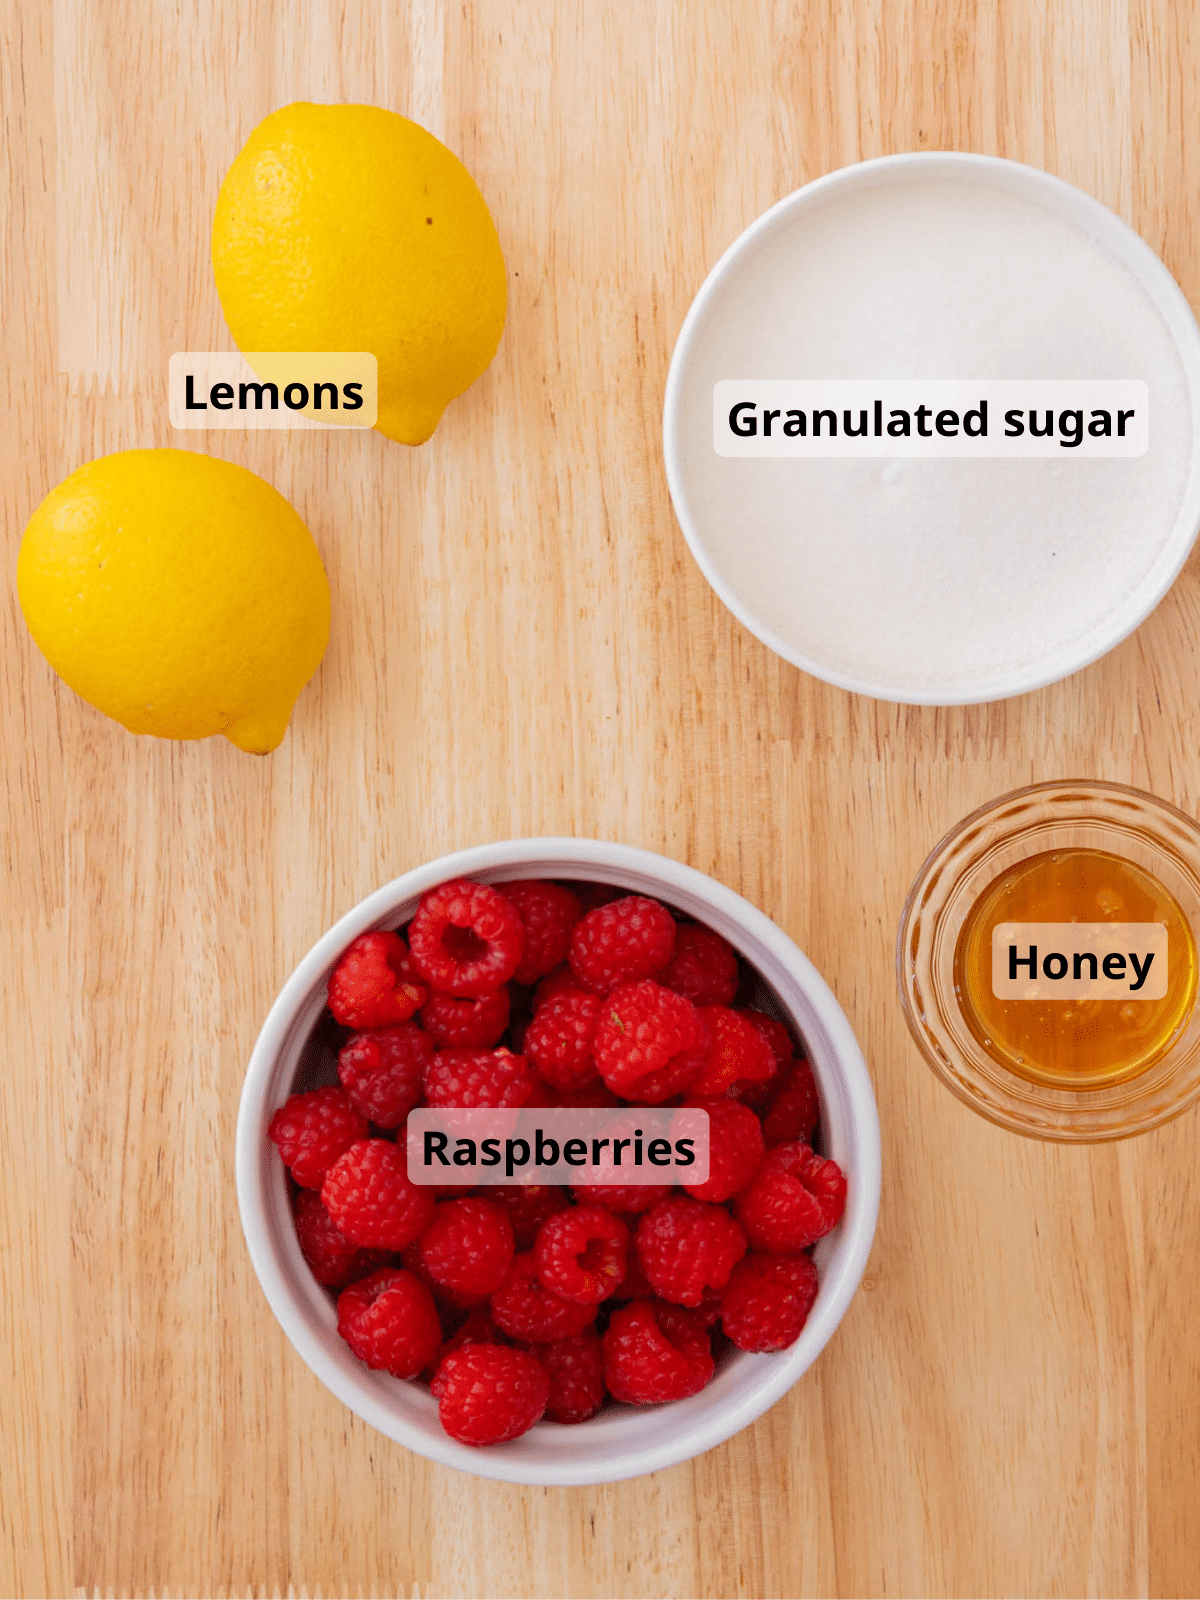
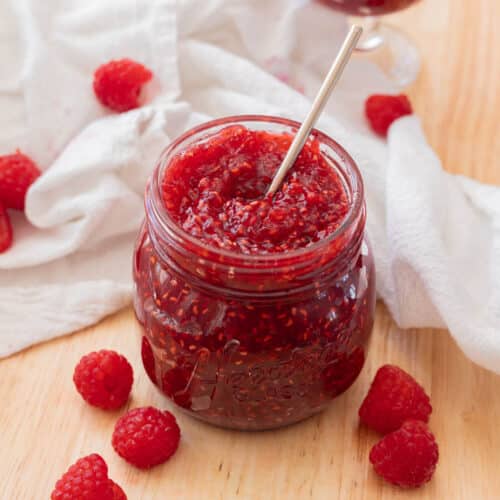
This simple, yet delightful raspberry jam recipe requires just 4 ingredients: raspberries, sugar, lemons, and honey! The honey is used as a substitute for part of the sugar, while lemon zest and juice provide a perfectly balance out the sweetness. Enjoy it spread on toast, stir it into yogurt, or use it as a topping for oatmeal!
✉️ want to save this?
❤️ Why You’ll Love This Recipe
- You won’t need any special equipment, not even a thermometer! When I worked as a pastry cook, making jam was a simple part of our to-do list. We simply combined all the ingredients in a pan and checked for doneness using the spatula test: scrape the pan’s bottom; if the spatula leaves a clear trail that takes 2-3 seconds to fill back up, it’s done!
- I swapped out ⅓ cup of sugar with honey 🍯. This gives the perfect balance of flavors, where the honey doesn’t overpower but enhances the raspberry flavor nicely.
- There’s no pectin. Cooking the jam longer -> more water evaporates -> thicker jam -> no need to use pectin as a thickening agent!
- It makes a great gift 🎁! You can easily make a large batch, portion them out into smaller jars, and tie a little twine or ribbon on the outside. Who doesn’t love a homemade gift, especially if it’s food?
💡 Recipe Tips
How To Make Raspberry Jam
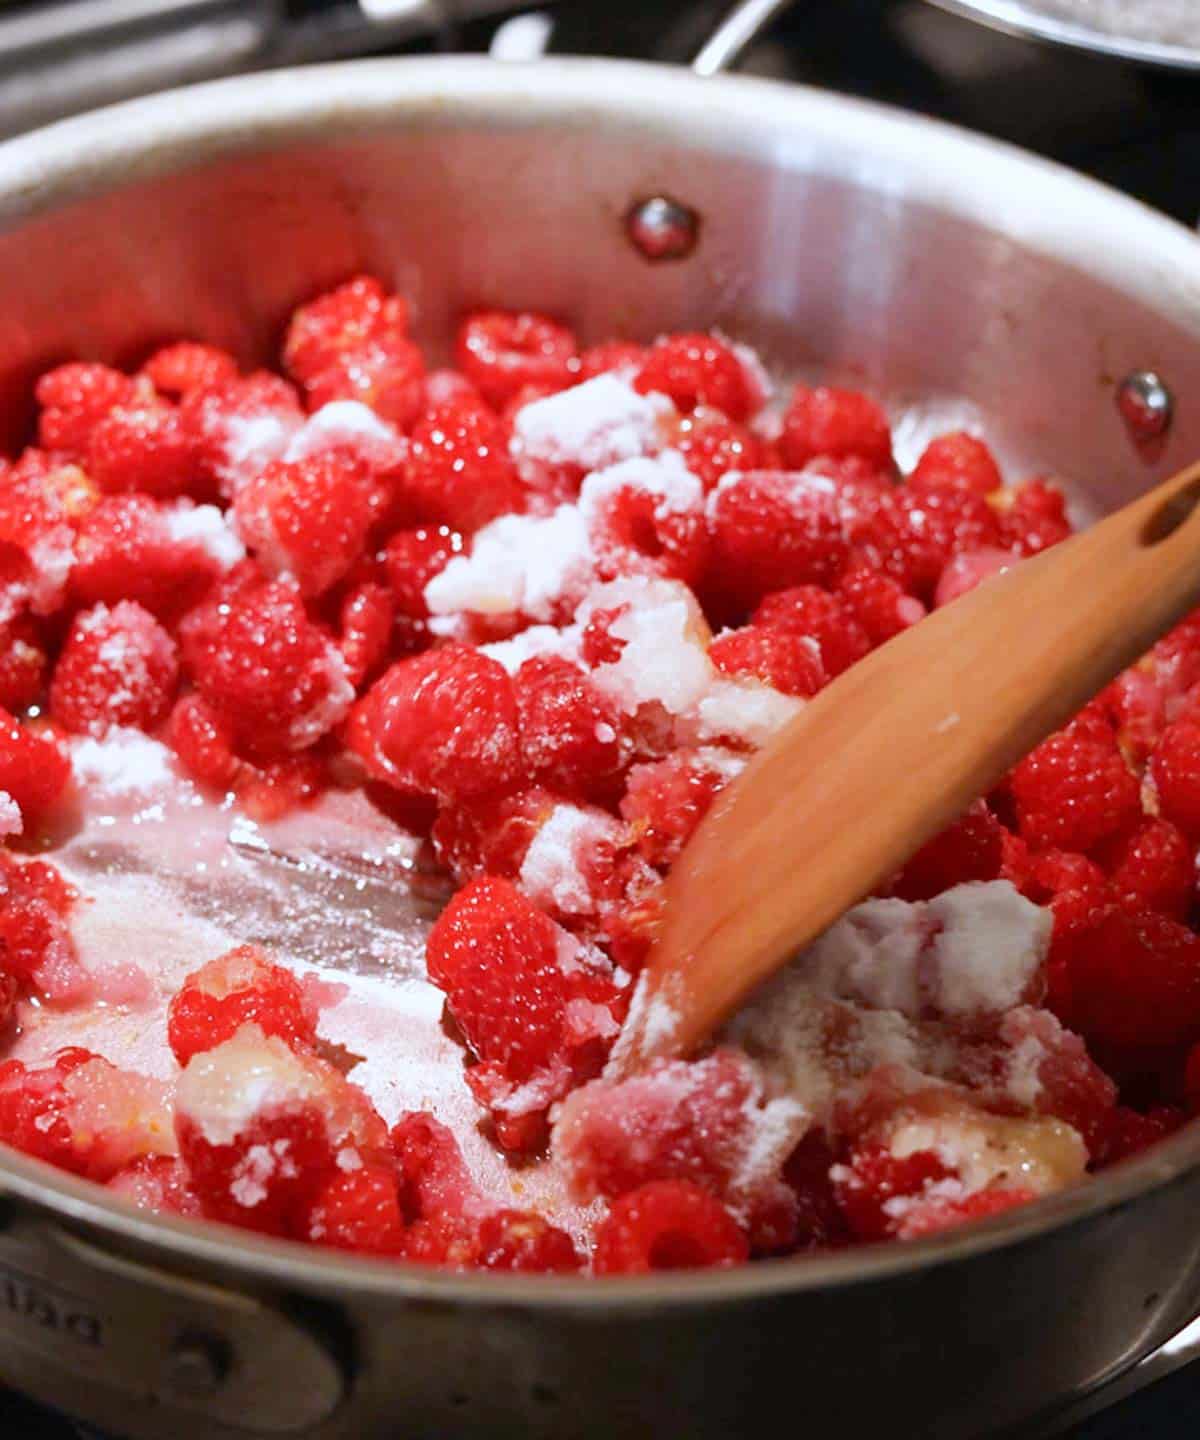
Step 1: In a large pan, add raspberries, lemon juice, lemon zest, granulated sugar, and honey. Cook on medium heat, stirring often. The mixture will become very liquidy, then start to cook down.
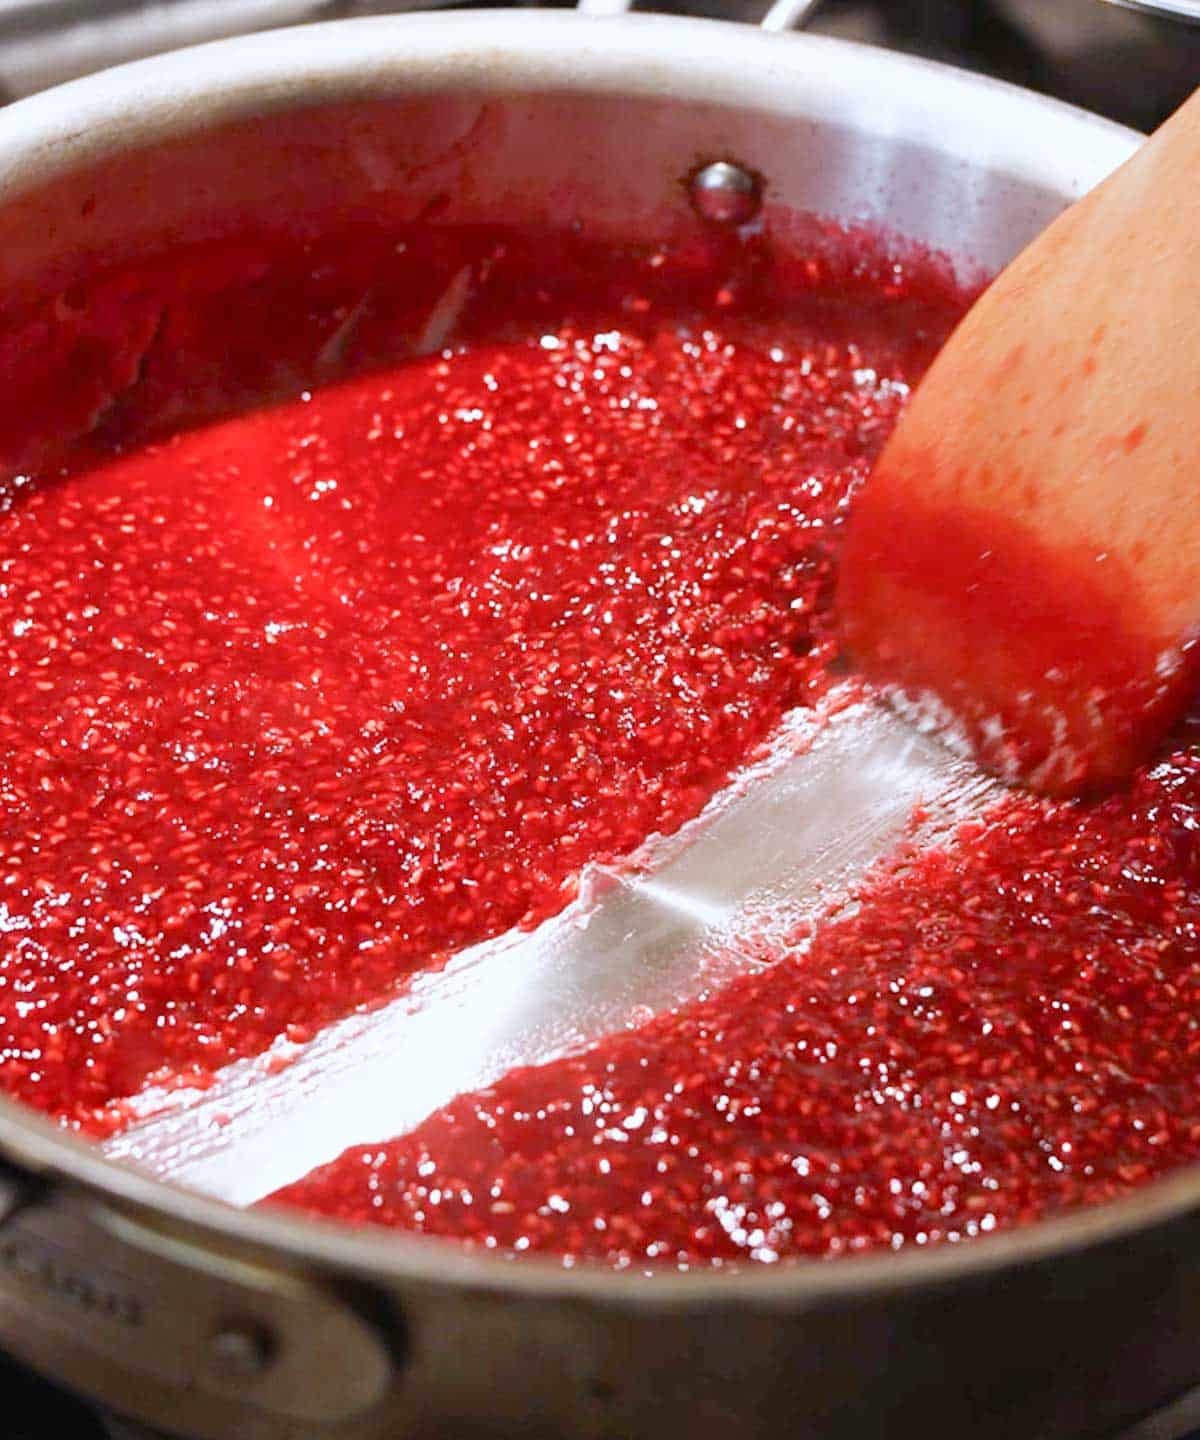
Step 2: Gently boil for about 15-20 minutes, until thickened. To check if it is done, drag your spatula across the bottom of the pan. The spatula should leave a clear trail and the jam should take 2-3 seconds start to fill the space back up. The jam will also thicken a bit more once cooled. Remove from heat and transfer to storage containers.
For full instructions, see the recipe card below.
FAQs
You can try out the spatula test, which is what I use in this recipe!
Drag your spatula across the bottom of the pan: the spatula should leave a clear trail and the jam should take 2-3 seconds to fill the gap back up.
I encourage you to put the jam back on the stove and keep cooking it!
You can mix in a splash of water at a time.
Yes, you can omit the honey. Replace it with 1/3 cup of sugar instead.
Yes, you can use frozen raspberries. You don’t even have to let them thaw—add everything to the pot and cook as usual.
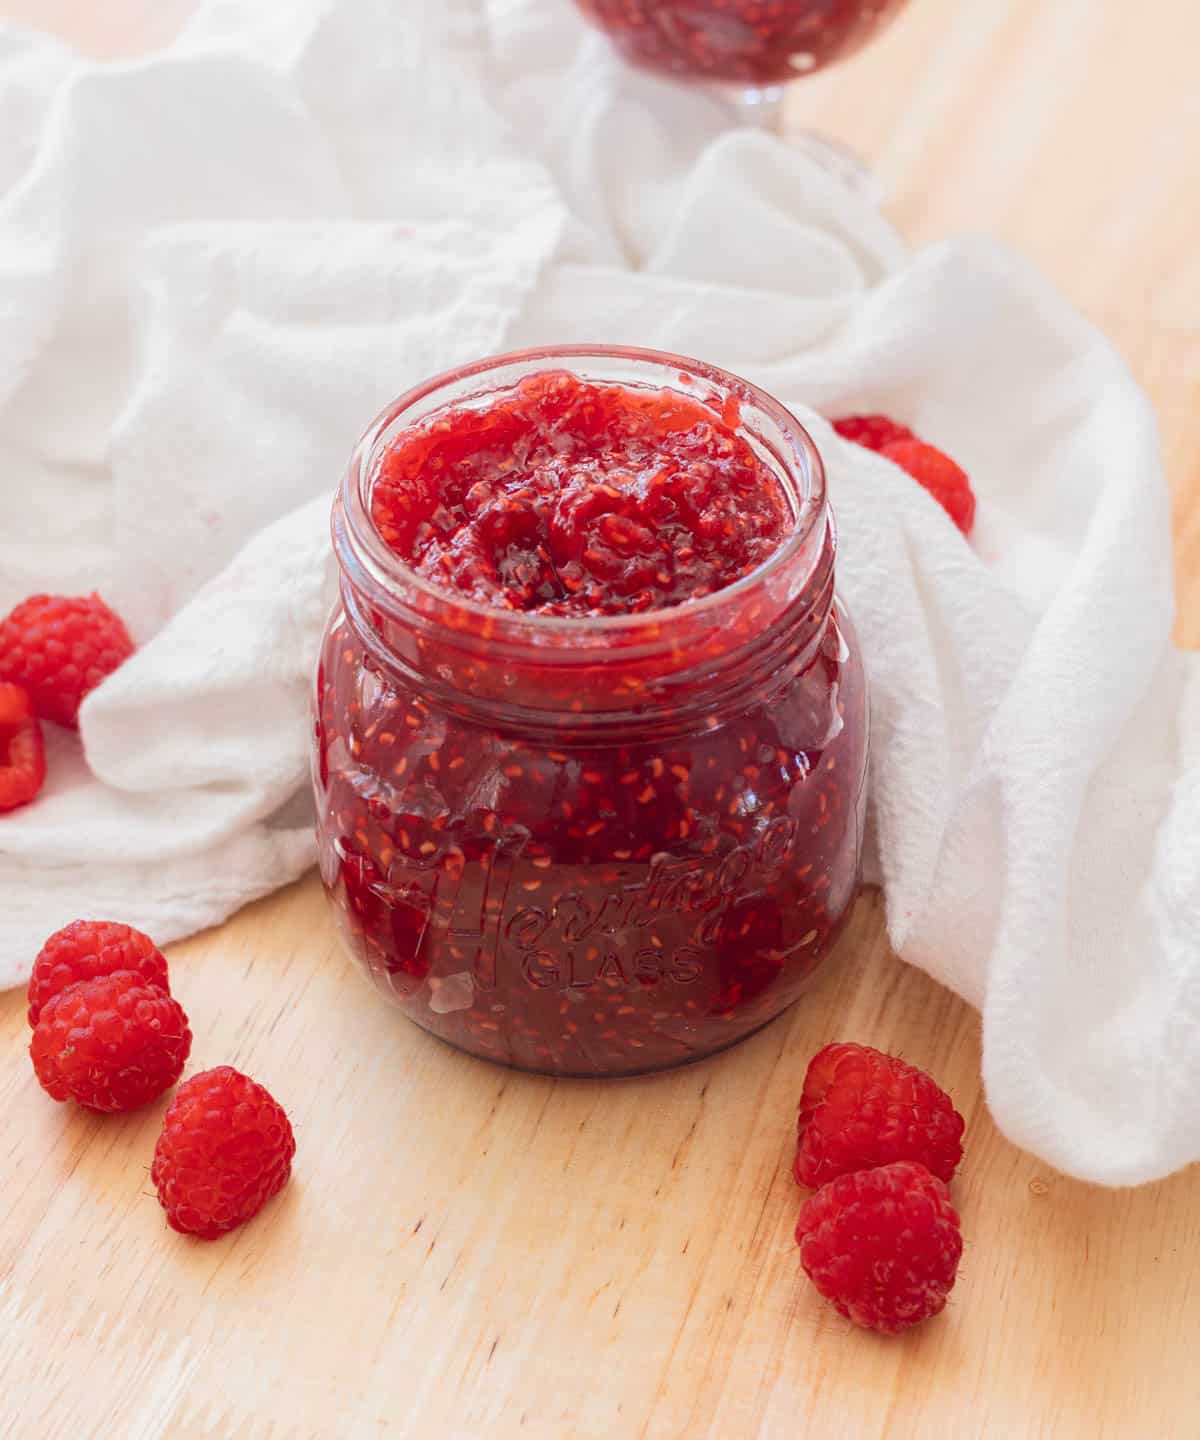
I really hope you enjoy this easy, homemade raspberry jam recipe! If you make it, I’d love to see! You can tag me at #bitesbybianca / @bitesbybianca on Instagram.
📖 Recipe
Raspberry Jam
✉️ want to save this?
Equipment
- wooden spatula
- masher
Ingredients
- 1 ½ pounds (680.39 g) raspberries washed and dried
- 1 cup (200 g) granulated sugar
- 3 tablespoons (63 g) honey
- 1 tablespoon (6 g) lemon zest from 2 small lemons
- 3 tablespoons (45 g) lemon juice from 2 small lemons
Instructions
- In a large saucepan, stir together all of your ingredients: 1 ½ pounds raspberries, 1 cup granulated sugar, 3 tablespoons honey, 1 tablespoon lemon zest, and 3 tablespoons lemon juice.
- Turn the heat to medium and stir. Gently boil for 15-25 minutes, scraping the bottom + sides of the pan often. It will be really liquidy at first, then cook down and thicken.
- To test if the jam is done, drag your wooden spatula across the bottom of the pan. If it leaves a clear trail and the jam takes 2-3 seconds to fill in the gap, it's finished! It will continue to thicken while it cools.
- Enjoy!
Notes
- Want to omit the honey? Replace it with ⅓ cup sugar instead.
- Don’t want a lot of raspberry seeds? You can pass about half of the raspberries through a strainer before cooking the jam on the stove.
- Tips:
- Use fresh, ripe raspberries! The more ripe, the more flavorful the jam.
- Cook the jam in a large, wide pan. I actually like using my sauté pan because it’s super wide and shallow, which helps it cook more evenly compared to a deep pot.
- Storage: Homemade raspberry jam can last up to 2 months in the fridge. You can also store it in the freezer and let the jam thaw overnight before using. For long-term storage, you can always can your raspberry jam! It can last for over a year if left unopened.



(I am the author of this recipe)
Love having this recipe on hand in the fridge! Such a great staple and love having it in my yogurt.