These mini sugar cookies are soft and perfect for any big gathering! This is a recipe you’ll want to bake over and over, so make sure to bookmark this for future use. :~)
✉️ want to save this?
About these mini sugar cookies
After my mini chocolate chip cookies being such a hit, I just had to make mini sugar cookies, too!
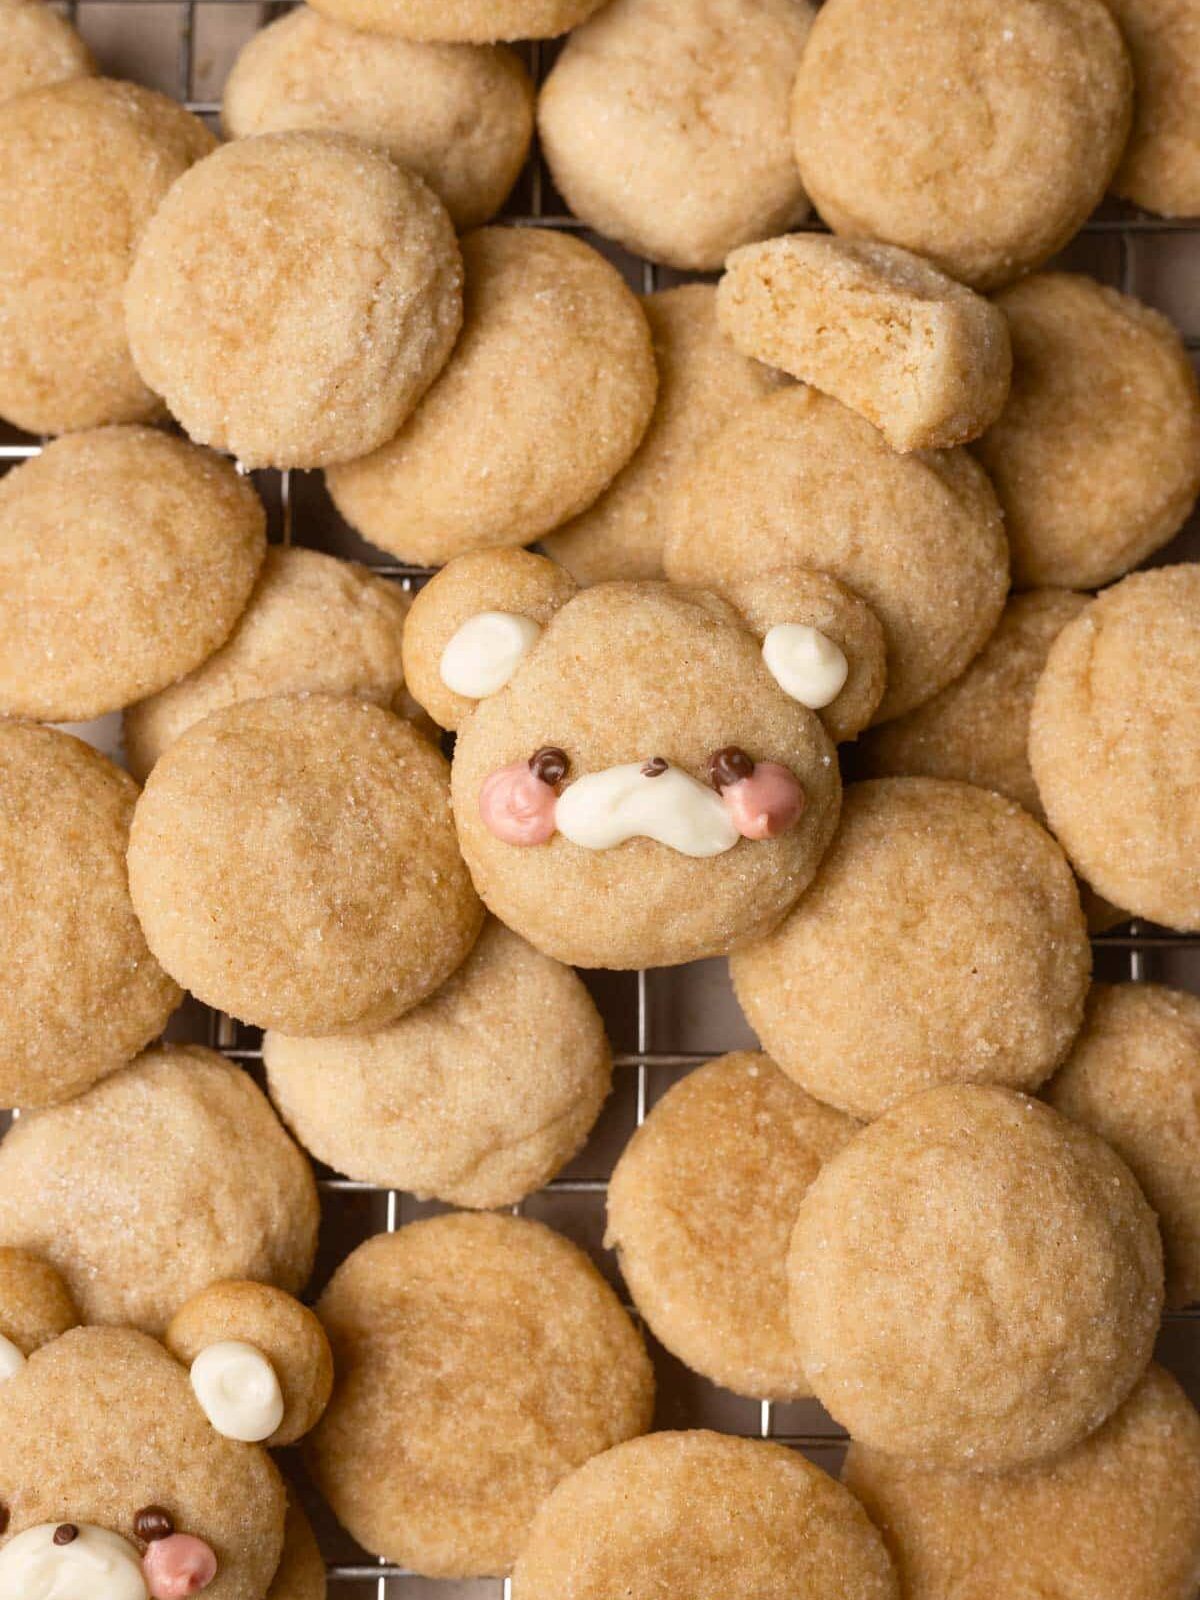
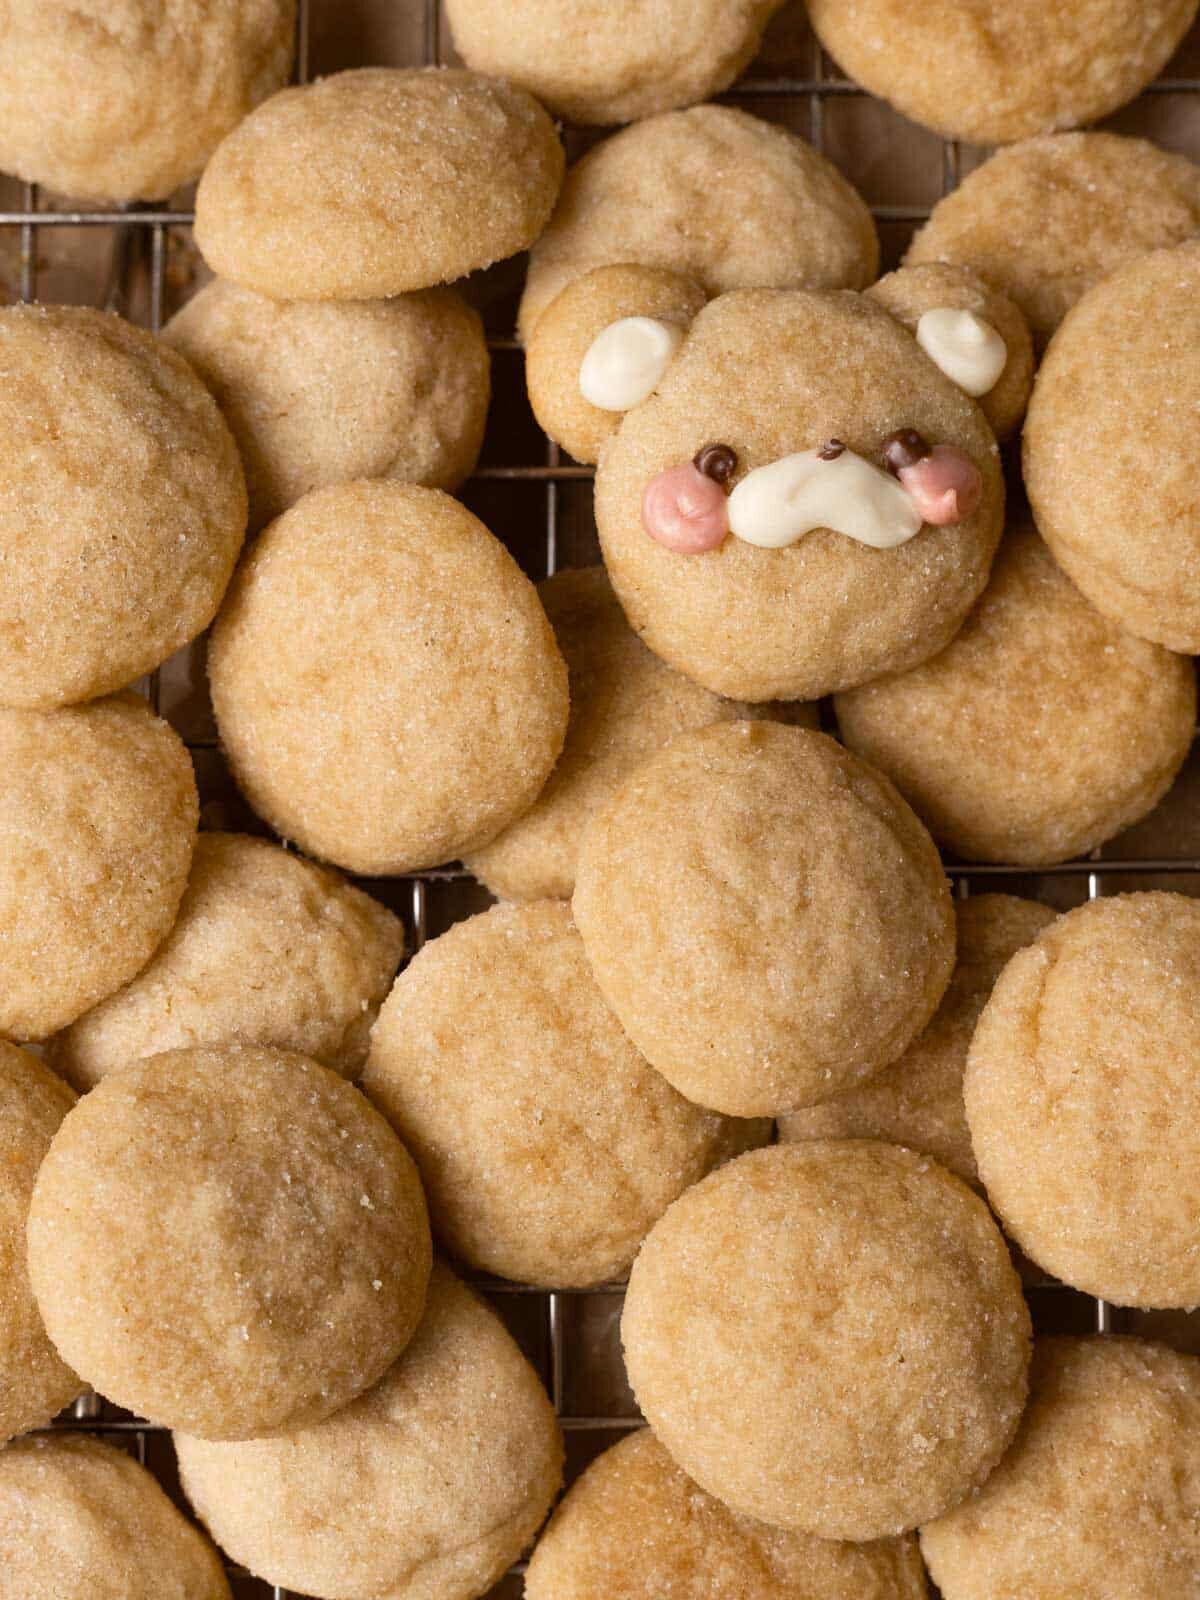
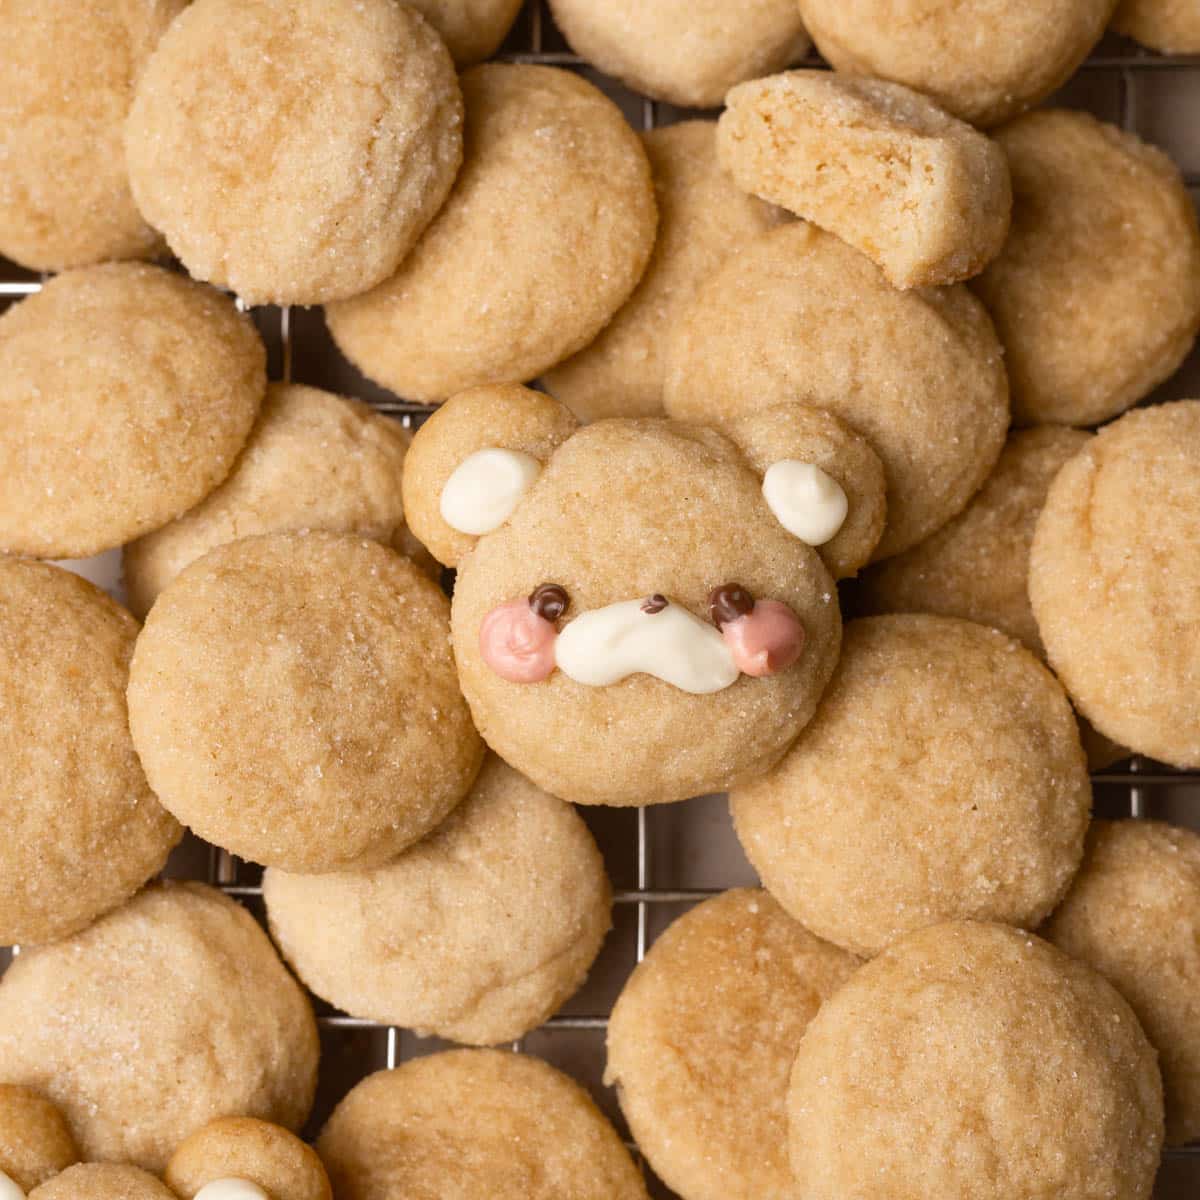
Tiny cookies are not only fun to make, but also super convenient if you’re baking for a large crowd. One batch bakes about 60 mini cookies, so it’s a great recipe for hosting. And texture wise, these cookies are soft, a little chewy, and so, so adorable!
What’s even better is that this recipe is really simple! The sugar cookie dough is made in one bowl, scooped into little balls, rolled in sugar, then baked. But, if you want to make them extra cute, you can also shape some into bears like I did. And don’t worry, instructions on how to make these tiny cookies bear-shaped are included in the recipe. 🙂
In this blog post, you’ll read about what equipment/ingredients I used, the steps to make these easy sugar cookies, some flavor variations, tips, and FAQs. If you have further questions, please feel free to drop a comment and I’ll get back to you ASAP.
I’d love to continue my tiny cookie series, so stay tuned for what’s next. Now, let’s get to the mini sugar cookies recipe!
Ingredients
- All-purpose flour
- Cornstarch: This helps keep the cookies soft and chewy!
- Baking soda
- Table salt: I use Morton’s.
- Unsalted butter: I like using Vital Farms.
- Granulated sugar
- Light or dark brown sugar
- Egg
- Vanilla extract
Again, these are optional for the bear cookie design:
- White chocolate chips
- Milk chocolate chips
- Oil-based food coloring (pink or red)

How to make mini cookies
- Mise en place: aka “put in place”. This French saying simply means measure out all of the ingredients and prep your equipment beforehand. This helps you stay more organized and move more seamlessly in the kitchen while you make these mini cookies.
- Mix butter and sugar: In your large mixing bowl or bowl of stand mixer, whisk the melted butter and sugars together until smooth.
- Add egg and vanilla extract: Mix in the egg and vanilla extract until combined.
- Stir in dry ingredients: Stir in the flour, cornstarch, baking soda, and salt until no dry spots remain.
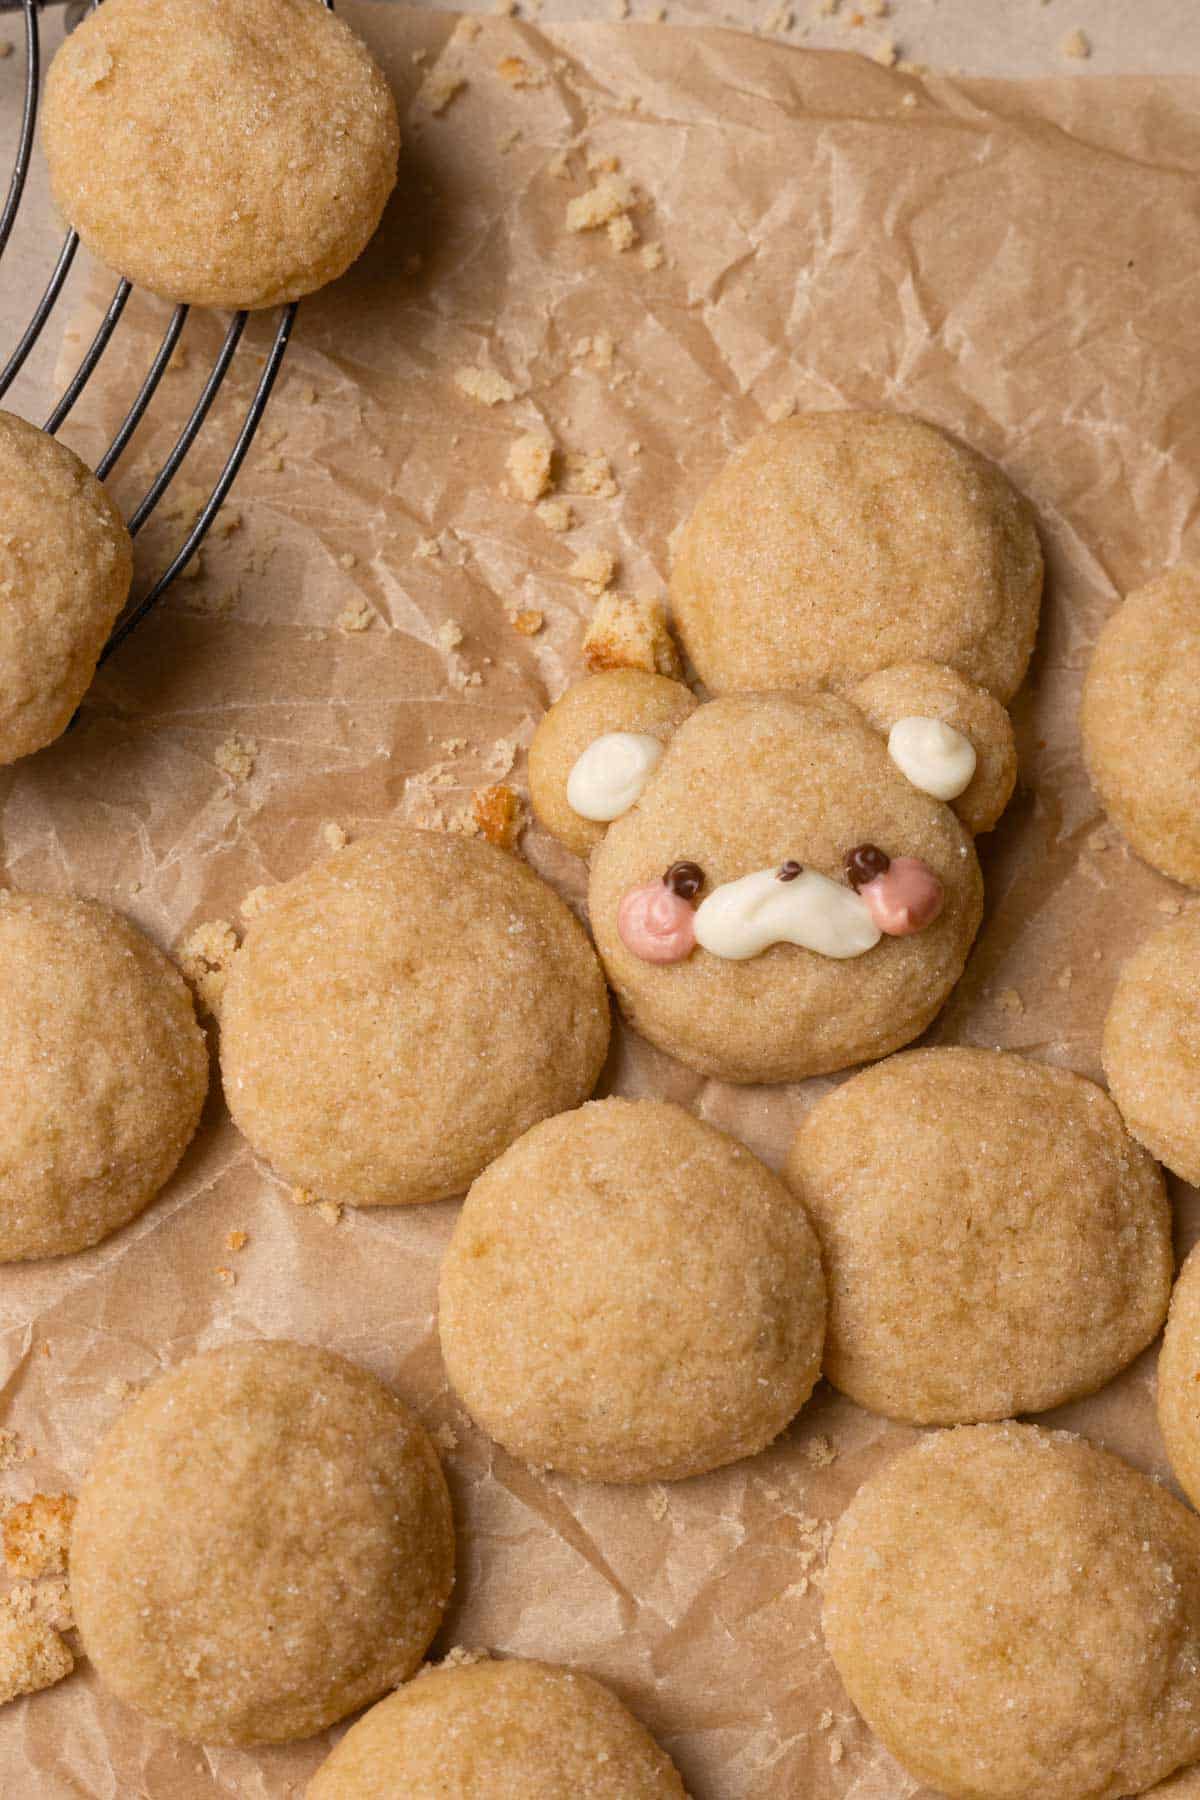
- Shape mini sugar cookies: Scoop 1 ½ tbsp ball of dough, split it into 3 (about 1 ½ tsp each), and roll into sugar. Place cookies on baking sheet, spacing them apart by 2-3 inches. If making a bear design like I did, roll ½ tsp balls of dough. Each ball will be for one ear. Coat them in sugar and place 2 ears on top of each cookie. Repeat with remaining dough.
- Bake: Bake mini cookies at 325°F/162°C for 5-7 minutes, or until edges are set. Let cool on tray for about 5 minutes, then transfer to wire rack.
- Decorate (optional): If decorating as bears, use melted chocolate to draw on the faces.
- Store: You can store the small sugar cookies in an airtight container at room temperature for up to 7 days.
Sugar cookie variations
- Brown the butter: This will definitely level up your small sugar cookies and make them taste toastier + nuttier. To make up for the moisture lost from caramelizing the stick of butter, change the amount of all-purpose flour 1 ¼ cup.
- Roll in sprinkles: Rolling the tops of the cookie dough balls in sprinkles instead of sugar prior to baking would add a fun texture! You can also fold the sprinkles into the cookie batter.
Tips for making mini sugar cookie bites
Making the cookie dough
- Use a kitchen scale: I LOVE using a kitchen scale because it always yields consistent, accurate results when measuring ingredients. However, if you’re measuring your dry ingredients with cups, make sure you follow this tip: gently spoon in the flour into the cup until it’s full, then scrape the excess off using the back of a knife or offset spatula.
After baking
These steps are for making the more aesthetic, perfectly round cookies you see online! The steps aren’t necessary, they’re purely for plating.
- Scoot cookies: Once the cookies are out of the oven, immediately place a circle cookie cutter or mug on top of a warm, oddly-shaped cookie, and move it around. This step will help turn them into perfectly round cookies.
FAQs
How to store mini sugar cookies
If you’d like to store the mini cookie dough, I recommend lining a tray or plate with parchment/wax paper. Then, arrange the raw cookie balls in a single layer and freeze for about 1 hour.
Once the cookie dough balls are frozen, you can transfer them to an airtight container and freeze for up to 3 months. Bake as usual, but add 1-2 extra minutes.
If you’d like to store freshly baked cookies, wait until they are fully cool. Then, transfer the tiny cookies to an airtight container at room temperature for up to one week.

Other cookie recipes
- Mini chocolate chip cookies
- Brown butter sugar cookies
- Froggie matcha sugar cookies
- Chocolate sugar cookies
- Chewy sugar cookies
I really hope you enjoy these no chill sugar cookies. If you make them, I’d love to see! You can tag me at #bitesbybianca / @bitesbybianca on Instagram. Enjoy! 🙂
📖 Recipe
Mini Sugar Cookies
✉️ want to save this?
Equipment
- 1 large mixing bowl or bowl of stand mixer
- 1 hand whisk, electric whisk, or stand mixer with paddle attachment
- 2 silicone mats or parchment paper
- 2 microwave-safe bowls, optional for bear design
- 2 small silicone spatulas, optional for bear design
- 3 Piping bags optional for bear design
- 1 pair of scissors, optional for bear design
Ingredients
Dry ingredients:
- 1 ½ cups (187.5 g) all-purpose flour
- 1 teaspoon (2 g) cornstarch
- ½ teaspoon (2 g) baking soda
- ¾ teaspoon (4.5 g) table salt
Wet ingredients:
- ½ cup (113.5 g) unsalted butter melted and cooled
- ⅓ cup (66.67 g) granulated sugar
- ¼ cup (55 g) light or dark brown sugar packed
- 1 tablespoon (13 g) vanilla extract
- 1 (1) egg
For rolling:
- 4 tablespoons (48 g) granulated sugar
Decoration for face (optional):
- 2 tablespoons (30 g) melted milk or dark chocolate
- 3 tablespoons (44.36 g) melted white chocolate
- oil-based food coloring, see steps (pink)
Instructions
Make the sugar cookie dough:
- In a medium bowl, whisk together all of the dry ingredients: 1 ½ cup all-purpose flour, 1 tsp cornstarch, 1 tsp baking soda, and ¾ tsp salt.
- In a large bowl (can also use bowl of stand mixer fitted with paddle attachment), whisk the ½ cup melted butter, ⅓ cup granulated sugar, and ¼ cup brown sugar until combined. Scrape bottom of bowl.
- Add 1 tbsp vanilla and egg and mix again until smooth.
- Dump in all of the dry ingredients and use silicone spatula to mix until no dry spots remain.
Shape & bake the mini cookies:
- Preheat oven to 325°F/163°C and line two baking trays with parchment paper or silicone mats. Add 4 tbsp granulated sugar to small bowl.
- Use a small cookie scoop to gather dough into a 1 ½ tbsp ball.Split the ball into 3 equally sized balls (about 1 ½ tsp each), and roll each into granulated sugar. Place on lined baking sheet, about 2-3 inches apart.
- To make bears (optional): For the ears, take about 1 tsp of dough, split it in 2, and roll them in sugar. Place them on top left and right sides of a cookie dough ball on the baking sheet.
- Repeat with remaining dough, shaping them into regular balls or bears!
- Bake for 5-7 minutes, or until edges are set/firm. Middles should look slightly underbaked. But don't worry—they will finish baking on the cookie sheet while the pan is still hot!Optional: For rounder, more aesthetic cookies, take a something circular and larger than your cookies (cookie cutter, mug, cup), and place it on top of a warm, freshly baked cookie. Move the circular object around to shape the edges of the cookie until it becomes rounder.
- Let cool on pan for about 5-10 minutes, then transfer cookies to wire rack. Let cool completely.
For the bear faces (optional):
- Note: You can a piping bag, toothpick, or cookie scribe to add on the details. I used piping bags.
- Add white chocolate to small microwave-safe bowl and microwave in 30-second intervals, stirring in between, until fully melted.
- Leave about a tablespoon of melted white chocolate and transfer the rest to a piping bag. Use this for the snouts and ears.
- To the remaining white chocolate, add a drop of oil-based pink food coloring. Transfer to piping bag and use this for the blush.If you don't have oil-based food coloring, then the chocolate will seize/become lumpy. To counter this, stir in a tsp of neutral oil (canola, vegetable) at a time, until it becomes smooth again.
- Melt dark or milk chocolate in another bowl, transfer to piping bag, and use this to draw on the eyes and nose.
- Enjoy!
Notes
- Store cookies in an airtight container at room temperature for up to 7 days.
- See blog post for the links for the equipment I used!