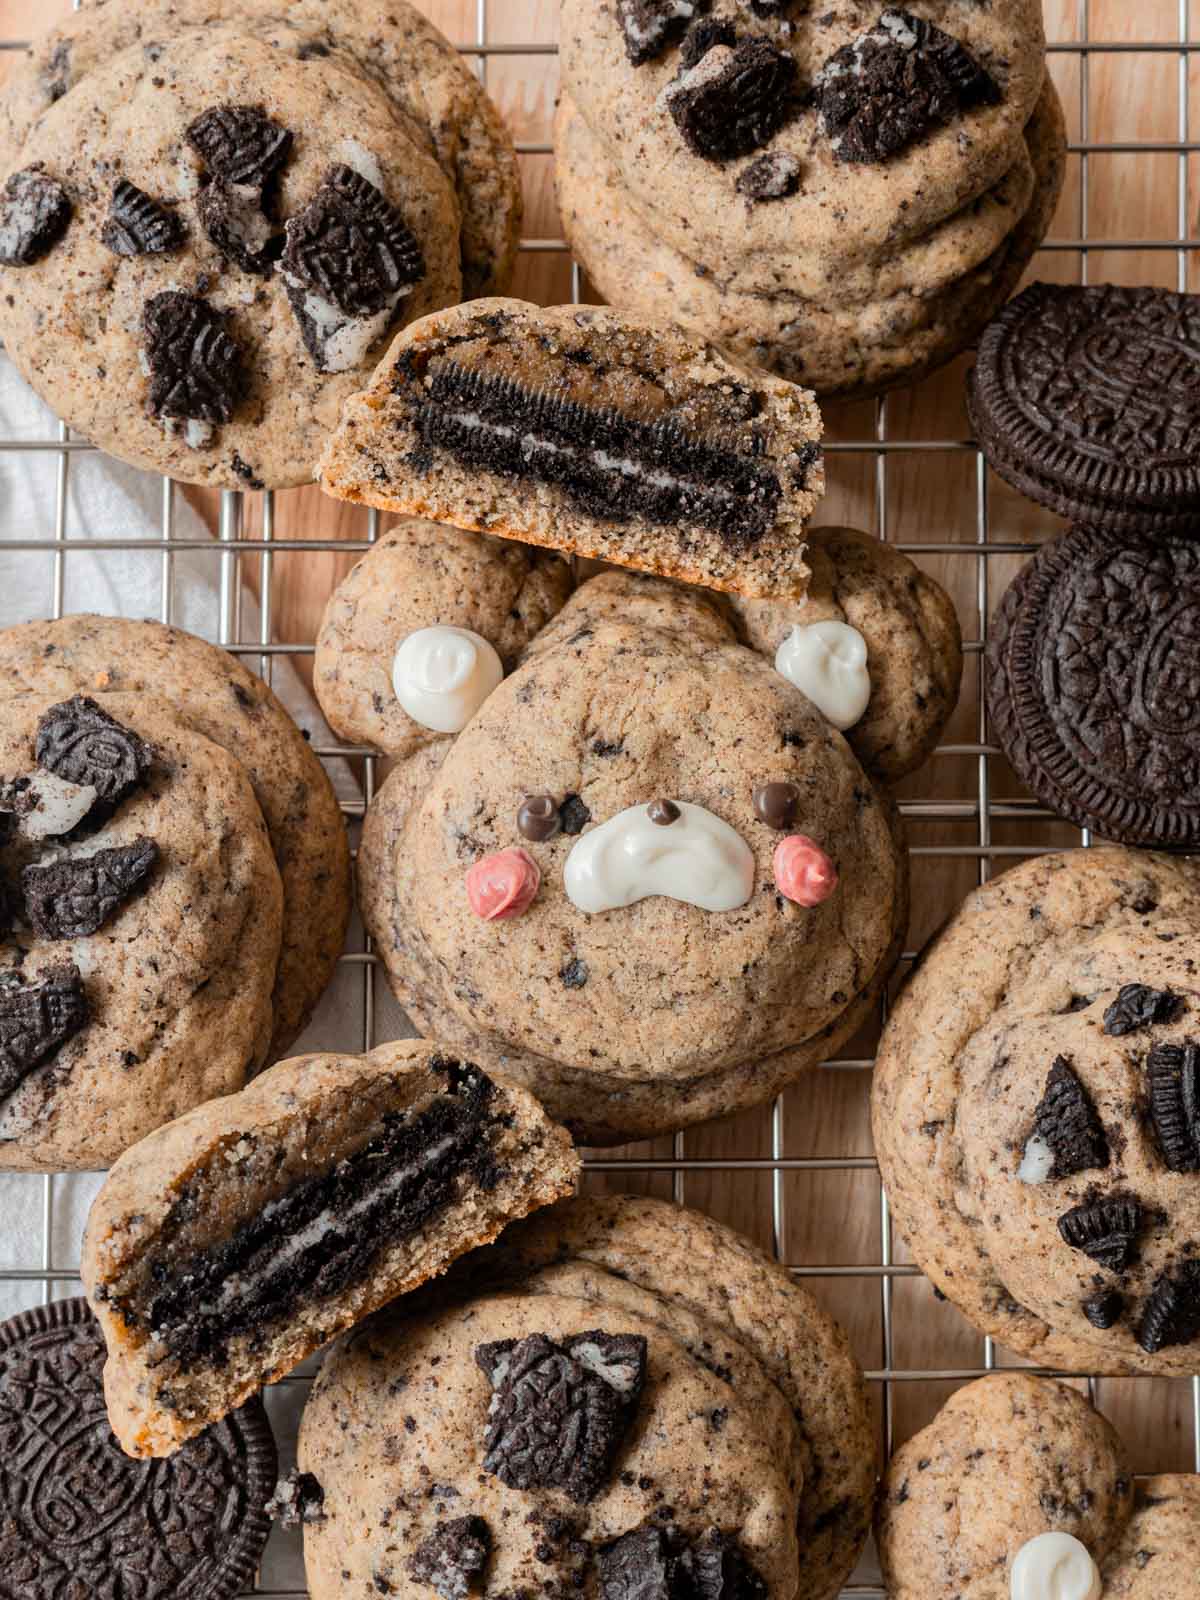
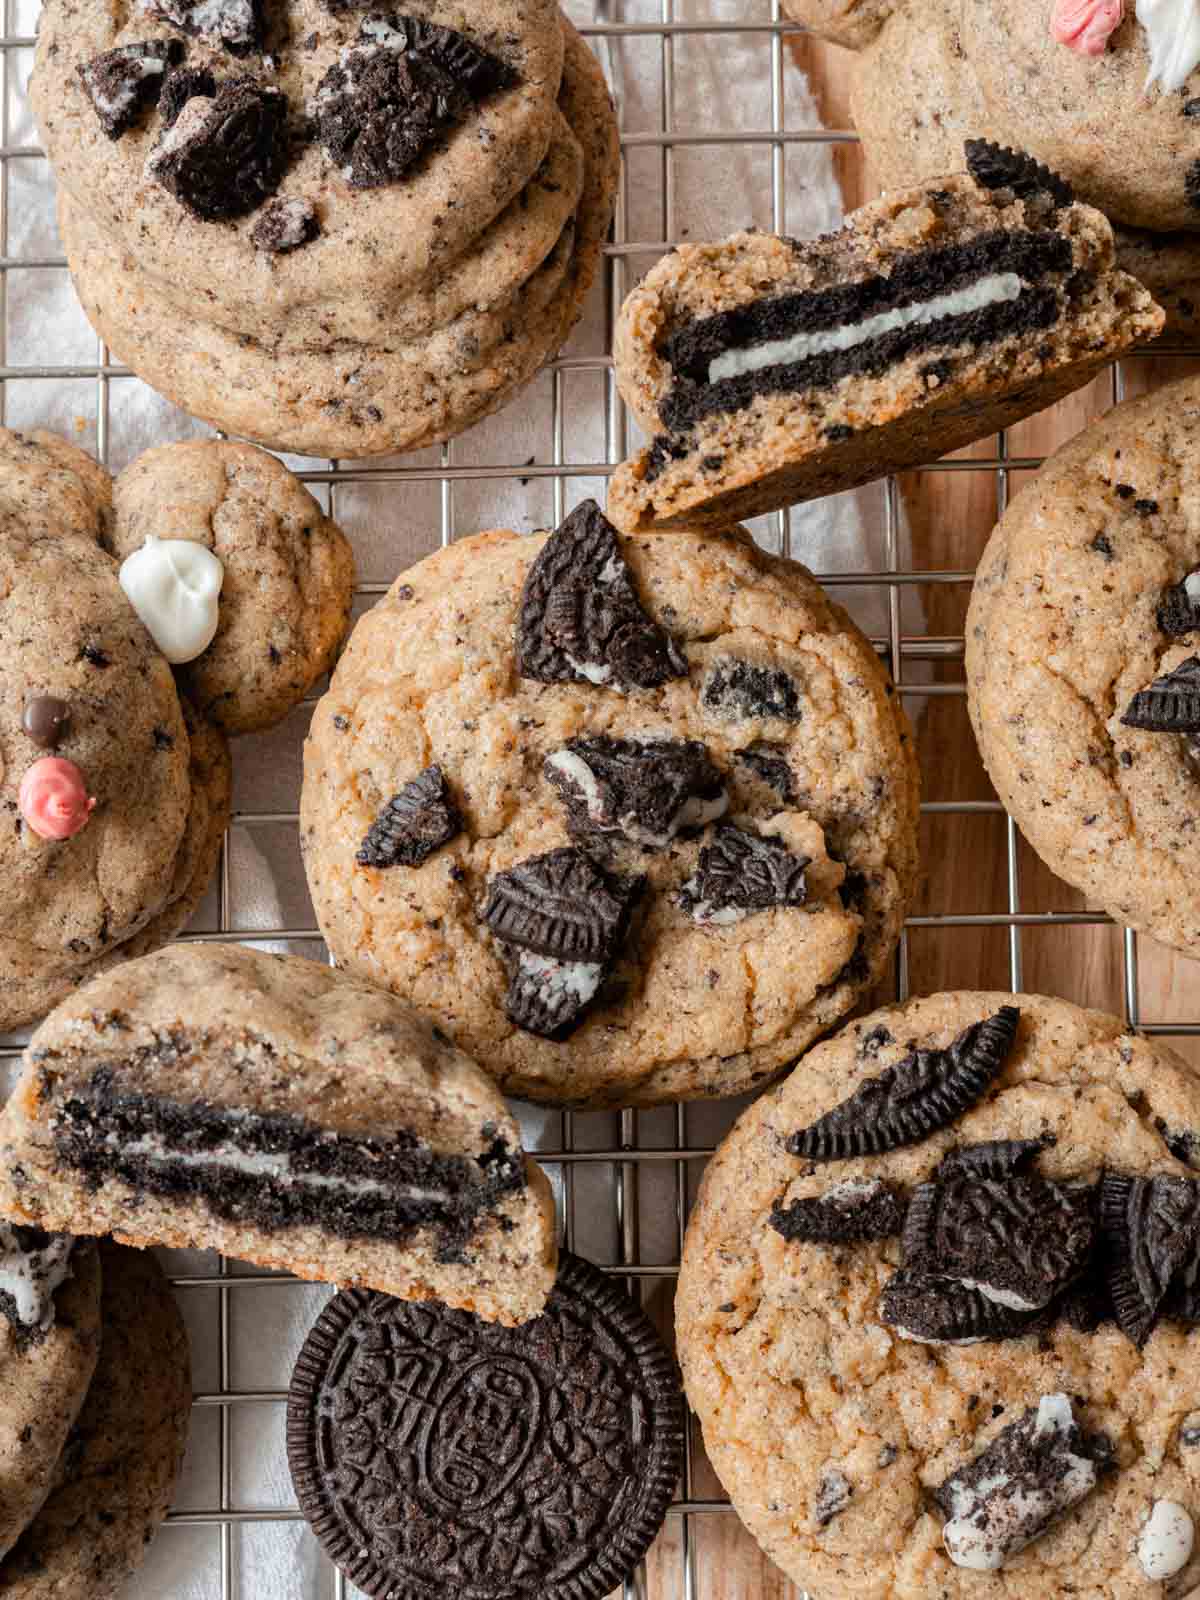
These stuffed cookies and cream cookies are an Oreo lover’s dream! There’s crushed Oreos in the dough, plus some roughly chopped ones on top. AND the cookies are stuffed with whole Oreos! They’re thick, soft, absolutely delicious, and so easy to make.
✉️ want to save this?
🍪 Why You’ll Love This Recipe
- The cookies are super flavorful and chunky. The cookie dough is made with an entire tablespoon of vanilla and lots of Oreos. They’re not-too-sweet and have the perfect amount of salt, too. Plus, they’re stuffed with an ENTIRE Oreo, which makes these cookies super thick and yummy.
- They’re a definite crowd pleaser! Although regular cookies are always great to have at a party, stuffed cookies are an absolute game changer. People will definitely be talking about how delish they are!
- This is a quick and easy no-chill recipe, meaning you don’t have to refrigerate the dough 30 minutes-1 hour before baking! AKA.. you can eat them within an hour.
- You won’t need any special equipment. Simply mix everything in one bowl with a spatula, scoop, and bake. And if you’re decorating some as bears, the details are all done with melted chocolate!
I really hope you enjoy this stuffed Oreo cookies and cream cookie recipe! If you make it, I’d love to see! You can tag me at #bitesbybianca / @bitesbybianca on Instagram.
📖 Recipe
Oreo-Stuffed Cookies and Cream Cookies
These stuffed cookies and cream cookies are an Oreo lover's dream! There's crushed Oreos in the dough, plus some roughly chopped ones on top. AND the cookies are stuffed with whole Oreos! They're thick, soft, absolutely delicious, and so easy to make.
✉️ want to save this?
Equipment
- 1 medium mixing bowl for dry ingredients
- 1 large mixing bowl for mixing dough
- 1 Medium cookie scoop holds 2-3 tablespoons dough
- 2 small microwave-safe bowls, for melting chocolate
- 2 small silicone spatulas,
- 2 Piping bags can alternatively use toothpicks or Ziploc bags
- 1 pair of scissors,
Ingredients
Dry ingredients:
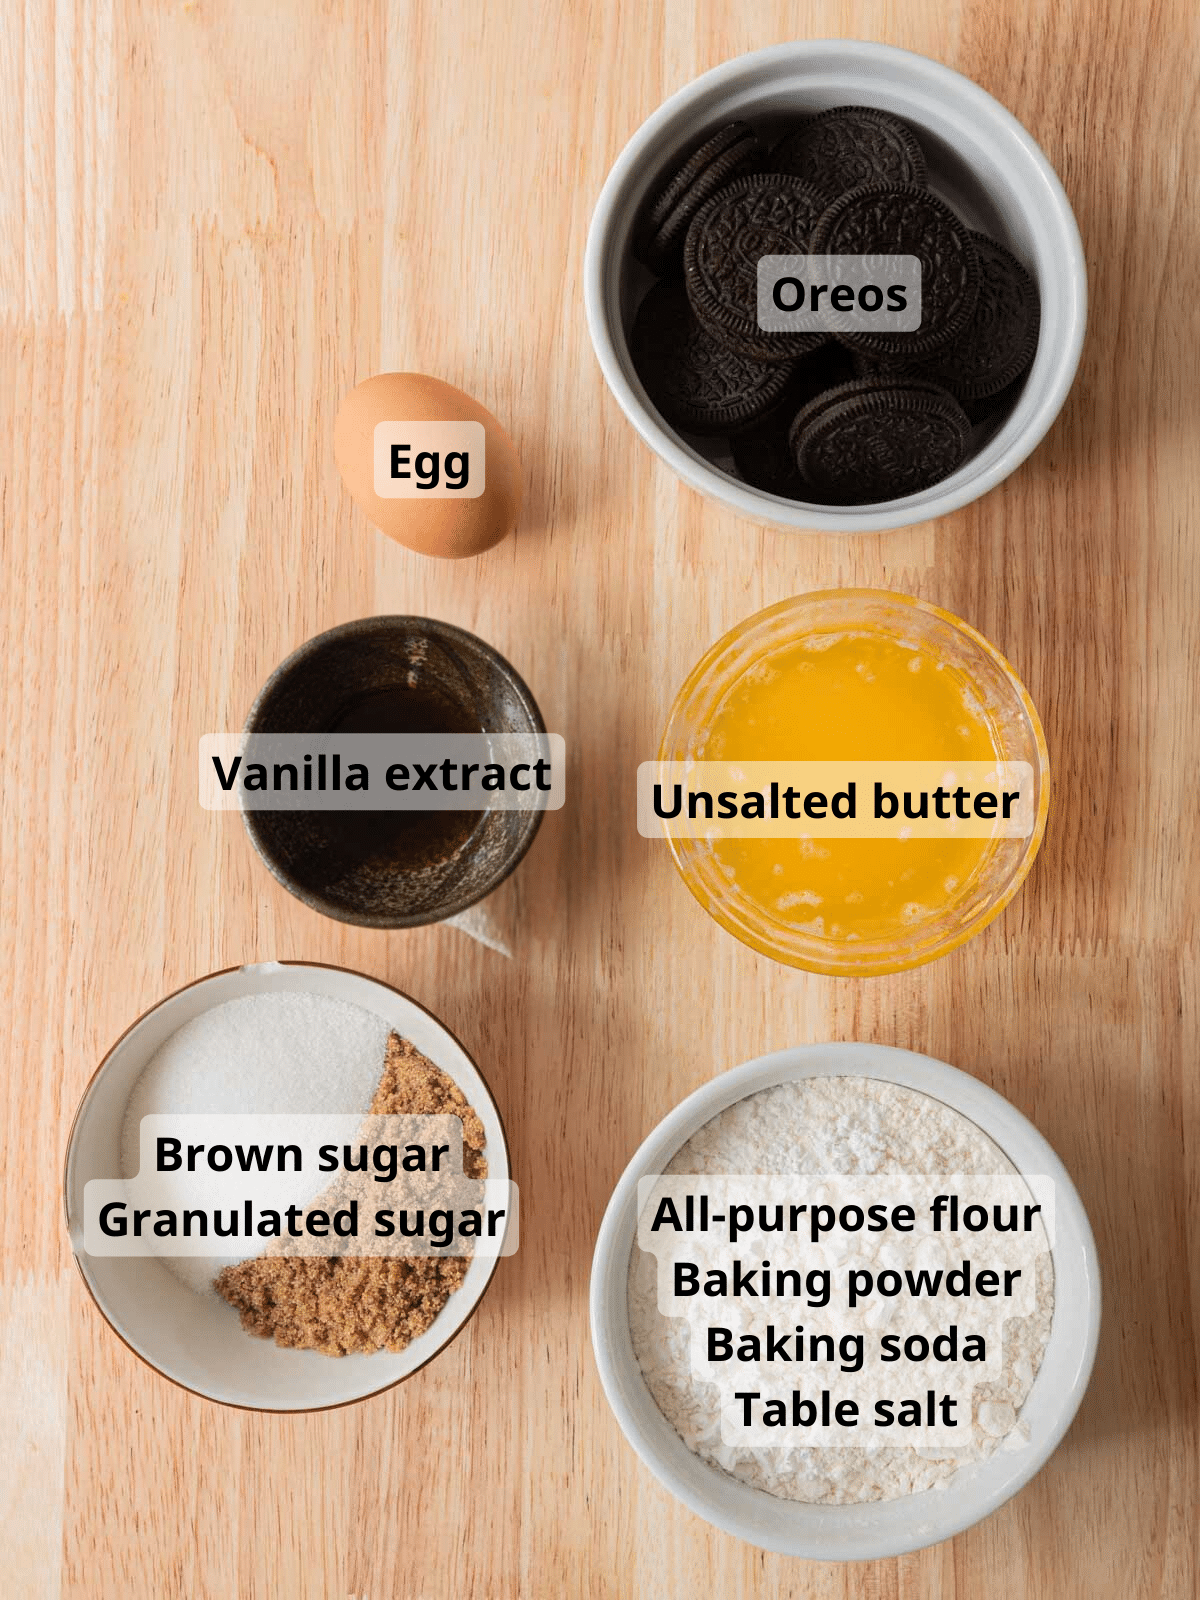
- 1 ½ cups (187.5 g) all-purpose flour
- ½ teaspoon (2 g) baking soda
- ½ teaspoon (2 g) baking powder
- ½ teaspoon (3 g) table salt
Wet ingredients:
- ½ cup (113.5 g) unsalted butter melted and cooled
- ½ cup (110 g) light or dark brown sugar packed
- ¼ cup (50 g) granulated sugar
- 1 tablespoon (13 g) vanilla extract
- 1 (1) egg room temperature
Topping:
- 4 (4) Oreos roughly chopped, for topping
Decoration for face:
- 1 tbsp (14.79 g) milk/dark chocolate melting wafers can sub 1:1 milk/dark chocolate chips
- 3 tablespoons (44.36 g) white chocolate melting wafers can sub 1:1 white chocolate chips
- red or pink oil-based food coloring see decorating steps
Instructions
For the cookie dough:
- In a medium bowl, stir together all of the dry ingredients: 1 ½ cups all-purpose flour, ½ teaspoon baking powder, ½ teaspoon baking soda, and ½ teaspoon table salt.
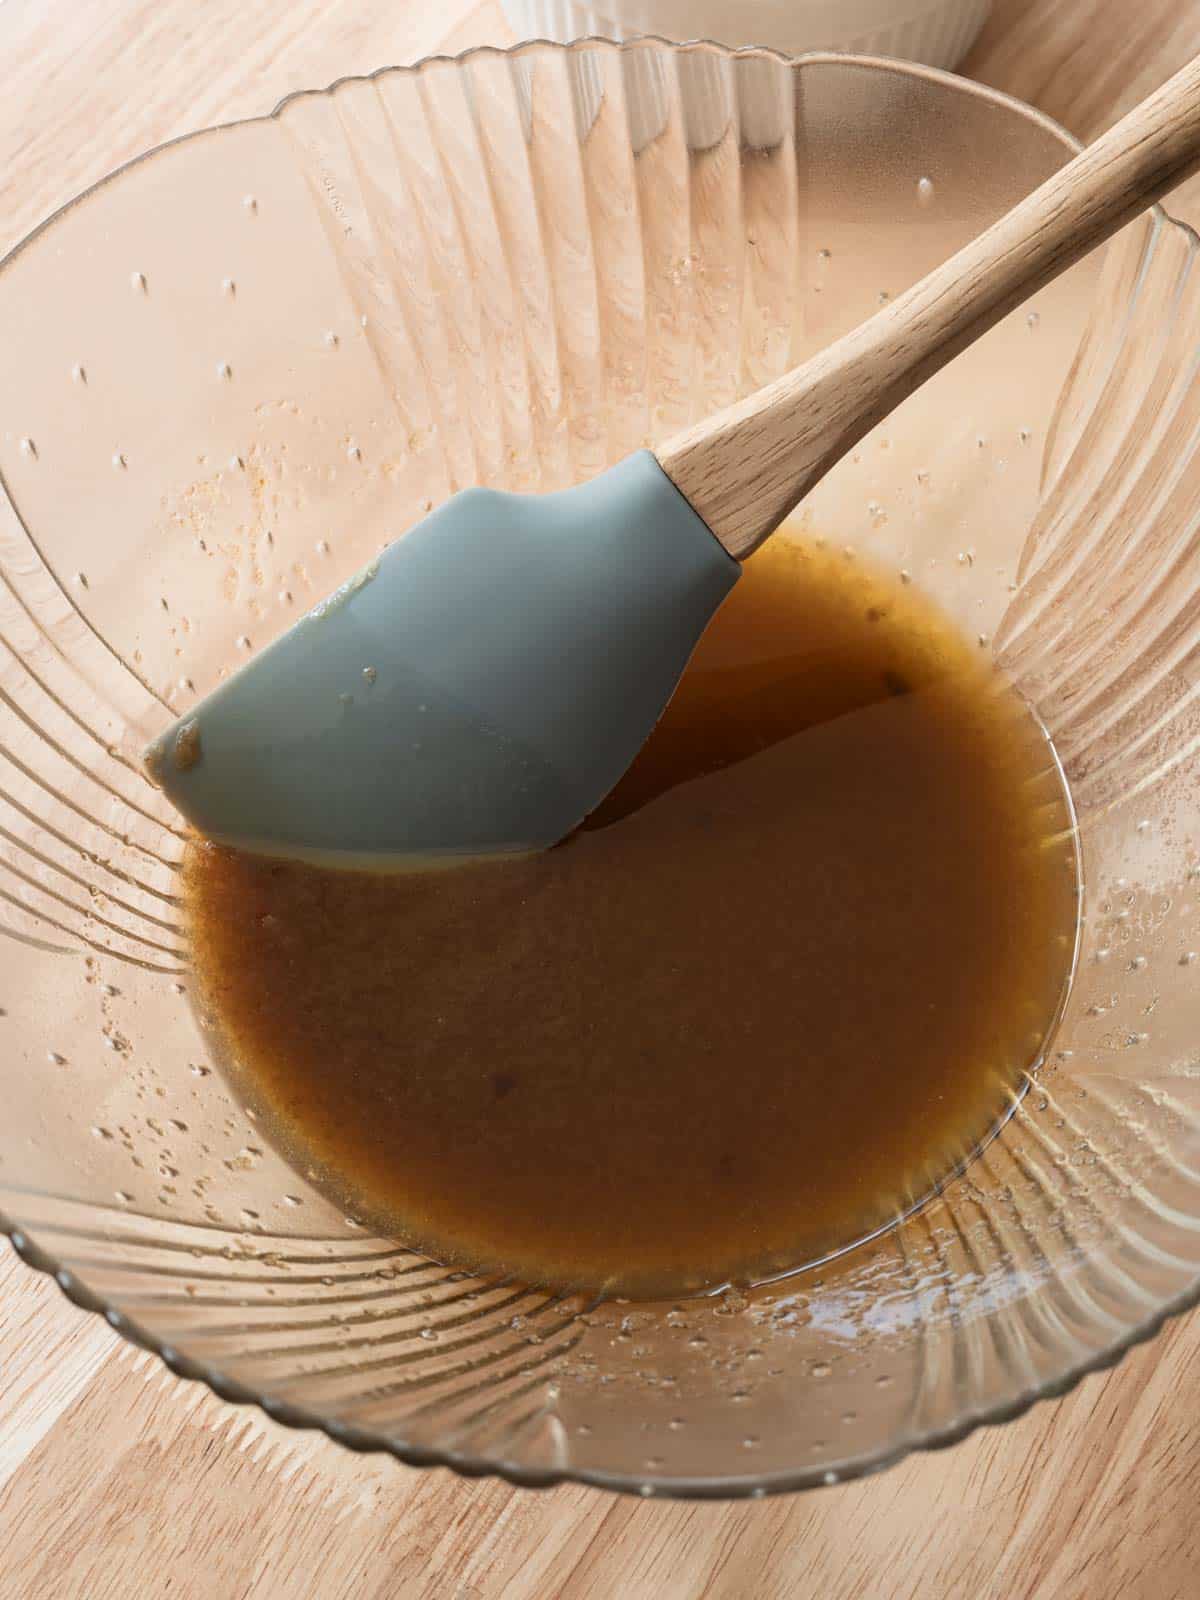
- In a large bowl, use silicone spatula to mix melted ½ cup unsalted butter, ¼ cup granulated sugar, and ½ cup light or dark brown sugar until combined.
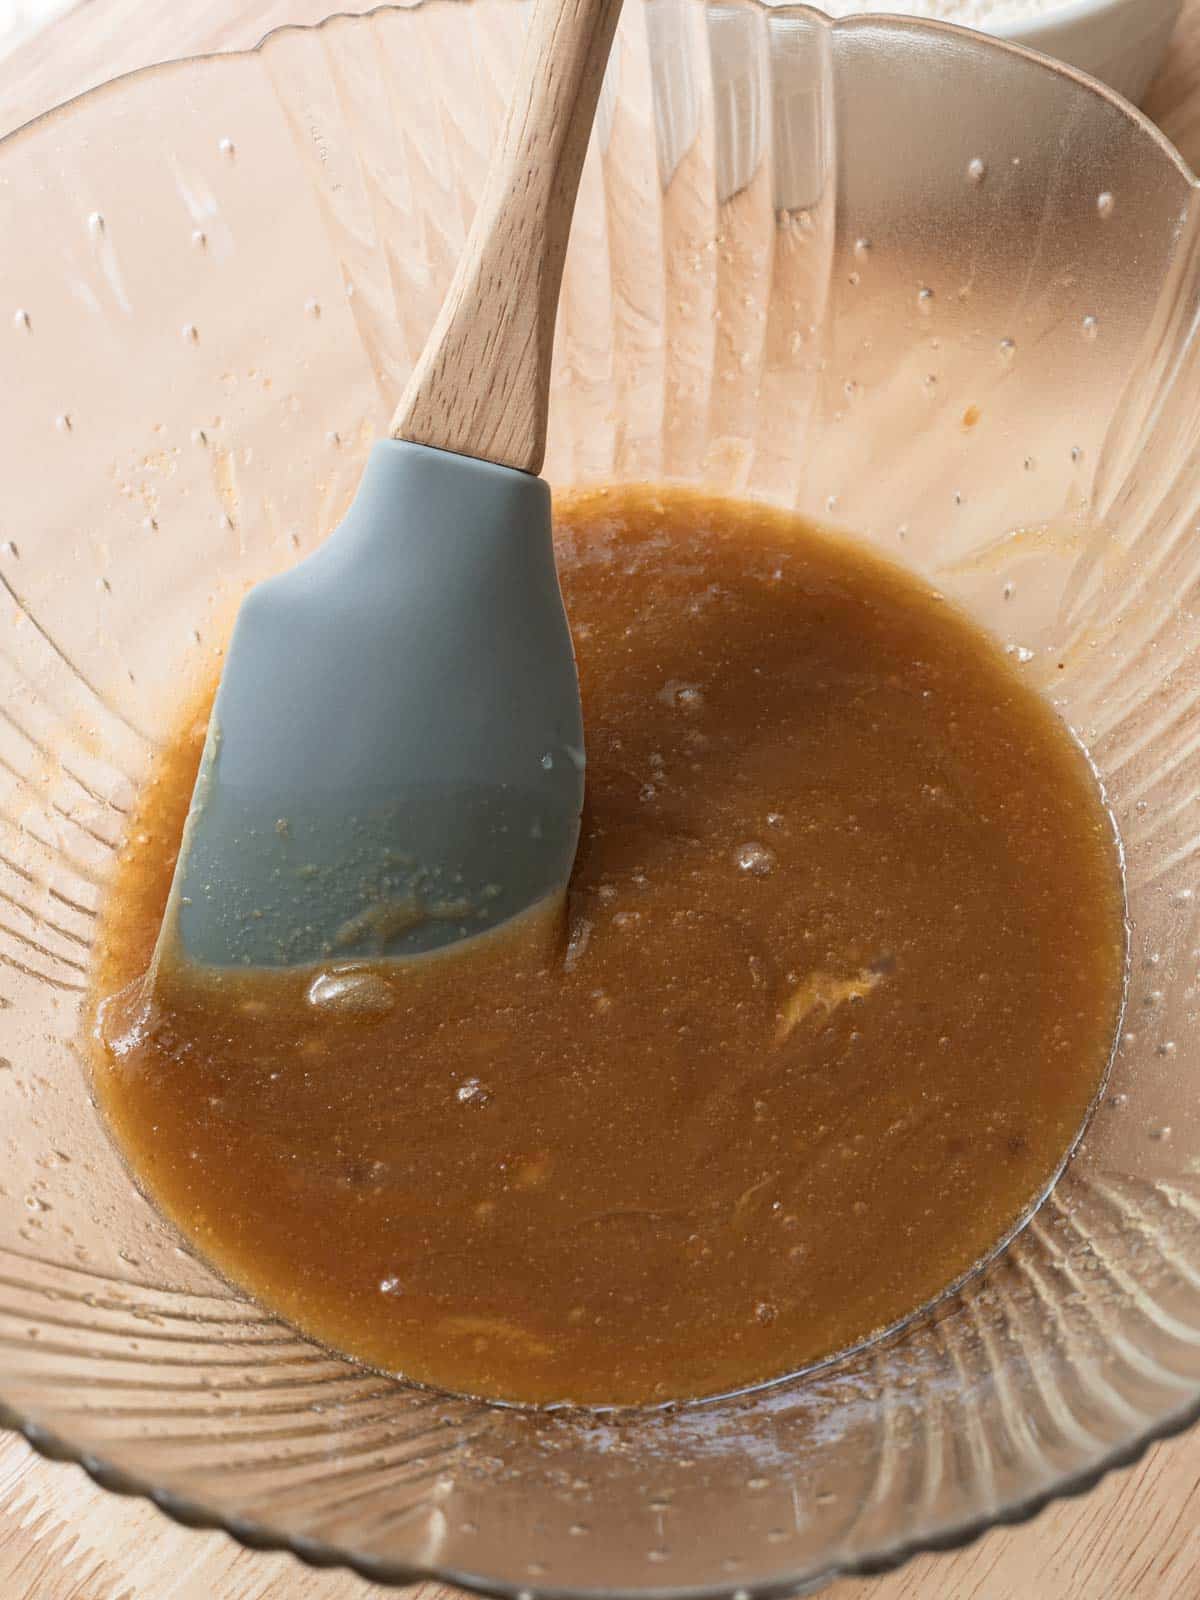
- Add 1 egg and 1 tablespoon vanilla extract. Mix until smooth.
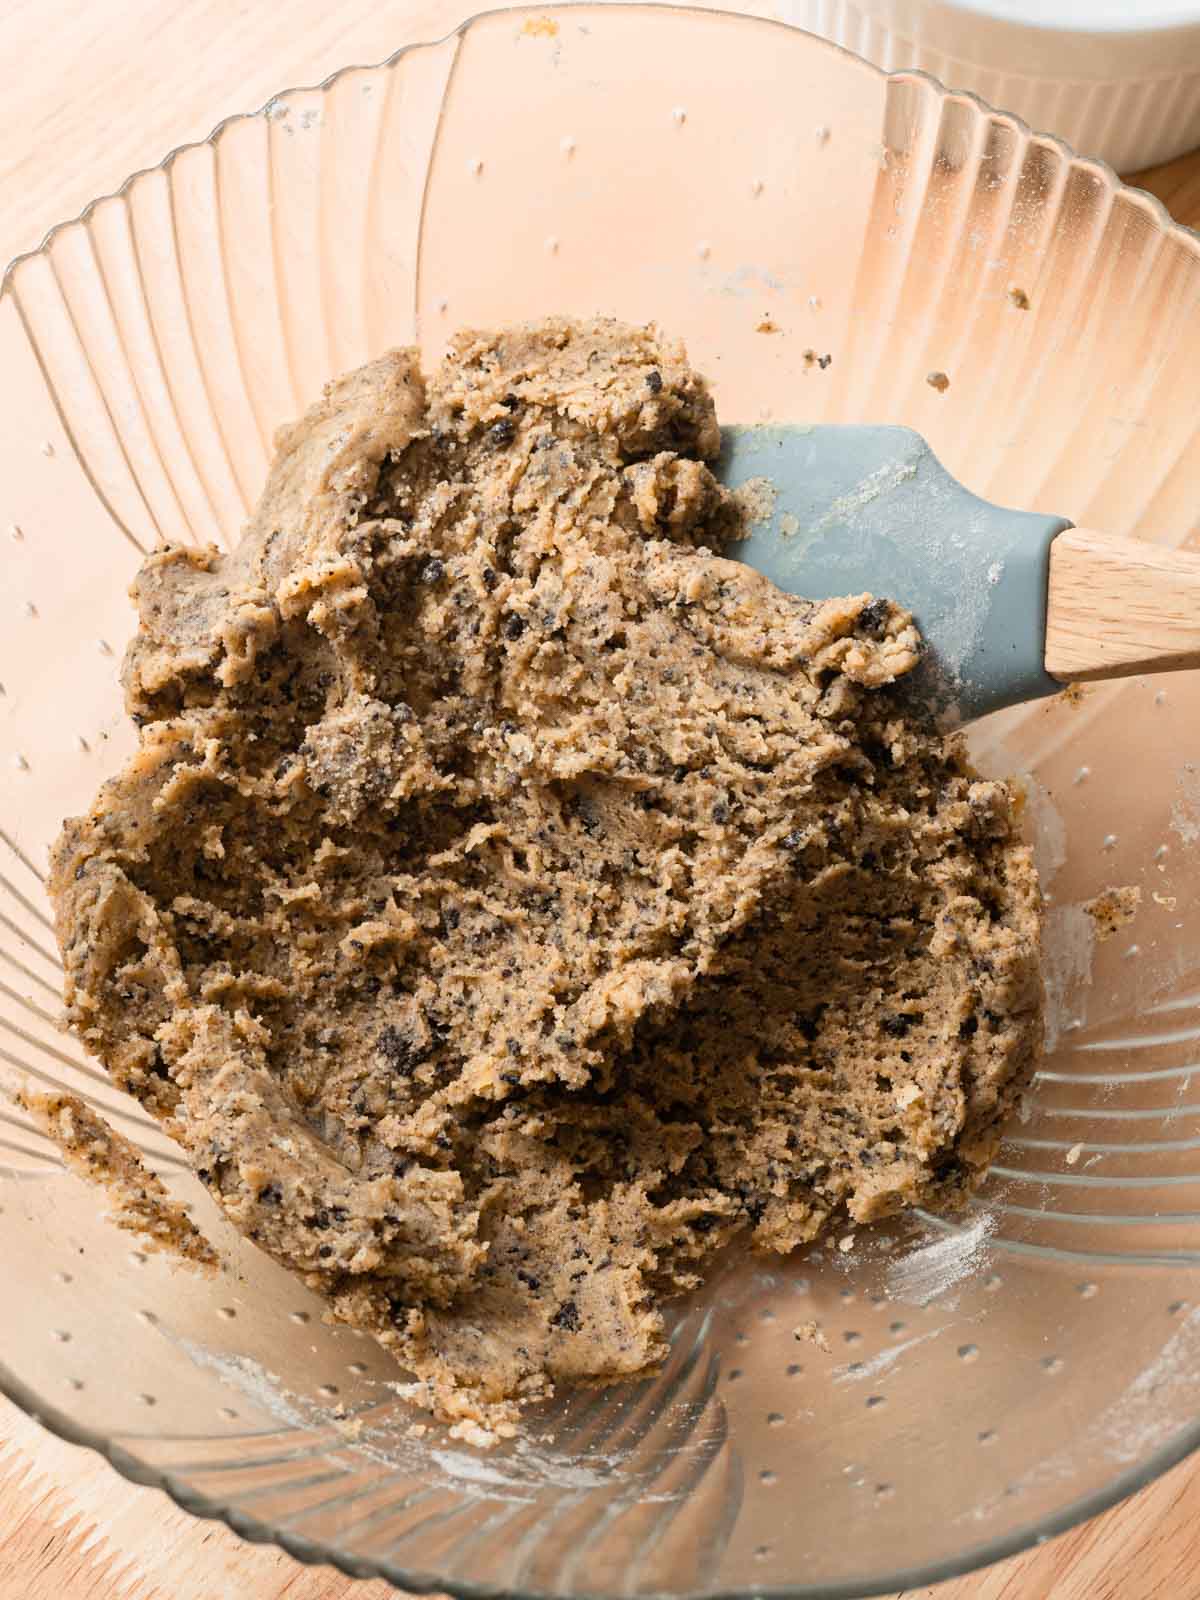
- Dump in all of the dry ingredients and the crushed 5 Oreos. Mix until no dry spots remain.
Scoop & bake cookies:
- Preheat oven to 350°F/177°C and line two baking trays with parchment paper.
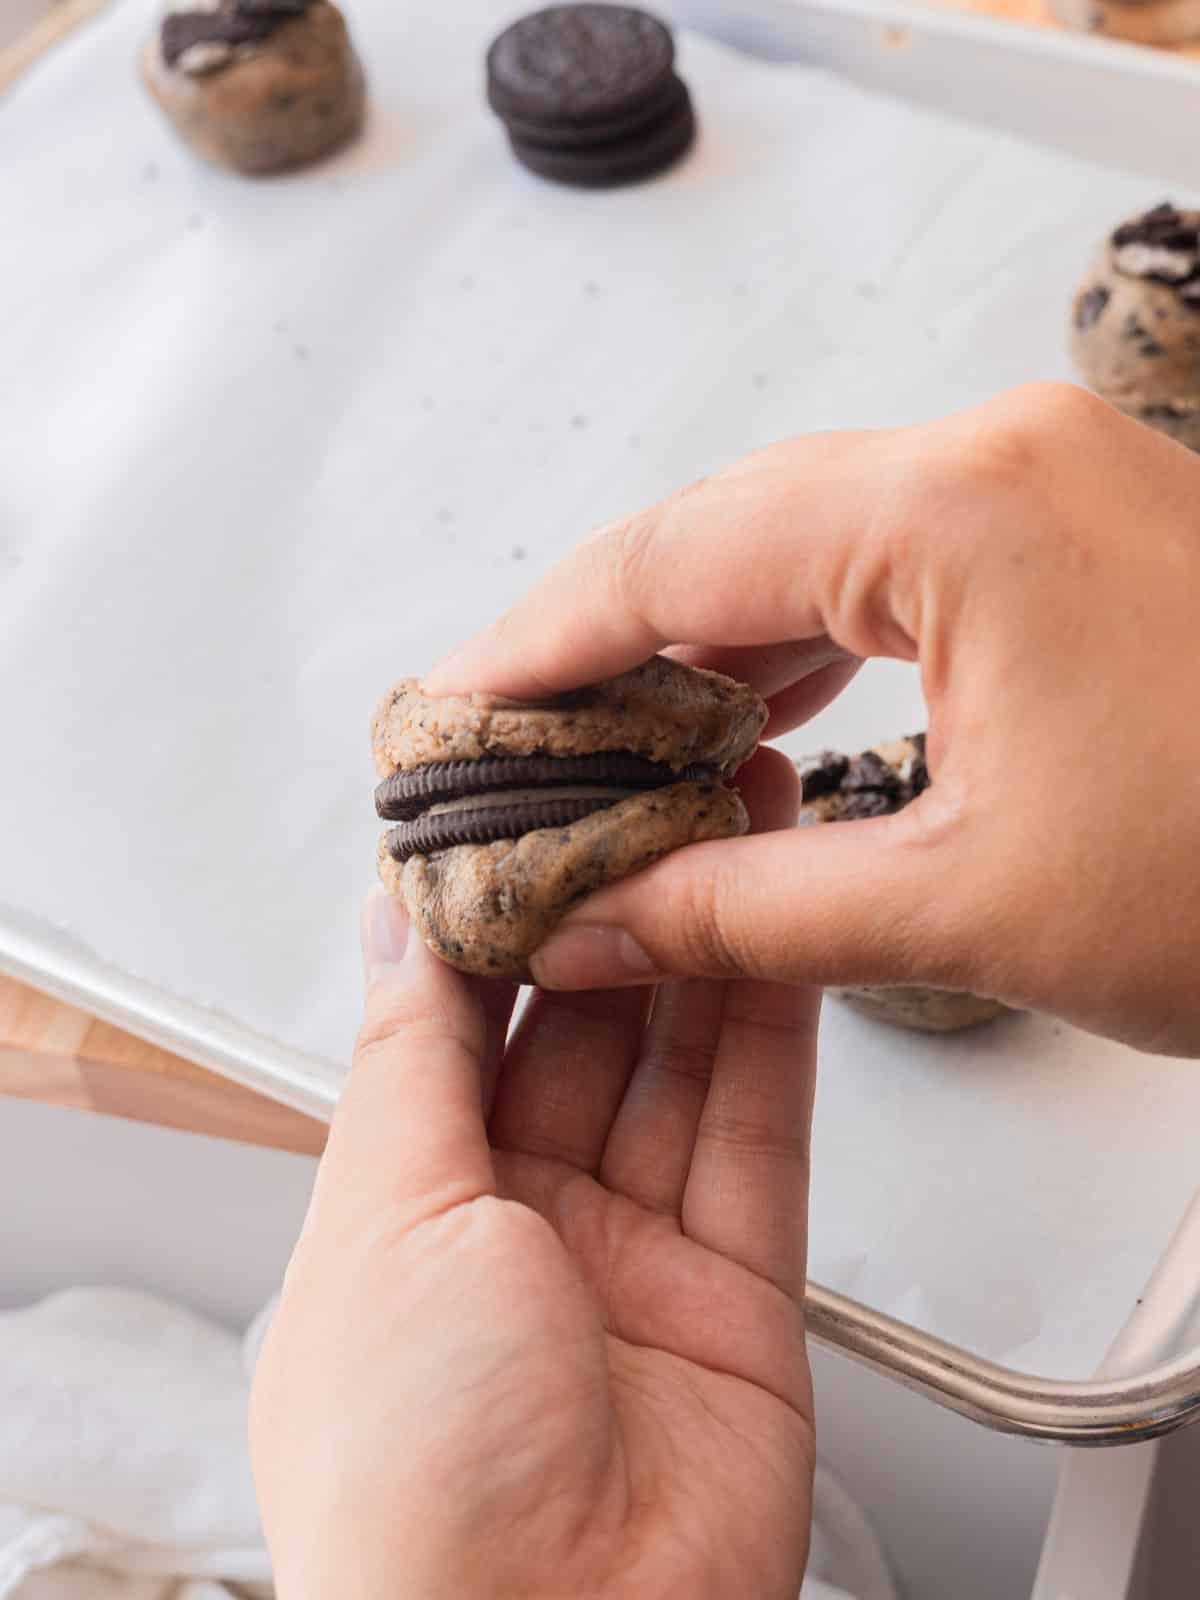
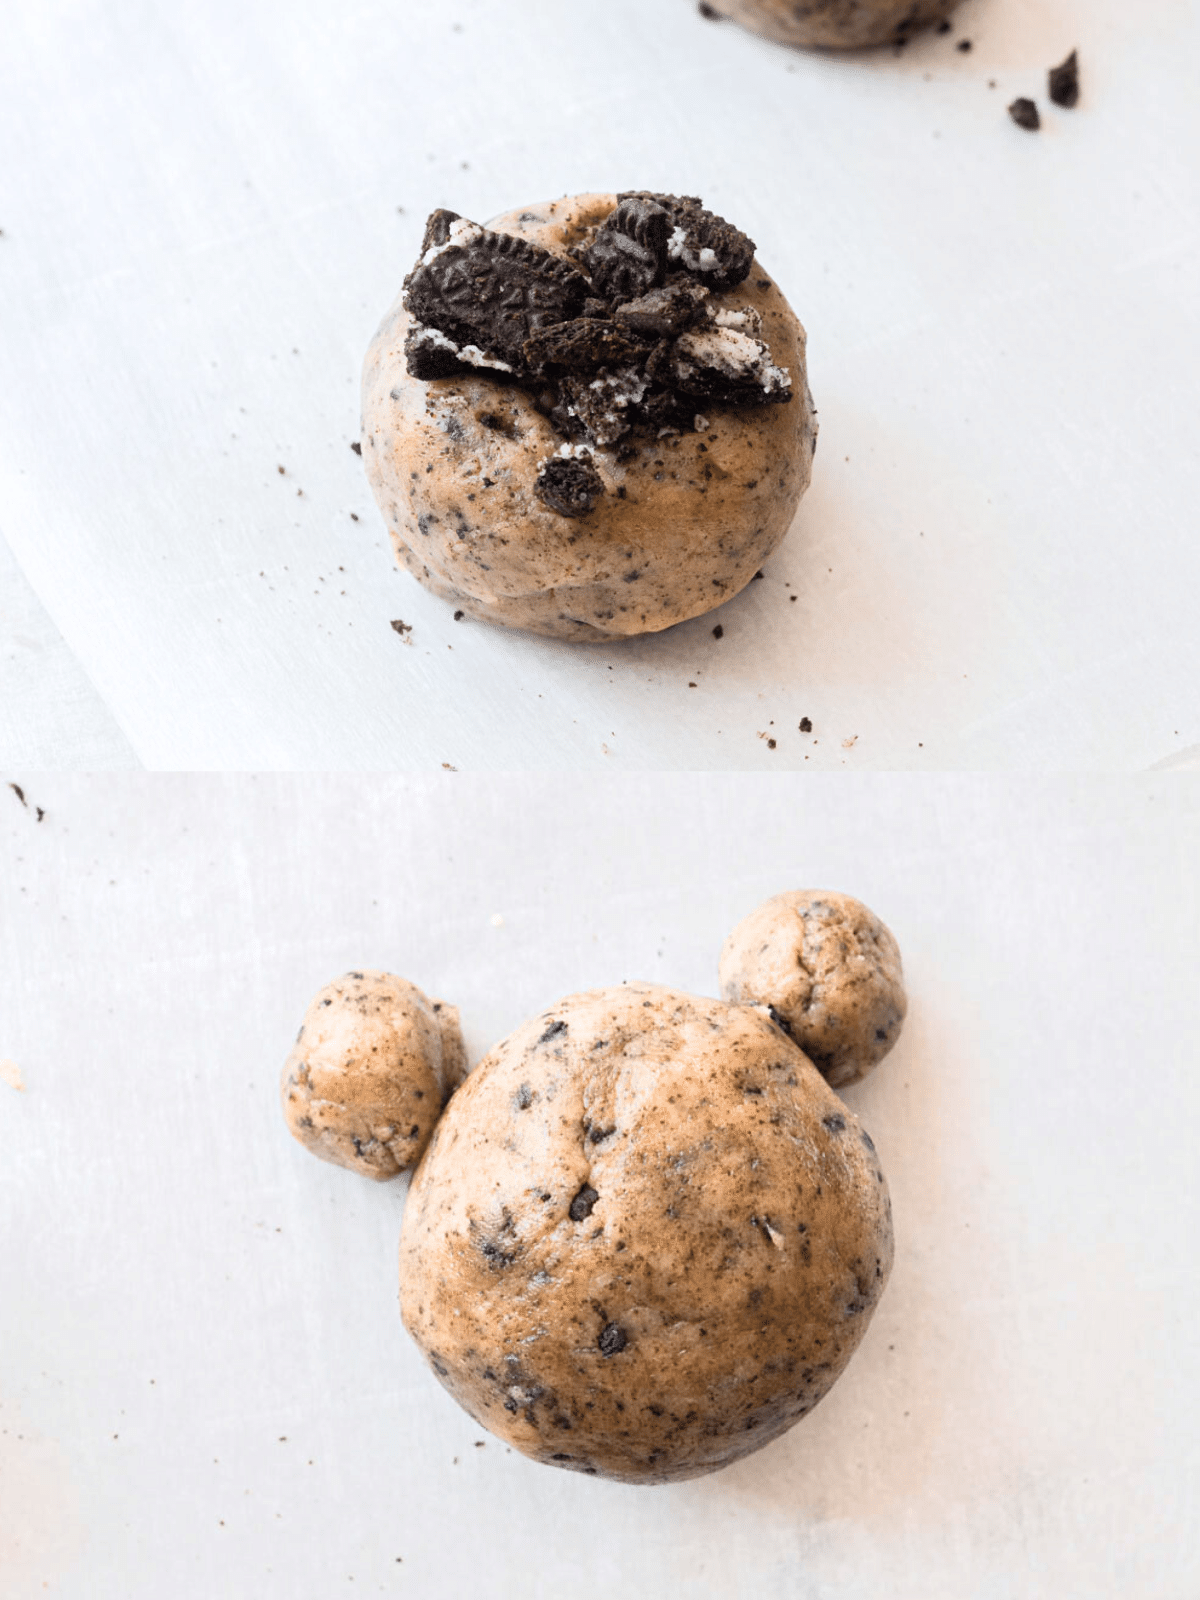
- I actually like to do a mix of Oreo-stuffed cookies and regular cookies!For Oreo-stuffed cookies, use medium cookie scoop to gather 2-3 tablespoons of dough. Split in half and wrap around one whole Oreo cookie. Place on lined baking tray, spacing cookies about 3-4 inches apart.For regular cookies, use medium cookie scoop to gather 2-3 tablespoons of dough into a ball. Place on lined baking tray, spacing cookies about 3-4 inches apart.For bear design, take about 1 tsp of dough and split it in 2. Place them on top left and right sides of a cookie dough ball on the baking sheet. These will be the ears.
- Top all cookies (except bear ones) with roughly chopped Oreos.
- Bake for 11-13 minutes, or until edges are set and golden brown. Let cool on pan for about 5 minutes, then transfer to wire rack. Let cool completely.
Decorate bear cookies:
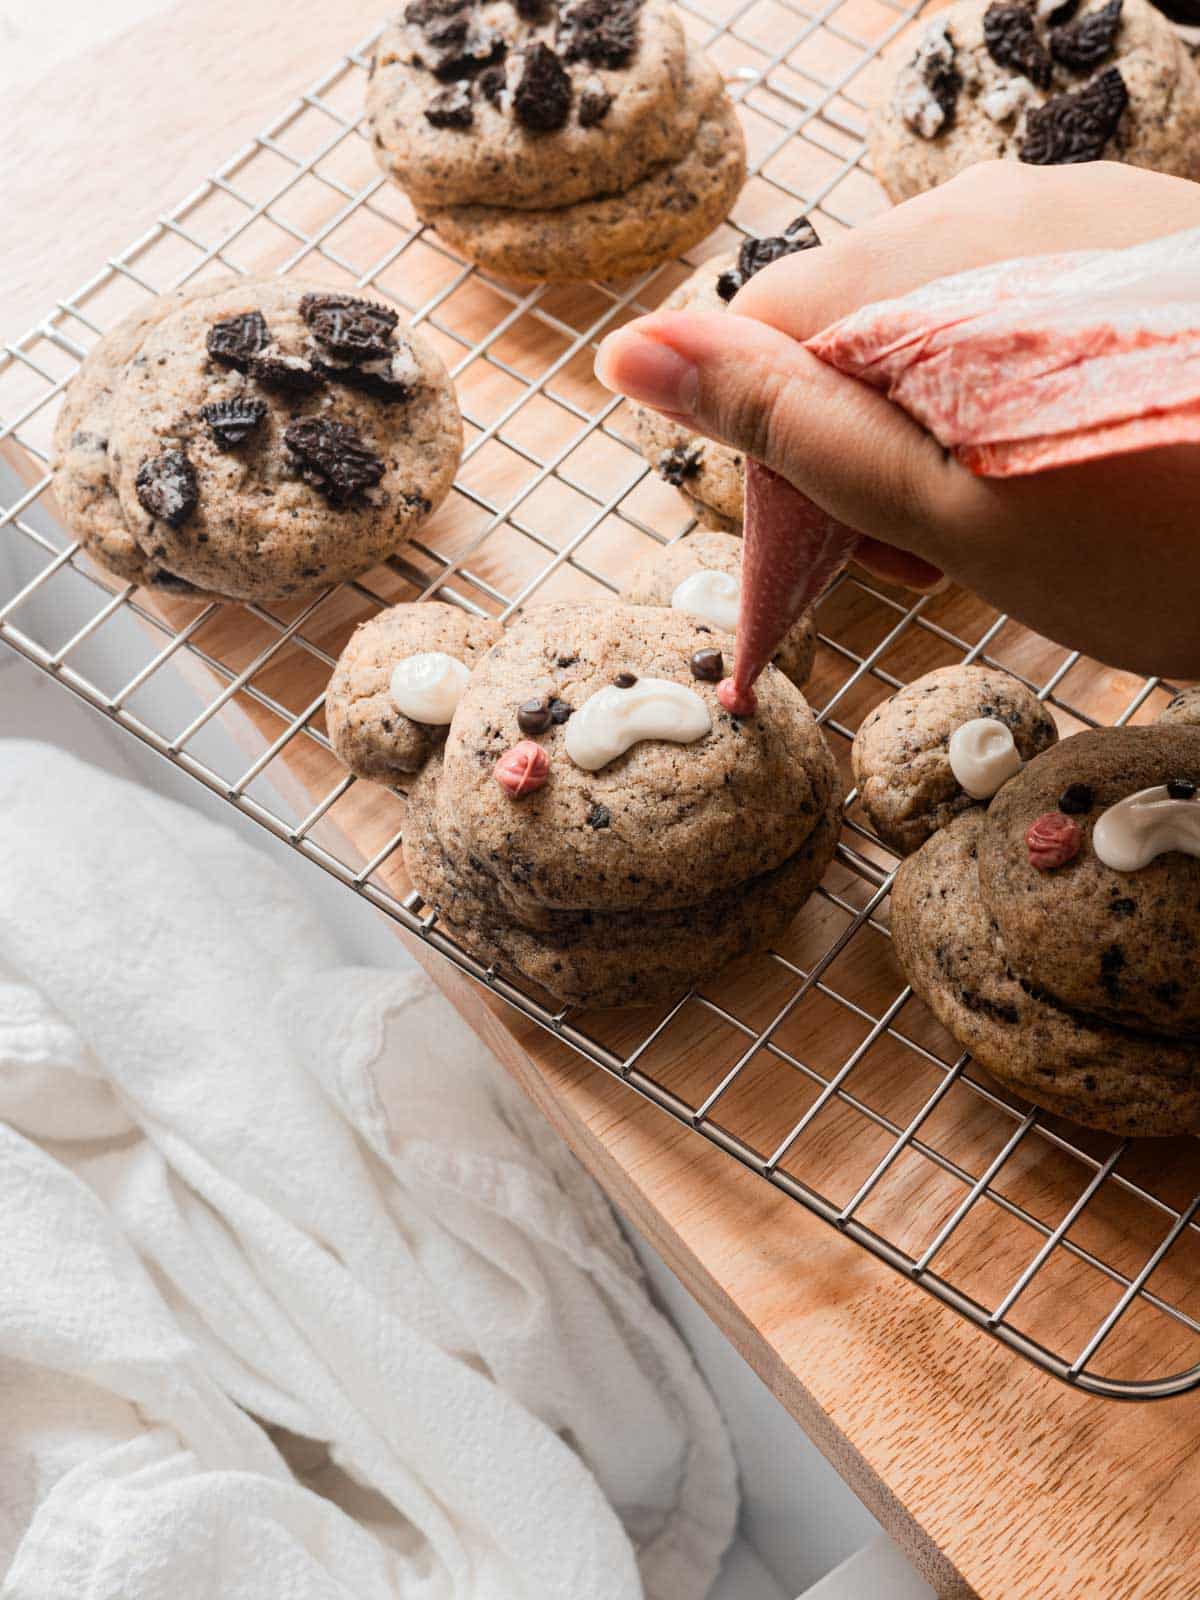
- Note: You can a piping bag, toothpick, or cookie scribe to add on the details. I used piping bags.
- Melt 3 tablespoons white chocolate melting wafers in a small microwave-safe bowl. Add about 2 tbsp to piping bag and use this for the snouts and ears.
- Mix in red or pink oil-based food coloring to the remaining melted white chocolate. Use this for the blush.If you don't have oil-based food coloring, then the chocolate will seize/become lumpy. To counter this, stir in a tsp of neutral oil (canola, vegetable) at a time, until it becomes smooth again.
- Add 1 tbsp milk/dark chocolate melting wafers to another small microwave-safe bowl and microwave in 30-second intervals, stirring in between, until fully melted. Use this this to draw on eyes and noses.
- Enjoy!
Notes
- Store cookies in an airtight container at room temperature for up to 5 days.
- Tip for measuring ingredients: I weigh my ingredients with a kitchen scale, rather than using measuring cups because it is more accurate. If using measuring cups, I recommend spooning flour into the cup and overfilling it, then leveling it off with a knife.
Did you try this recipe?Let us know how it was!





(I am the author of this recipe)
My boyfriend and I love this recipe! So delish and simple to make.