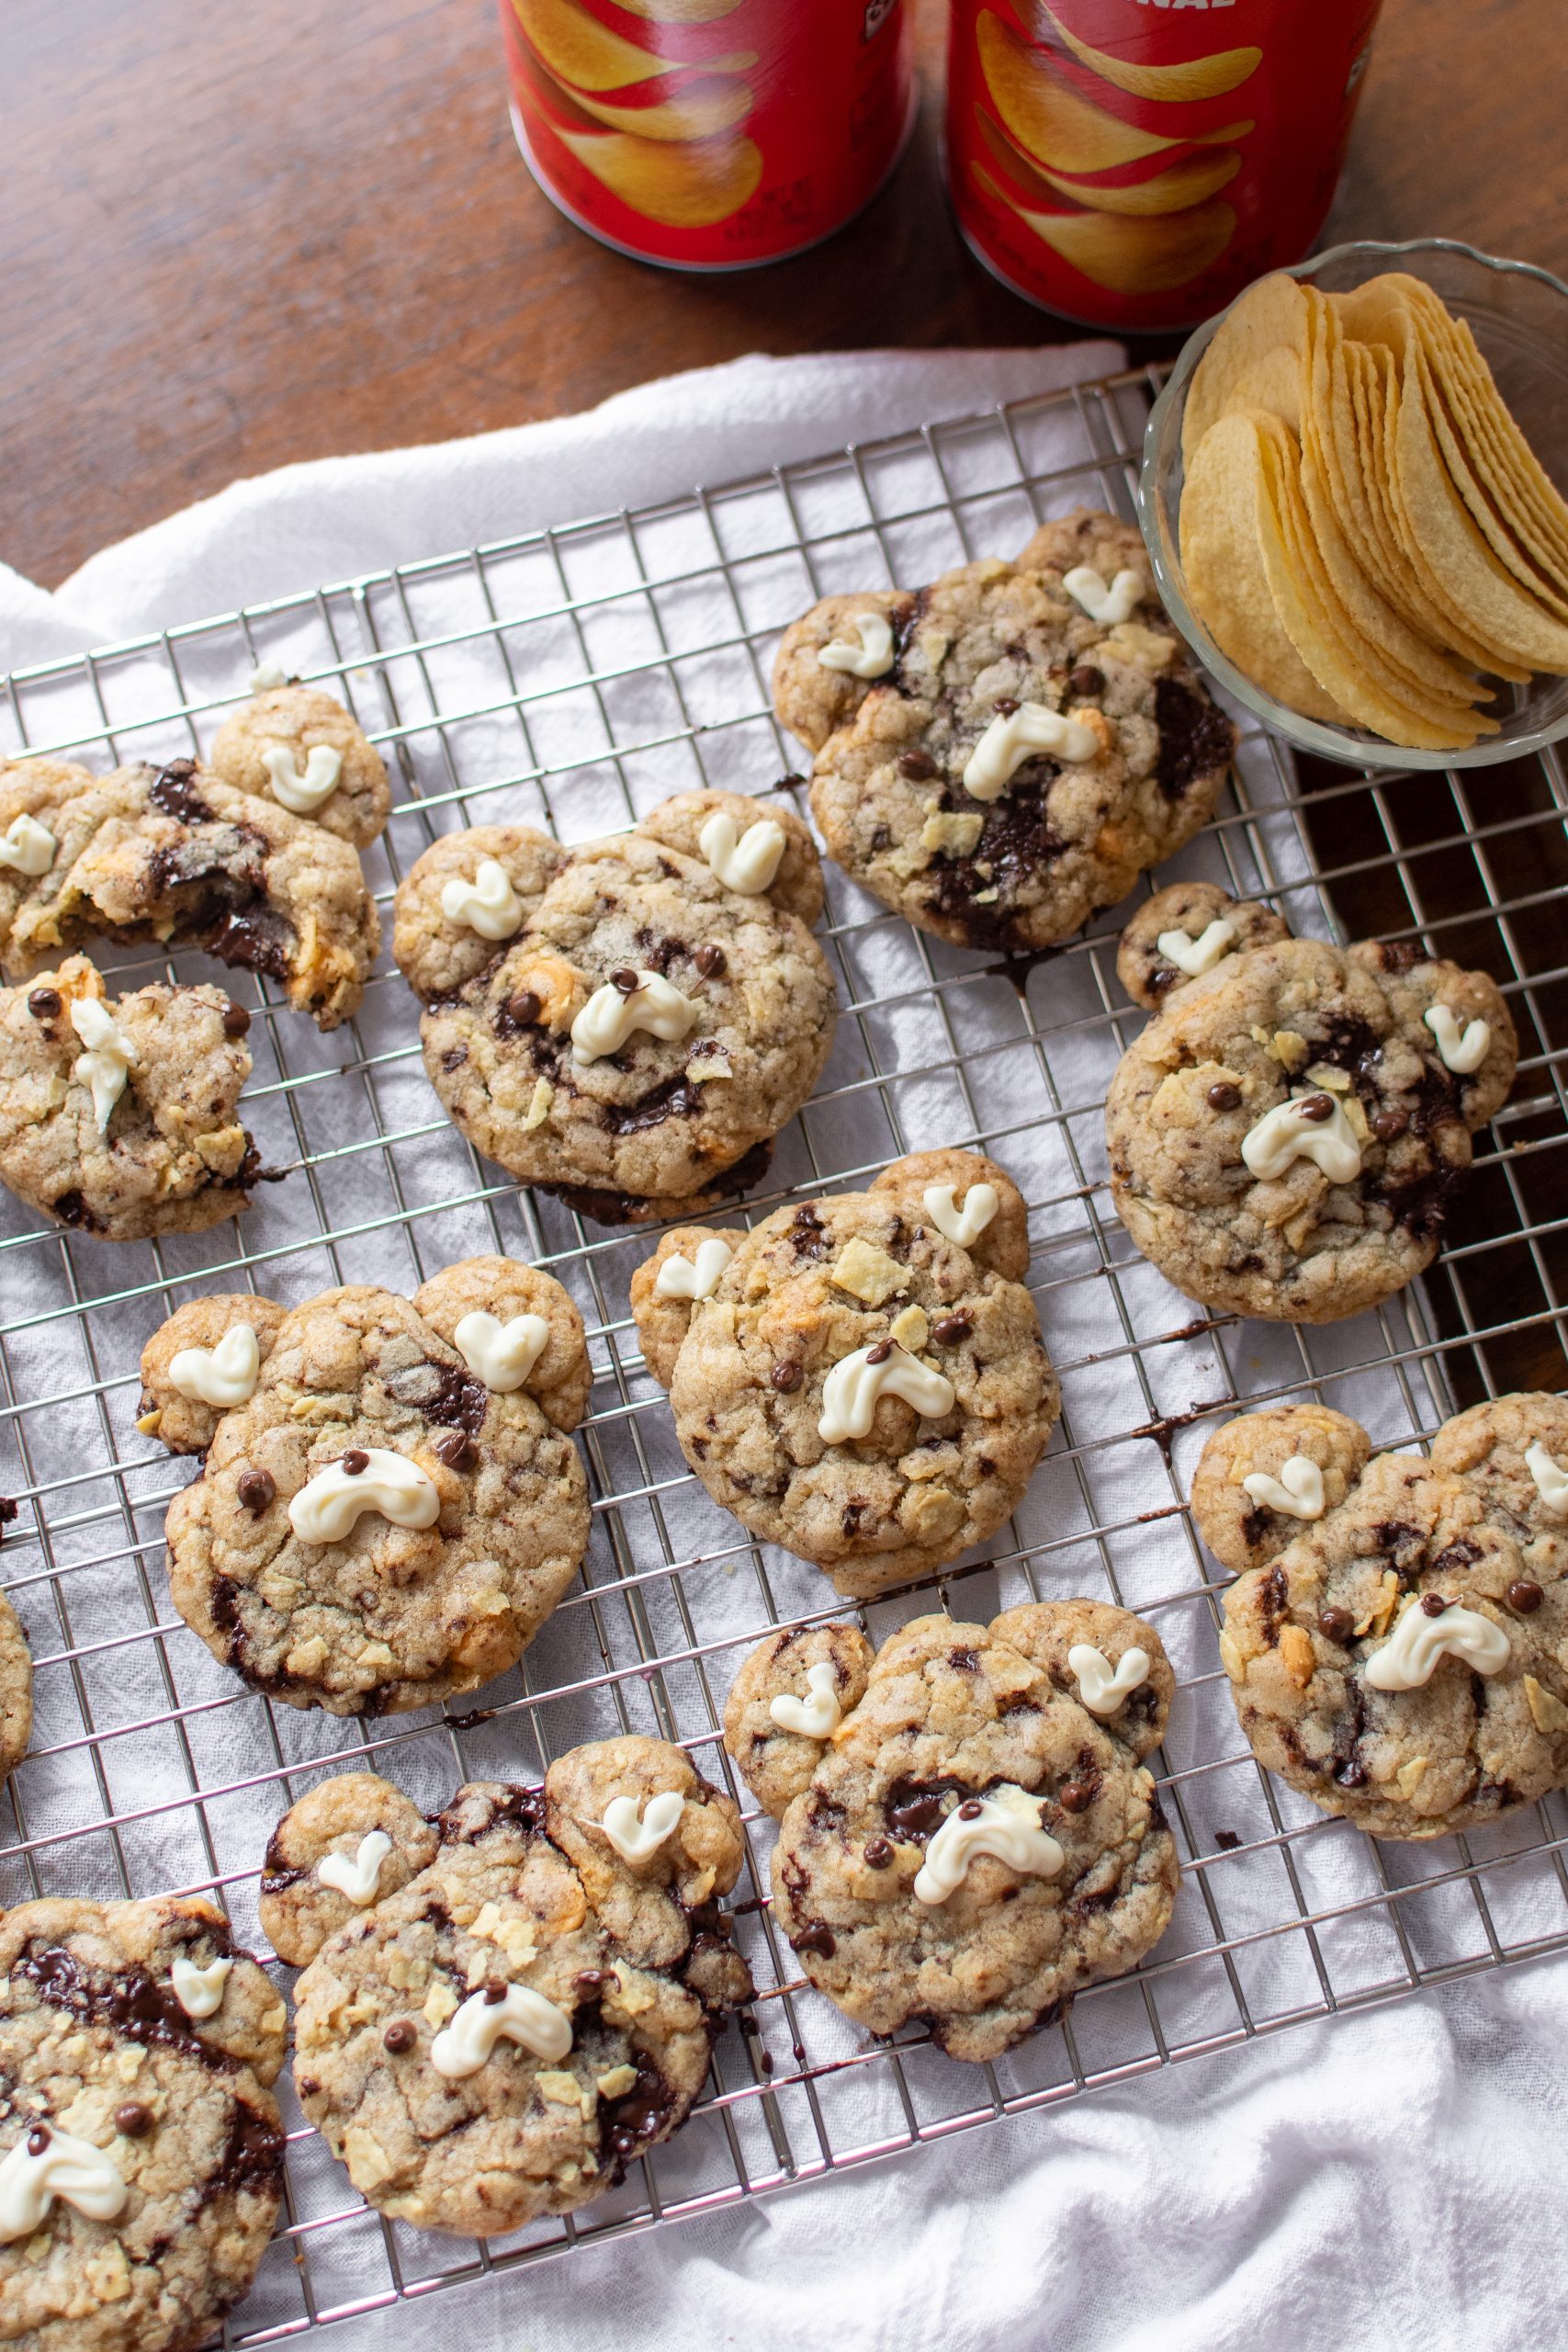
Brown Butter Kitchen Sink Cookies
Easy brown butter kitchen sink cookies decorated with melted chocolate! These bear cookies are crispy yet soft, sweet yet salty, and are so, so delicious. They can be made in one bowl with a hand whisk and rubber spatula, making these cute cookies an easy project for beginner bakers!
Servings: 15 cookies
Calories: 211kcal
Ingredients
Dry ingredients:
- 1 ¼ cup all-purpose flour
- ¼ teaspoon baking powder
- ½ teaspoon baking soda
- ½ teaspoon salt
Wet ingredients:
- ½ cup unsalted butter
- ⅓ cup brown sugar packed
- ½ cup granulated sugar
- 1 egg
- 1 teaspoon vanilla extract
Mix-ins
- ½ cup chocolate chips
- ⅓ cup butterscotch chips
- 15 Pringles crushed
Decorations for face:
- 3 tablespoons white chocolate melted
- ½ tablespoon milk or dark chocolate melted
Instructions
For the cookie dough:
- In a medium bowl, whisk together all of the dry ingredients: all-purpose flour, baking powder, baking soda, and salt.
- Now, brown the butter.In a saucepan over medium heat, add in all of the unsalted butter. Continuously stir with a whisk or rubber spatula.After the butter melts, it will begin to foam. Then, the foaming will stop and brown specks will start to form at the bottom of the pan. The color change will be fairly quick, so keep an eye on the butter. Remove the pan from heat once you smell a nutty aroma and the butter becomes golden brown. Transfer to a heat-safe bowl and let slightly cool.
- In a large bowl, whisk the cooled, melted brown butter and both sugars until combined.
- Add egg and vanilla extract to the mixture. Whisk until smooth.
- Dump in all of the dry ingredients and mix-ins. Fold together using rubber spatula until no dry spots remains.
- Cover the dough with plastic wrap and let chill in fridge for 30 minutes. This will help the flour hydrate and firm up the butter, yielding chewier cookies. Plus, the dough will be much easier to handle when shaping the teddy bear cookies.
- Place oven rack in the middle of the oven. Preheat the oven to 325°F/162°C. Line two baking sheets with parchment paper/silicone mat.
- Use cookie scoop to gather dough (about 1.5 tablespoons each). Roll into a ball and place on lined baking sheet. This will be the bear's head. Repeat for about 14 more cookies, making sure you have leftover dough for the ears. For the ears, take about 1/2-1 tsp of dough (without any chocolate chips mixed into it), split it in two, and place on top left and right sides of the head. Repeat for other bears, spacing the cookies about 3 inches apart.
- Bake for 11-13 minutes, or until edges are set and slightly browned.Allow to cool on sheet for at least 5 minutes then transfer to cooling rack.
For the faces:
- You can a piping bag, toothpick, or cookie scribe to add on the details. I used a piping bag for the and ears, eyes, and snout.
- First, use melted white chocolate to add the snouts and ears.
- Use melted dark or milk chocolate to draw on the eyes and nose.
- Enjoy!
Notes
- Store cookies in an airtight container at room temperature for up to a week.
- To make it vegan, swap in a high quality vegan butter and vegan chocolate (suggestions listed in this blog post). Omit the egg. Follow the recipe accordingly up until you add in the dries. If the dough seems crumbly, add in a tbsp of alternative milk (2-4 tbsp total) at a time until the dough comes together. It should be thick, but scoopable.
- Make sure the mix-ins you are using are vegan!
- For the decorations: use a vegan chocolate brand like Pascha Chocolate. OR, you can try out my easy icing recipe, which is found in my teddy bear cookie recipe.
- To make it gluten-free, sub in 1:1 gluten-free flour!
- Make sure you opt for gluten-free mix-ins.
Nutrition
Serving: 1 cookie | Calories: 211kcal | Carbohydrates: 29g | Protein: 2g | Fat: 10g | Saturated Fat: 6g | Polyunsaturated Fat: 0.5g | Monounsaturated Fat: 2g | Trans Fat: 0.3g | Cholesterol: 28mg | Sodium: 151mg | Potassium: 66mg | Fiber: 0.3g | Sugar: 20g | Vitamin A: 210IU | Vitamin C: 0.3mg | Calcium: 24mg | Iron: 1mg
